Import a New Spreadsheet
After exporting data from Prisms the "CoE and student data export", you can load the updates and changes into eBECAS.
Initially we suggest exporting all data, then load updates each week. You should load the data in order oldest period first. You do not need to repeat data load for past date periods.
To load the exported data into eBECAS - Go to Main > Utilities > PRISMS > PRISMS Import and select New from the Options to begin a new import

Import File
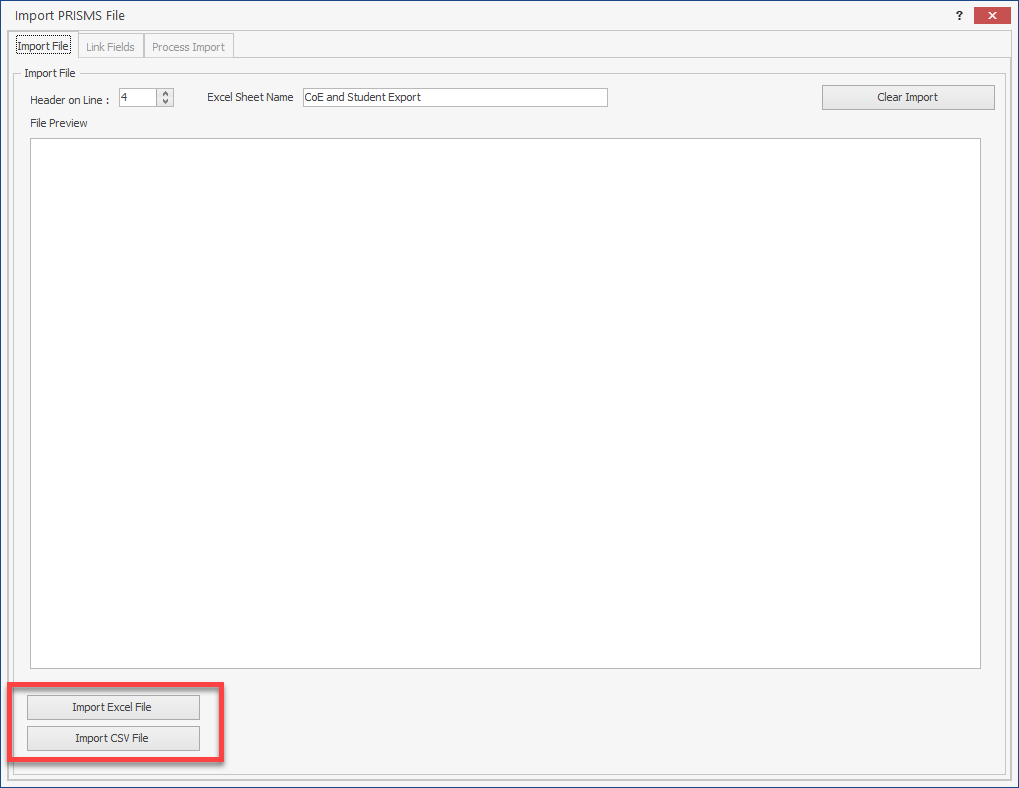
The PRISMS file should be in Excel format Recommended , or CSV (text).
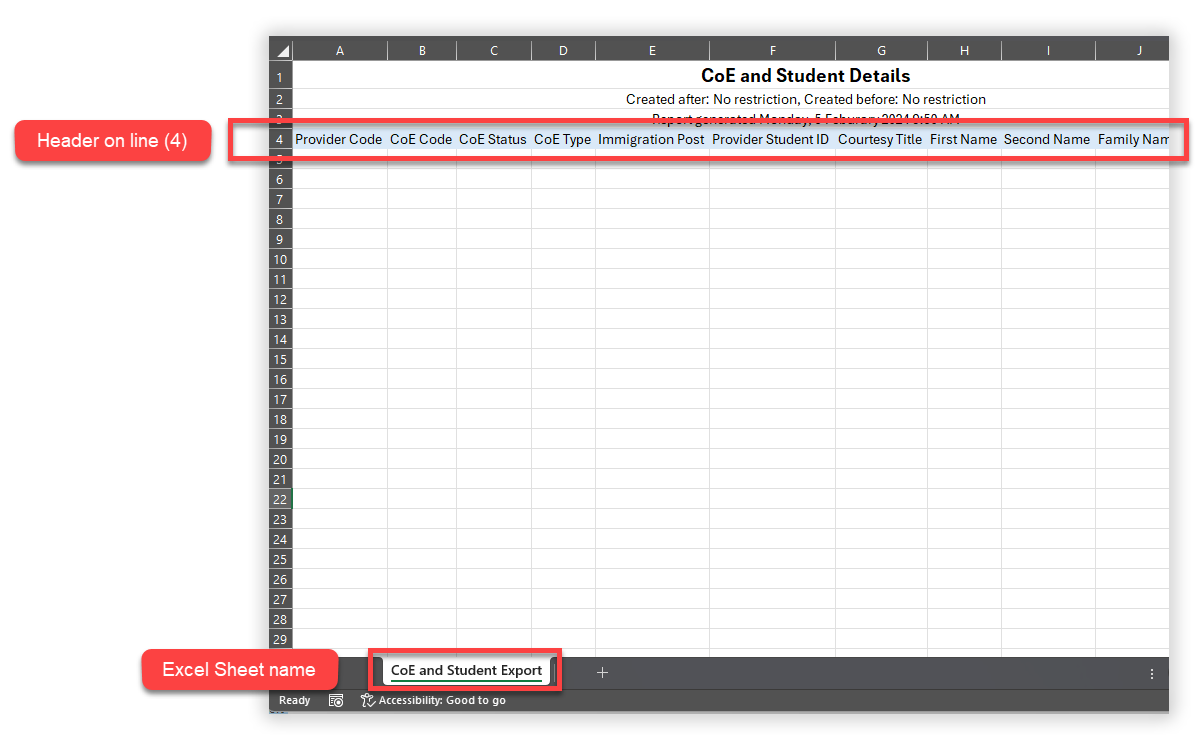
Ensure the Header on Line and Excel Sheet Name (for Excel imports only) are specified correctly. Generally, the default values should work OK.
Click Import Excel File and browse for the file to Import.
Link Fields
Ensure Columns to be imported match a column from the import in the drop down. For a default import, these should match by default.
If the columns are not automatically matched, click AutoMap Links, and if necessary, select the columns from the dropdown menu to map them.
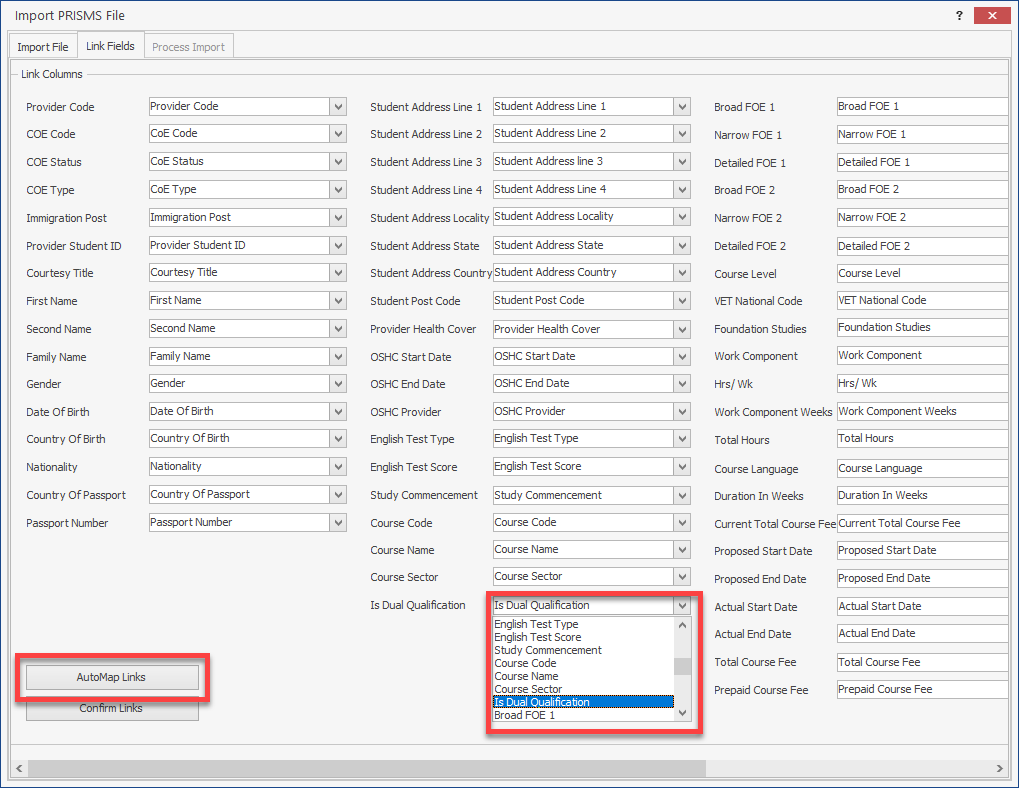
Click Confirm Links to continue.

Process Import
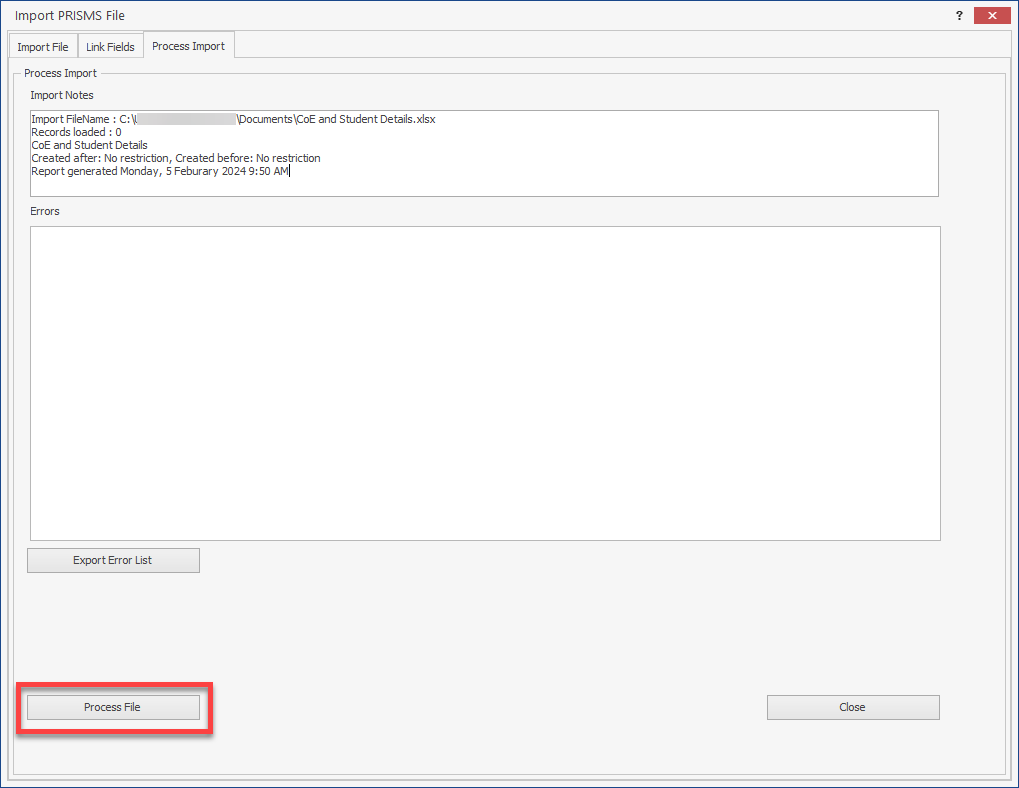
Review the Import Notes, showing Filename, Records Loaded, and details of the PRISMS export. Click Process File to import into eBECAS.
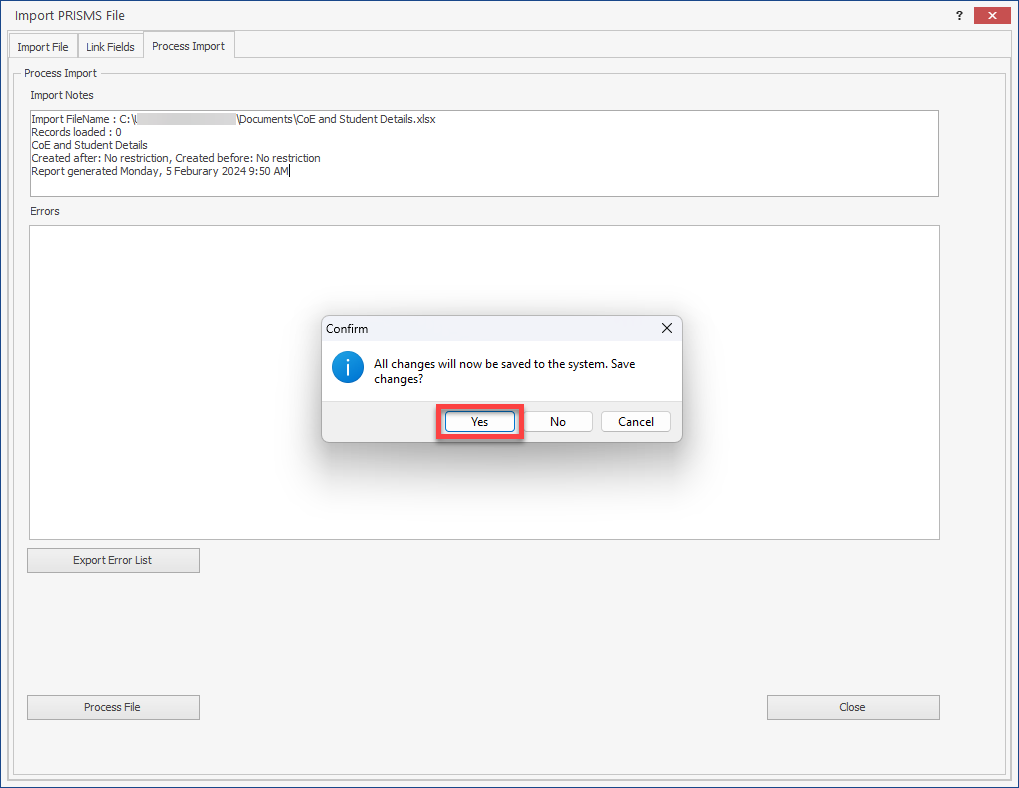
Once processed, confirm the import. eBECAS will return to the Main PRISMS Import form and load the import, ready to update COE and VISA details.
Update Loaded Temporary File with References and Update CoE and VISA Details
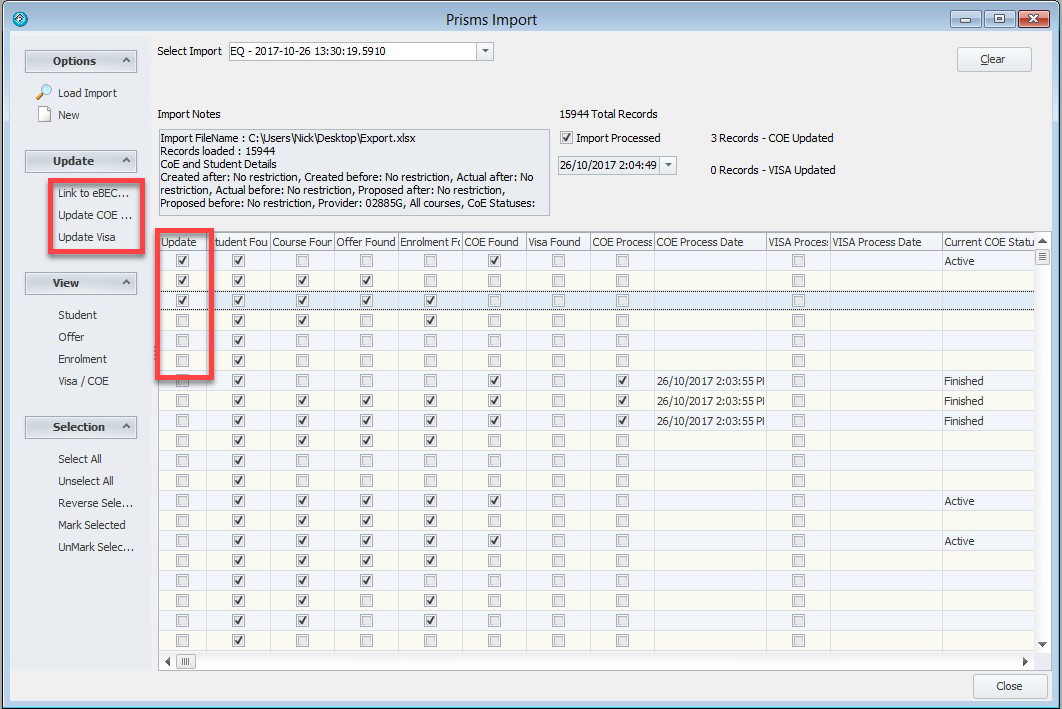
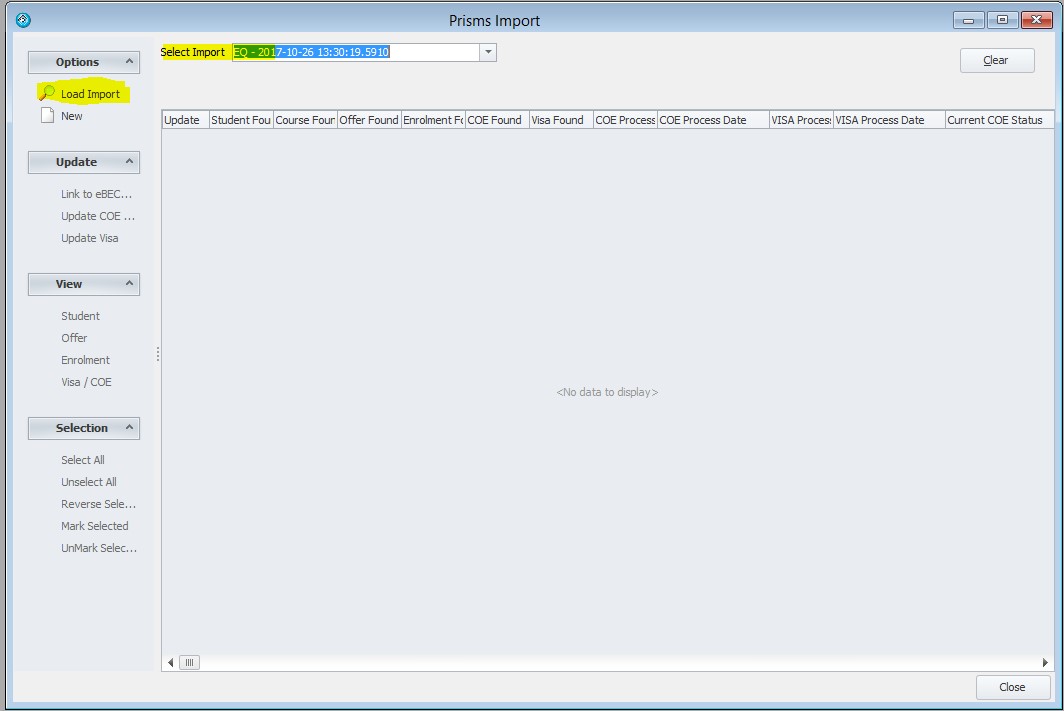
Select an import from the drop down and click Load Import in the Options to view the file details and update eBECAS.
This loads the temporary file with references, details of the import are shown in the grid, along with checkboxes to indicate a matching record was found in eBECAS for the Student, Course, Enrolment, CoE and Visa. The data has not yet be updated into the eBECAS database!
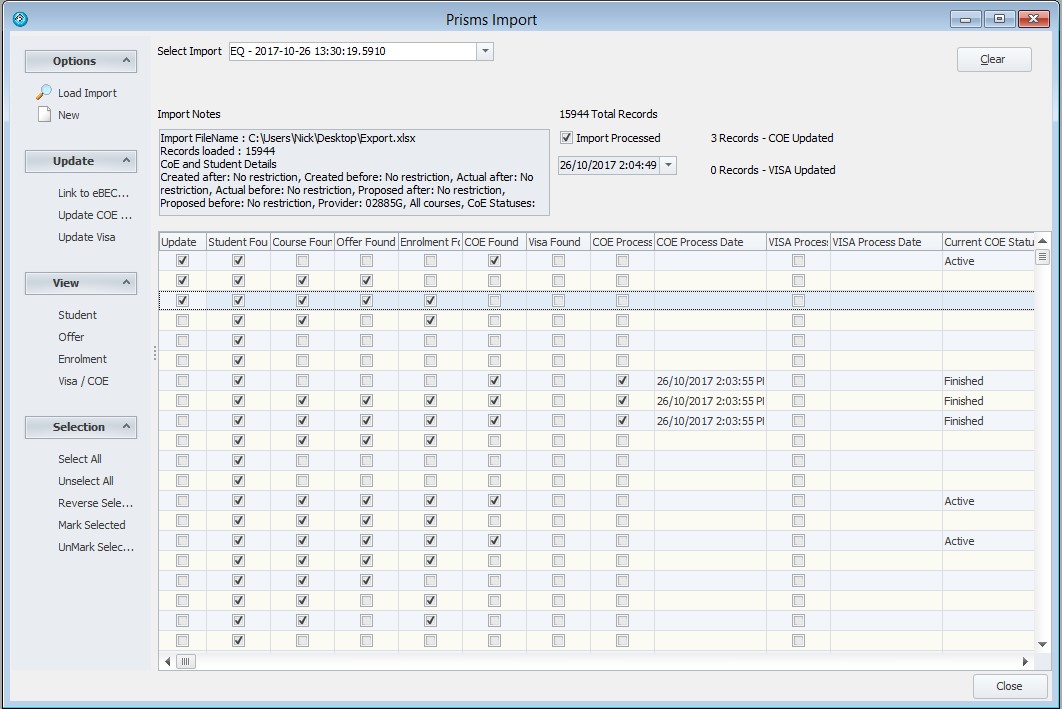
To update and create COE and Visa records based on the import, select records to update by checking the Update Checkbox (or Select All).
The update of the CoE and Visa records are 2 separate actions.
Click Update CoE records, when this is finished processing, you need to select All again, then select Update Visa.