
Overview
The Notes feature offers users the flexibility to add supplementary information to an object within the system.
This powerful tool enhances user interaction, providing a seamless way to annotate, clarify, or expand upon the data linked to an object.
The Notes editor allows the use of rich content including tables, links and images providing a better and more friendly way to add context to your notes.
Notes vs Diary
Notes and Diary serve the purpose of adding additional information to an object, but they are of different nature and have different use-cases.
The Diary is mainly used to record events. When an email or SMS is sent to a student or a counselling session occurs for example, a diary entry for that student is created. The Diary has the history of the events with a particular entity. Due to this nature, the Diary is only available on objects that represent individuals or business entities such as students, leads or agents.
Notes have a more generic nature and can be used to add more generic information to an object. For this reason, Notes are also available on objects that do not represent an individual or business entities. For example, Notes can be added to Students but also to Offers, Enrolments, Invoices etc.
Unlike Diary entries, which include extra fields like a subject and a category, Notes consist solely of the body without any additional fields. However, Notes allow rich content with advance formatting but Diary entries can only have plain text.
Notes allow you to mention other users to draw their attention to a specific note, while diary entries do not support mentions.
As Diary entries are mainly used to record communication events, a date different to the creation date can be set for each entry. Notes do not have a different date than the creation date.
When to use the Diary
-
To record events (calls, emails, sms, meetings, etc).
-
When more structured details for the entry are required (subject, date, time, category).
When to use the Notes
-
To annotate, clarify, or expand upon a record.
View Notes
-
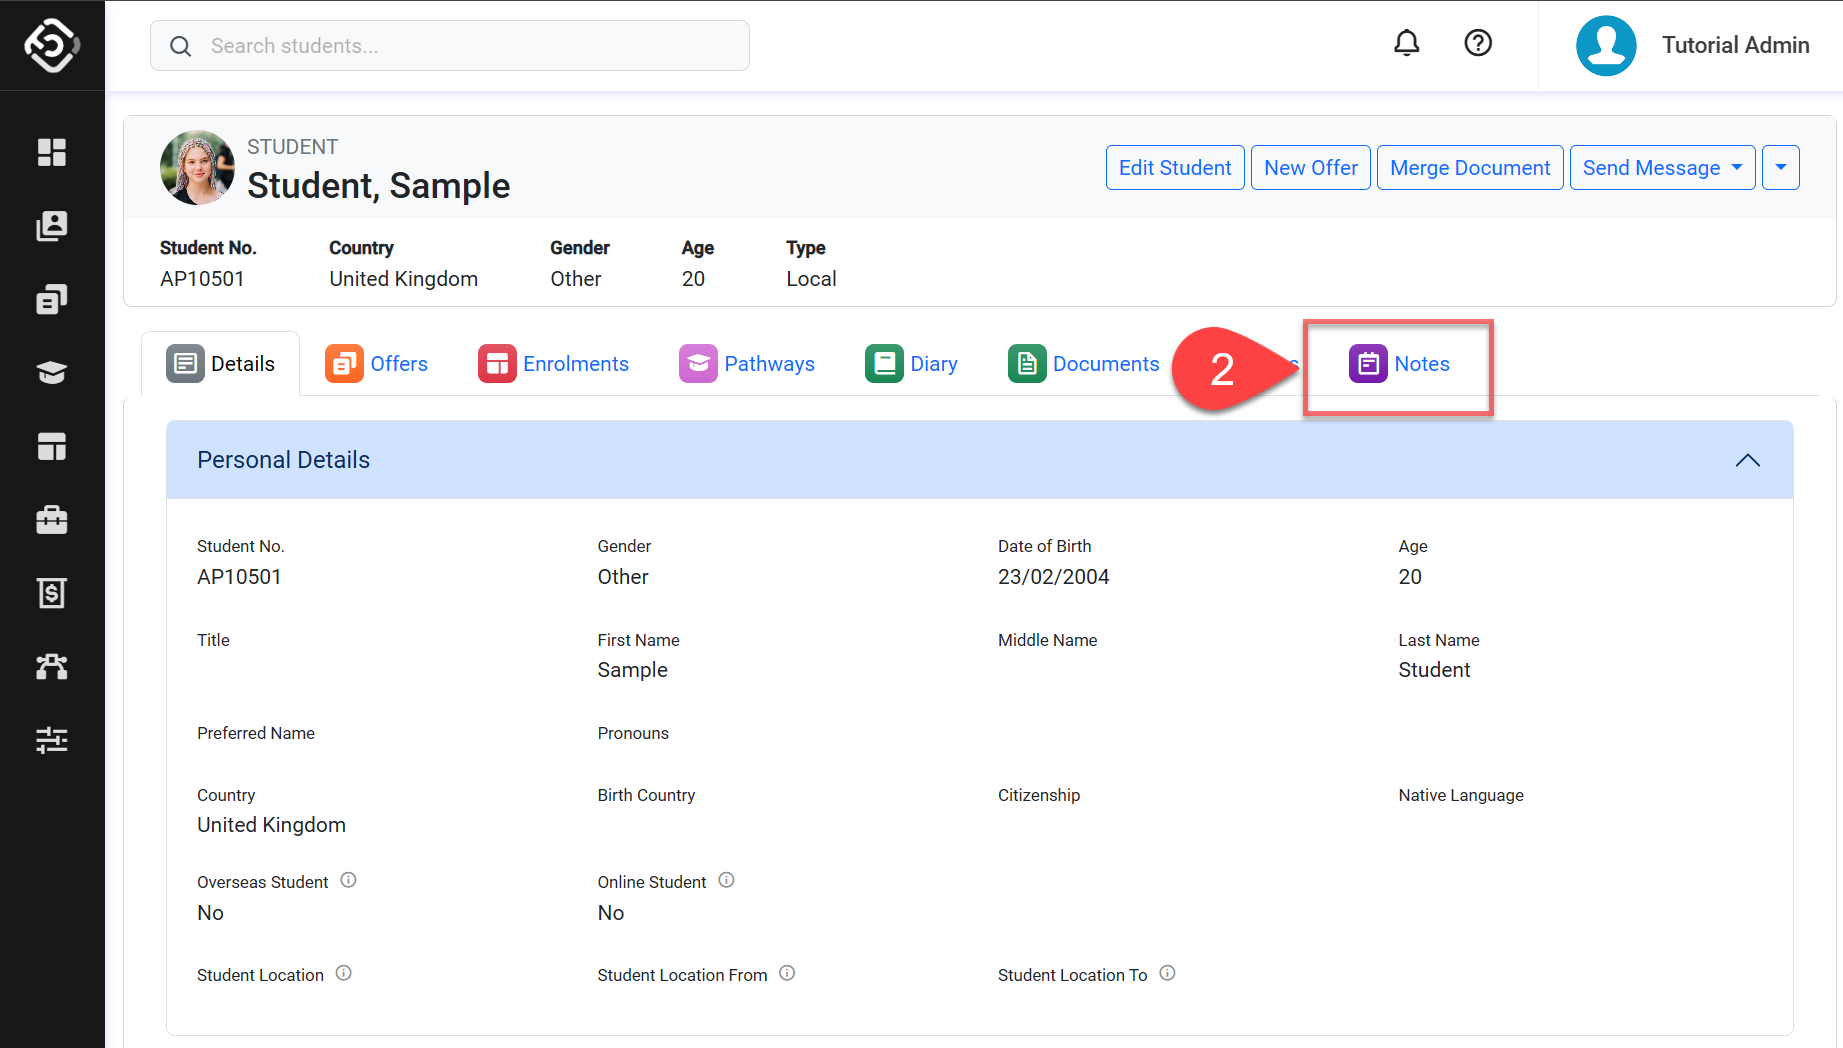
Navigate to the details page of the object that you want to see the notes for.
-
Click on the Notes tab.
-
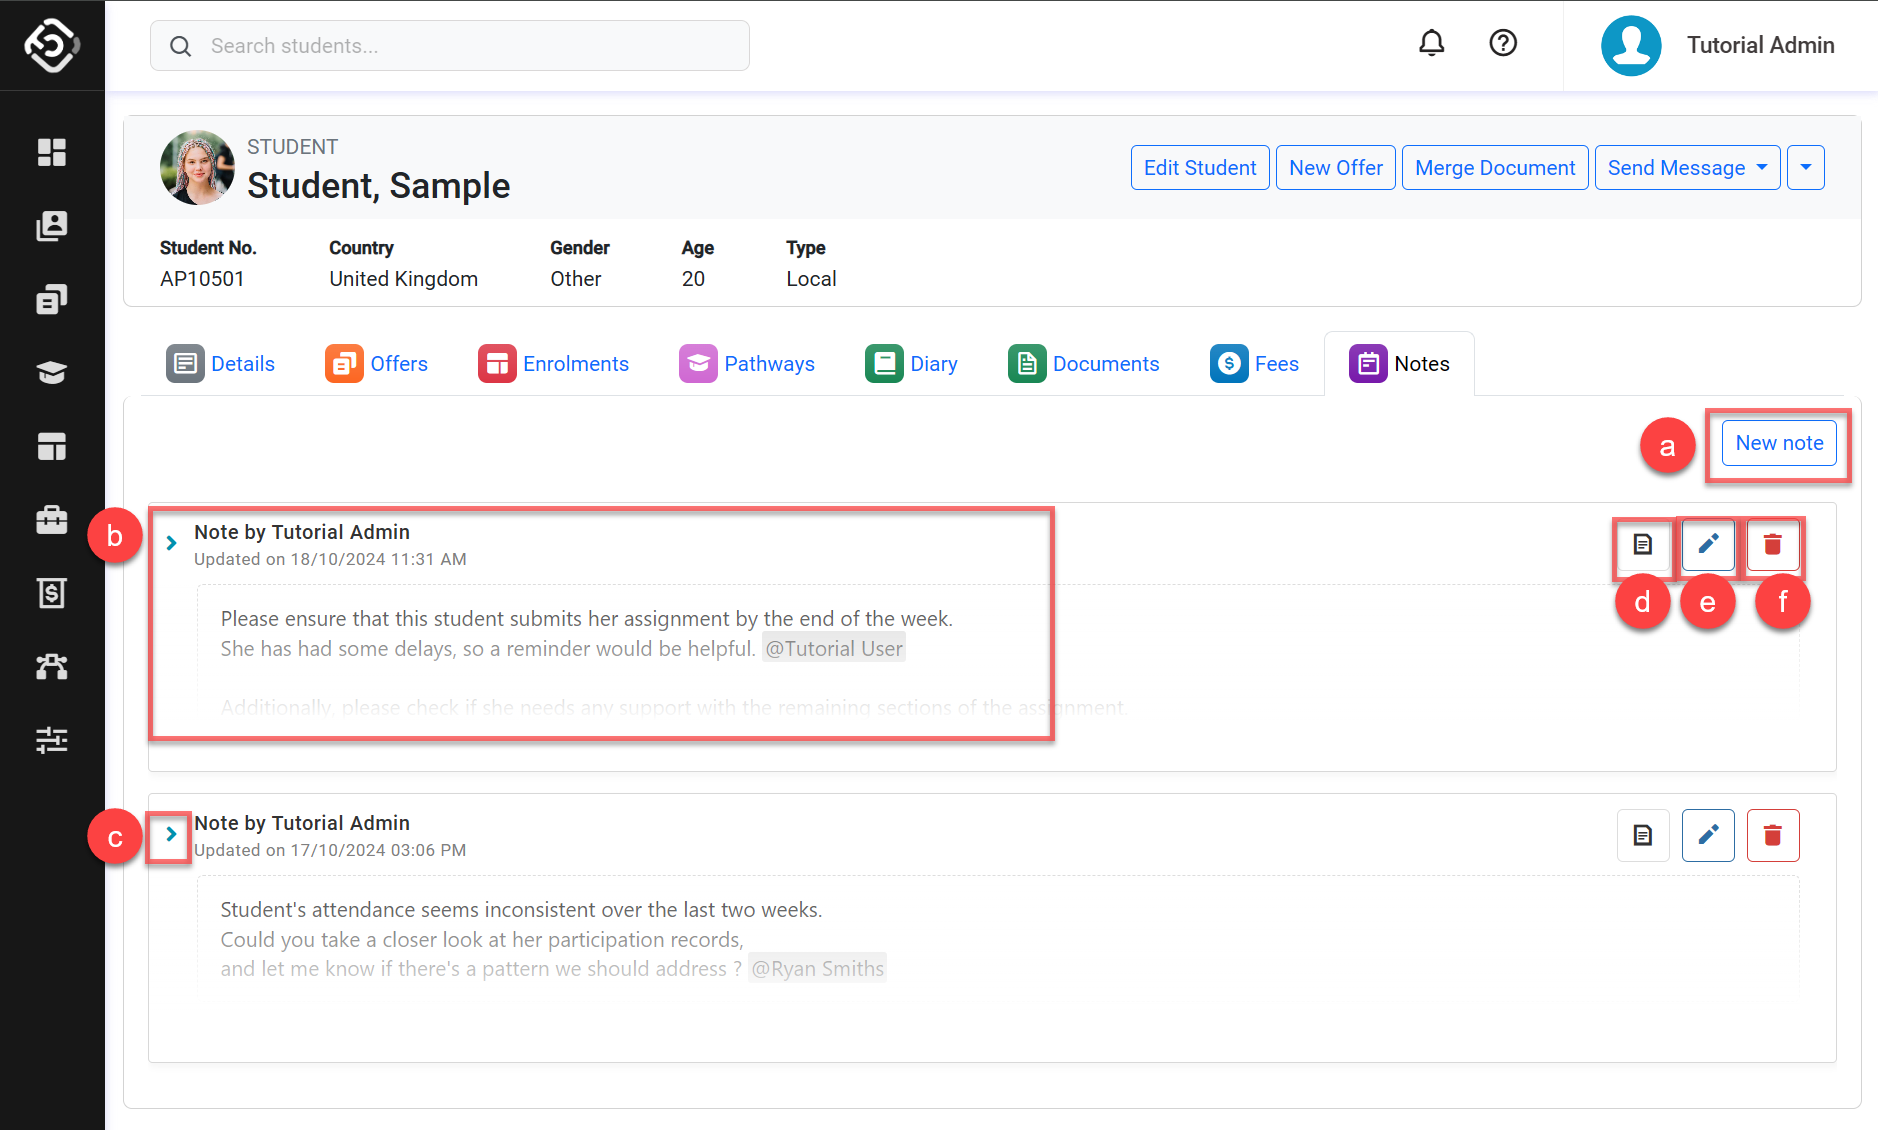
You’ll see the notes available. The options available are:
-
Create a Note: Adds a note entry.
-
Notes Preview: The current note entry’s preview under this object.
-
Expand Icon: Click to expand the note body content.
-
Details Icon: Click to navigate to the note’s detail page.
-
Edit the Detail: Edits the selected note entry.
-
Delete the note: Deletes the selected note entry.
-
-
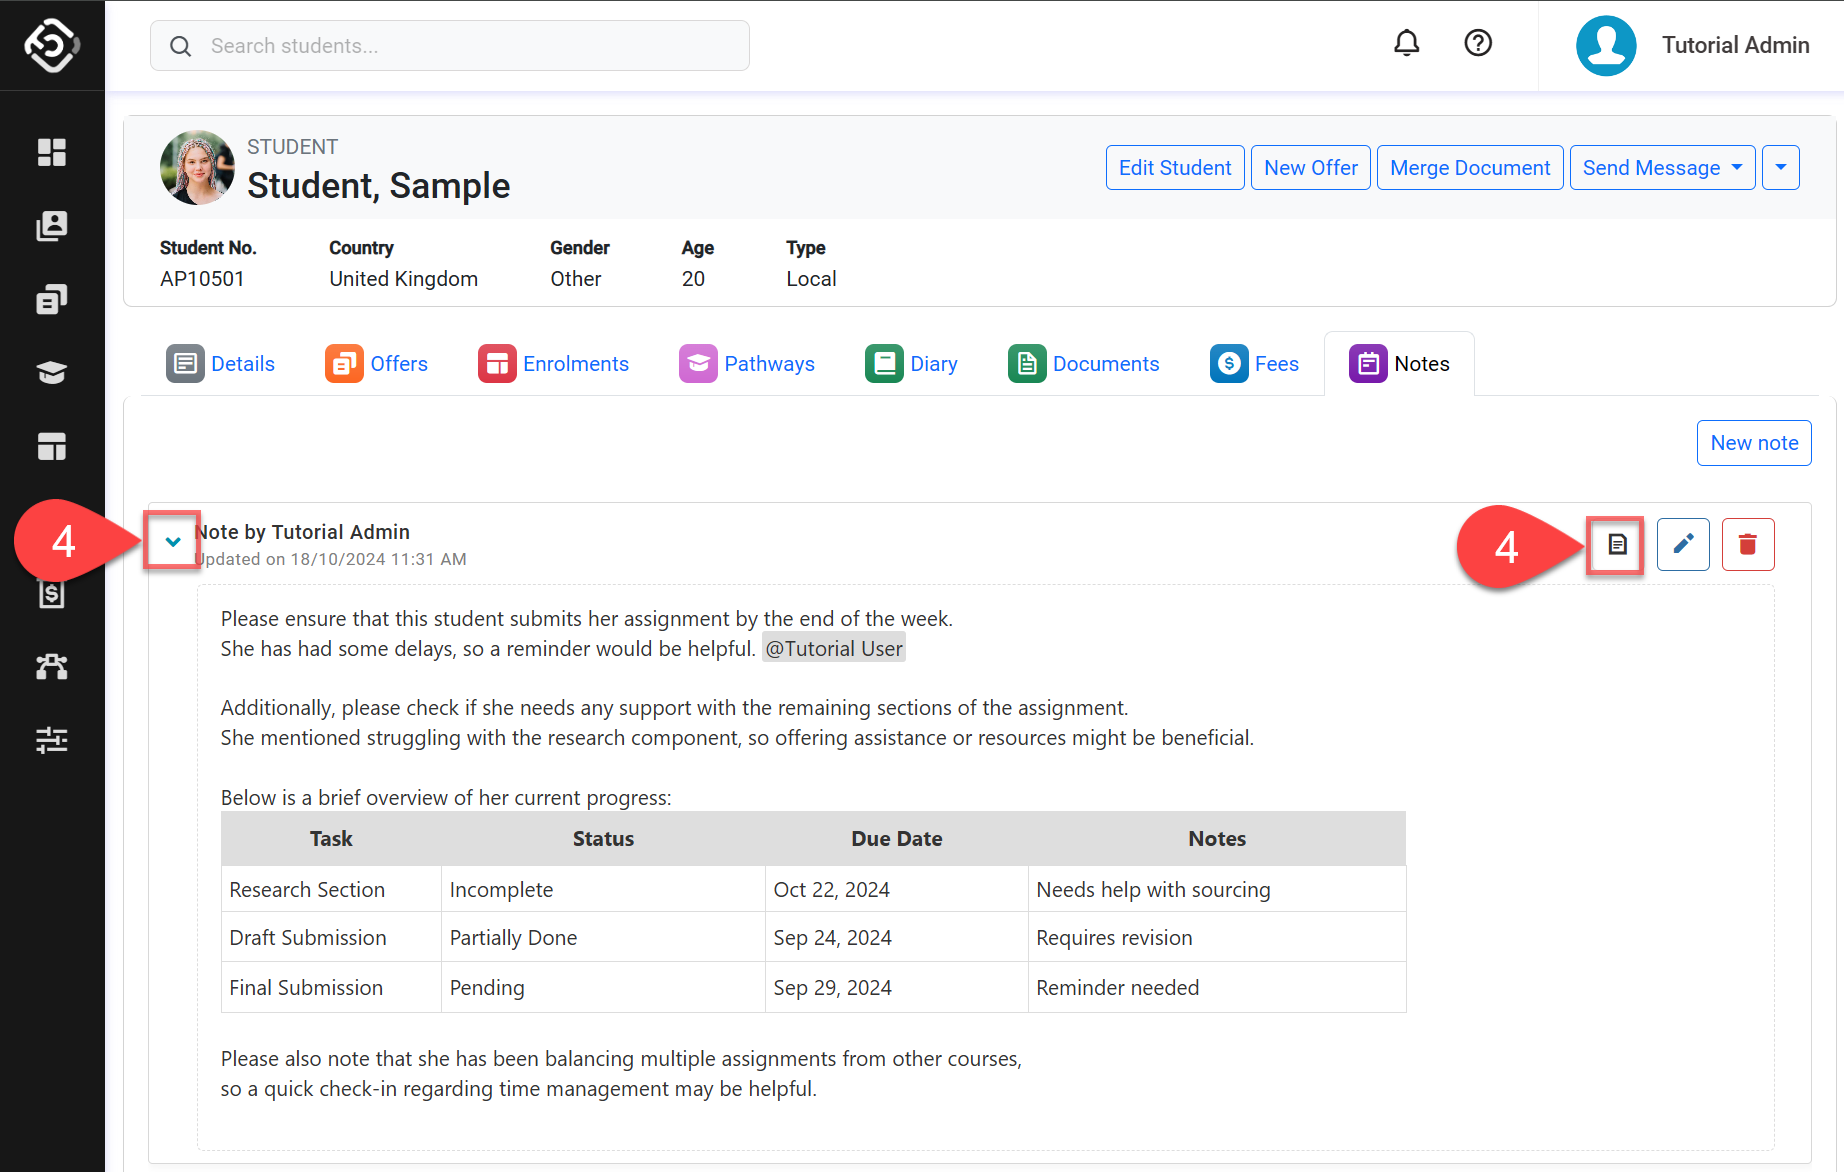
Click on the expand icon of the note entry to see the full content of the note, or click on Details icon to see the full details of the note entry.
Mentions
You can mention one or more users to draw their attention to a Note. To do this, type "@" and choose the desired users from the displayed list. Once the note is saved, the tagged users will receive both in-app and email notifications.
Create Notes
-
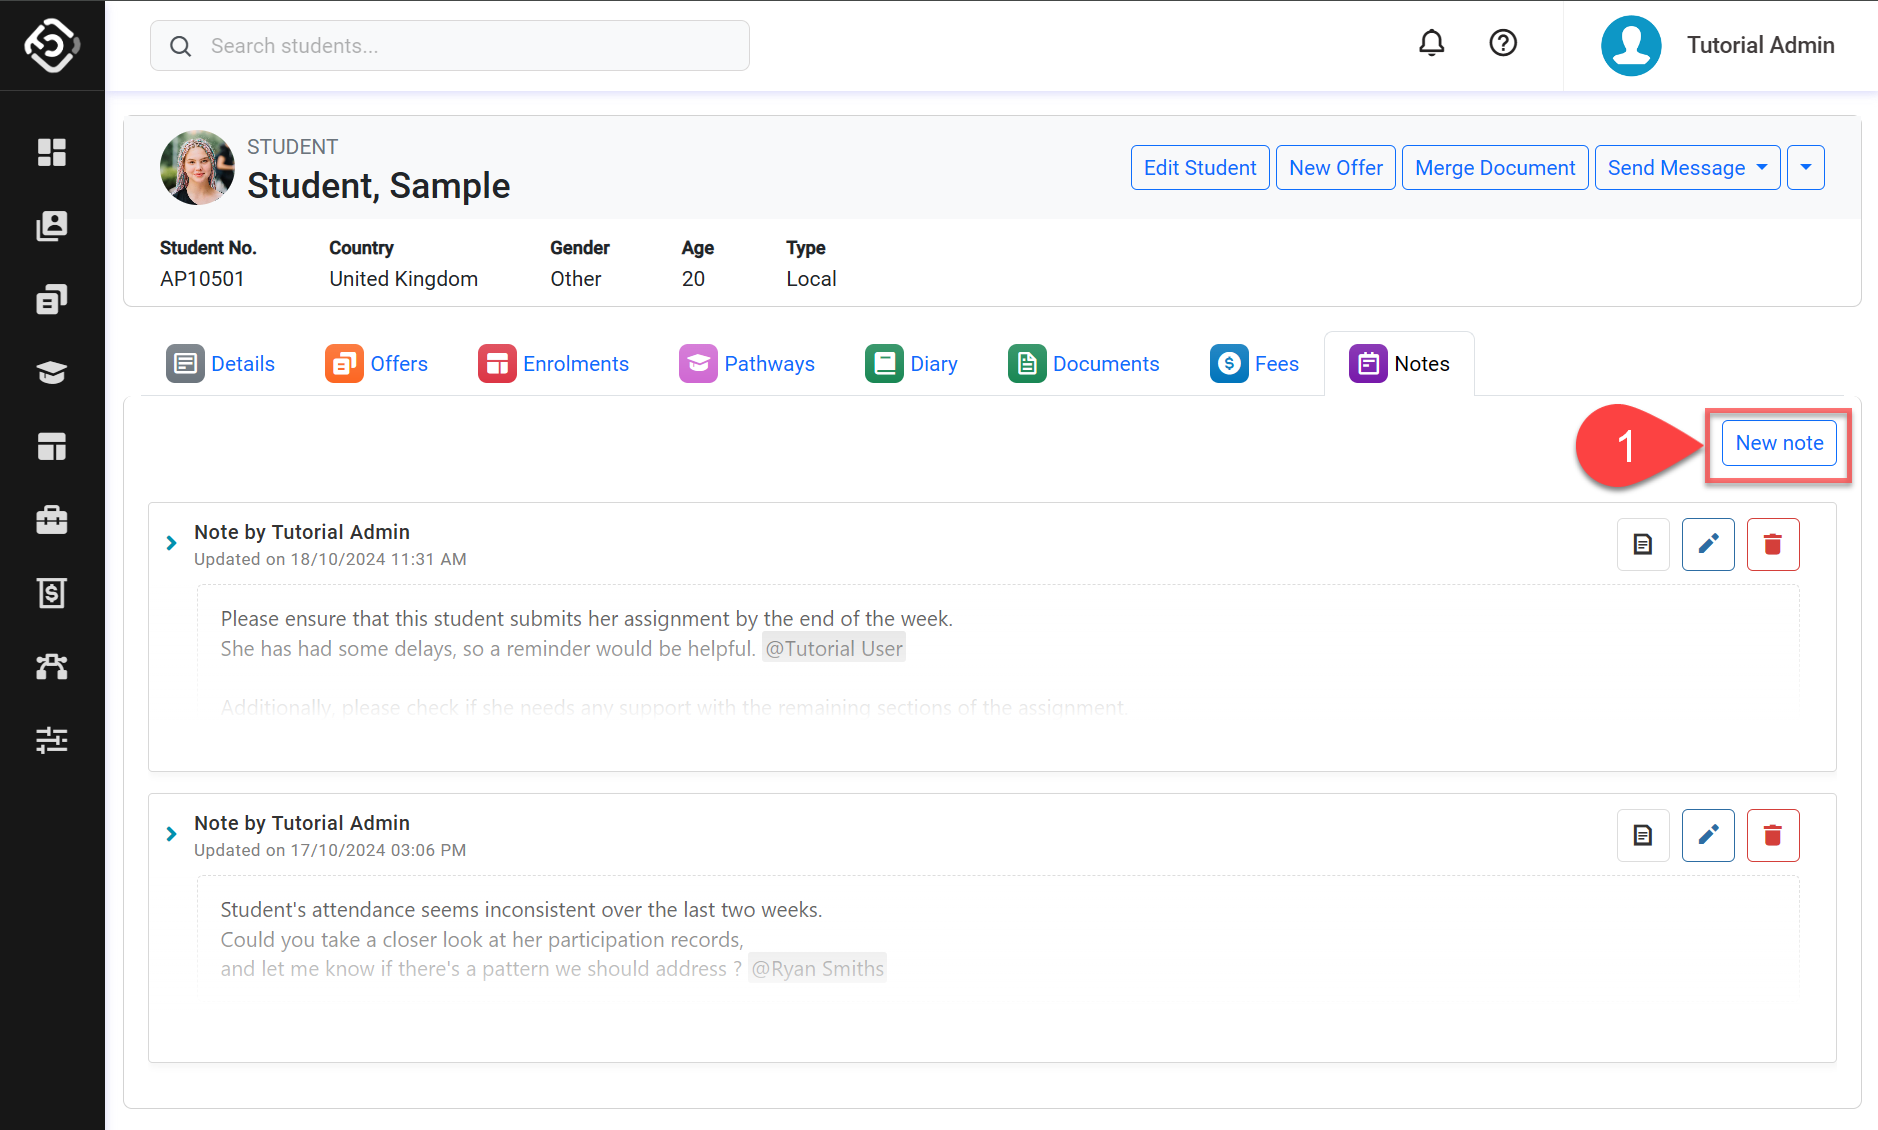
In the Notes tab, click on New Note.
-
Enter the content of the note using the text editor.
Details such as Created Date or Created By will be automatically entered by system.
Tip
Mention other users by typing @ and selecting the user from the dropdown list.
The mentioned user(s) will receive a notification in the app and by email.
-
Click on Save to finish.

Edit Notes
-
Go to the Notes of the object that you want to edit the note for.
-
Find the note that you’d like to update. Then click on the Edit icon.

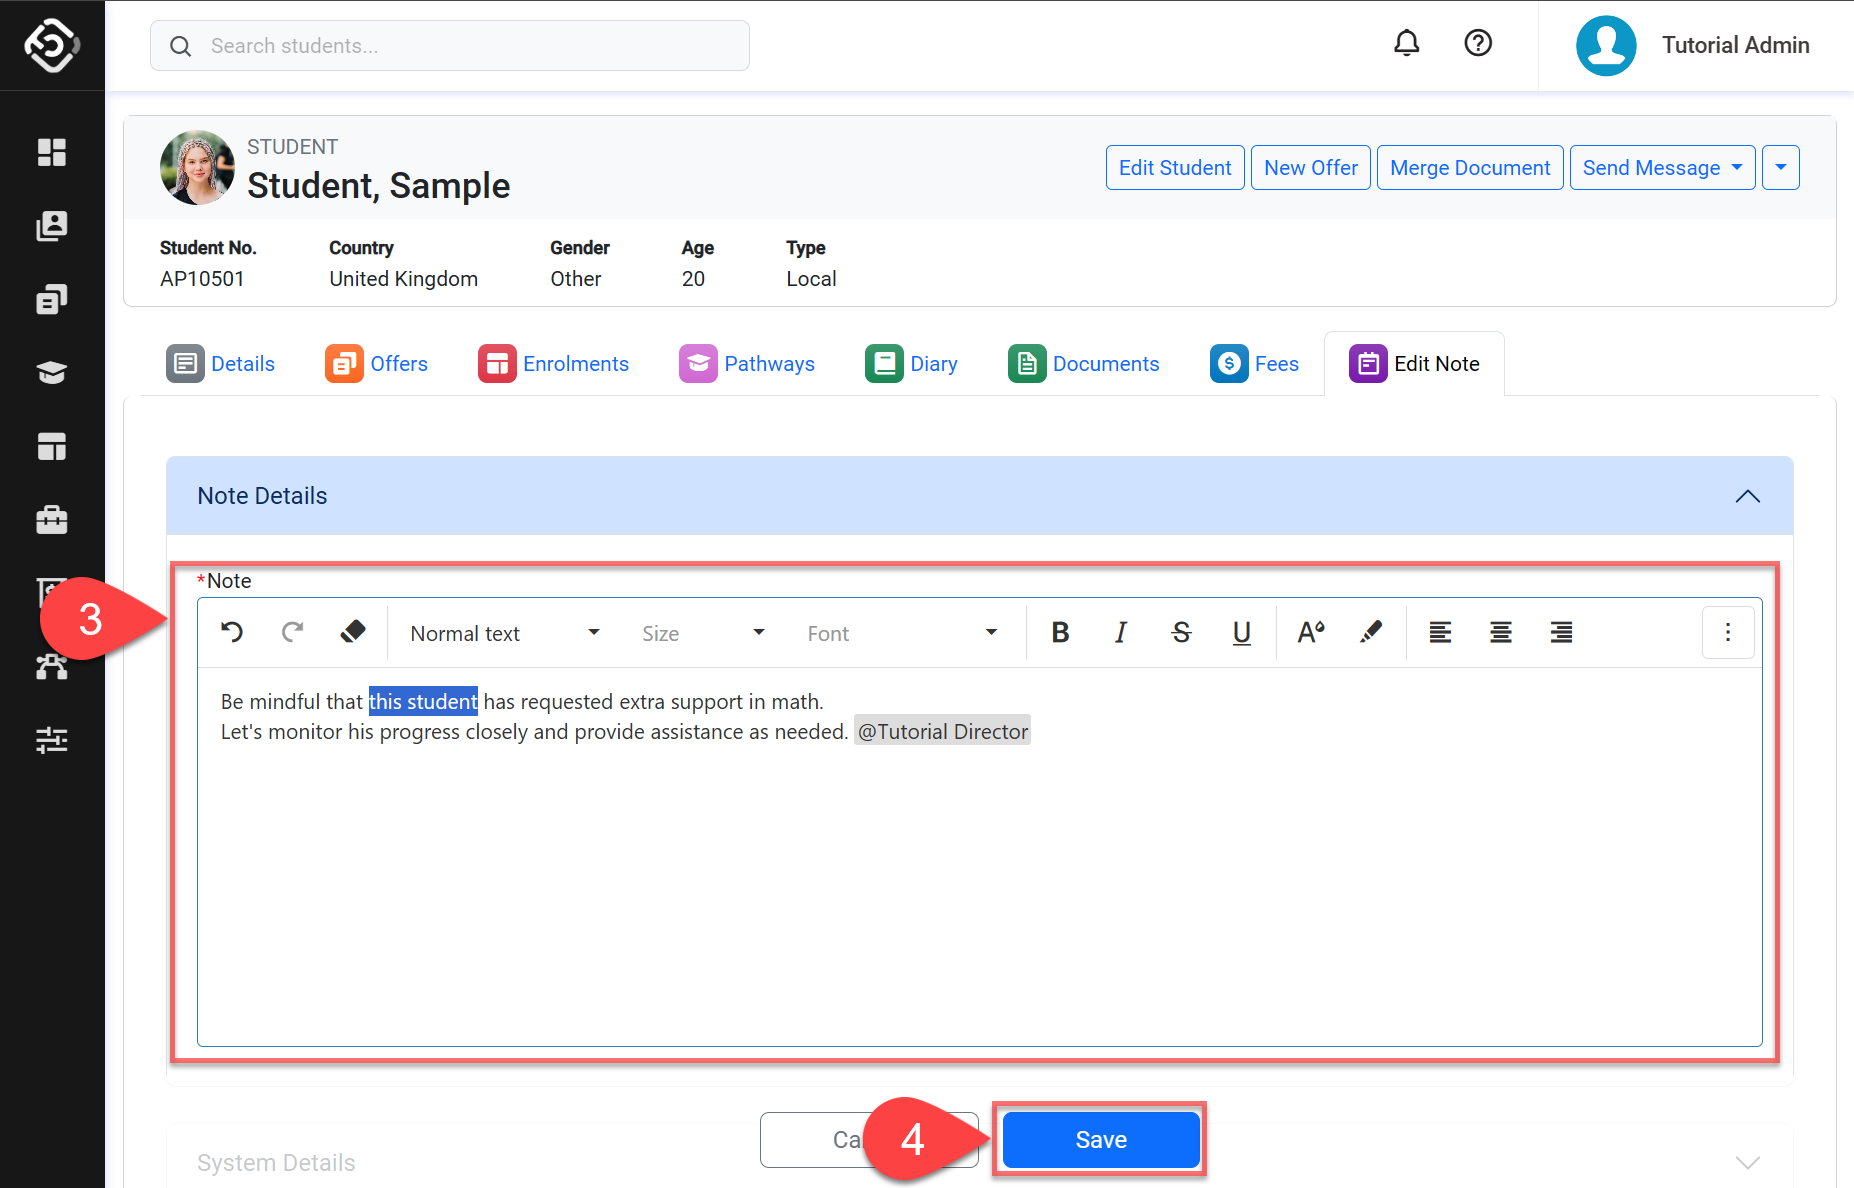
-
Update the note as needed.
-
Click on Save to finish.
When a note gets updated and it mentions someone, the mentioned users will get a notification letting them know about the update.
Delete Notes
-
Go to the Notes of the object that you want to edit the note for.
-
Locate the note that you’d like to delete. Then click on the Delete icon.
-
Click Yes to delete.
