Victorian Student Number
The purpose of this section of the manual is to provide you with assistance in setting up and using the Victorian Student Number (VSN) features in eBECAS. eBECAS provides integrated reporting to obtain Student VSN numbers and submit returns.
Setup of Victorian Student Number
To setup the VSN features in eBECAS, please first go to eBECAS – Utilities – Setup Configuration – Setup – Options.
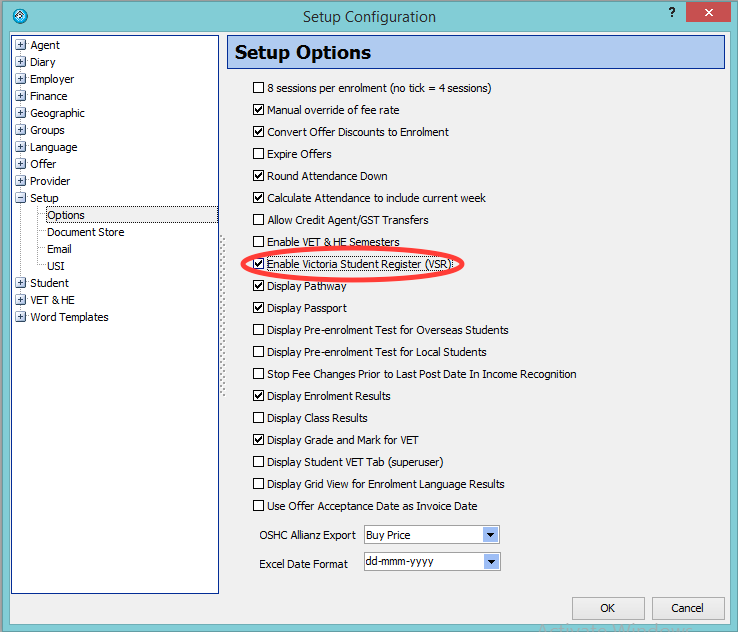
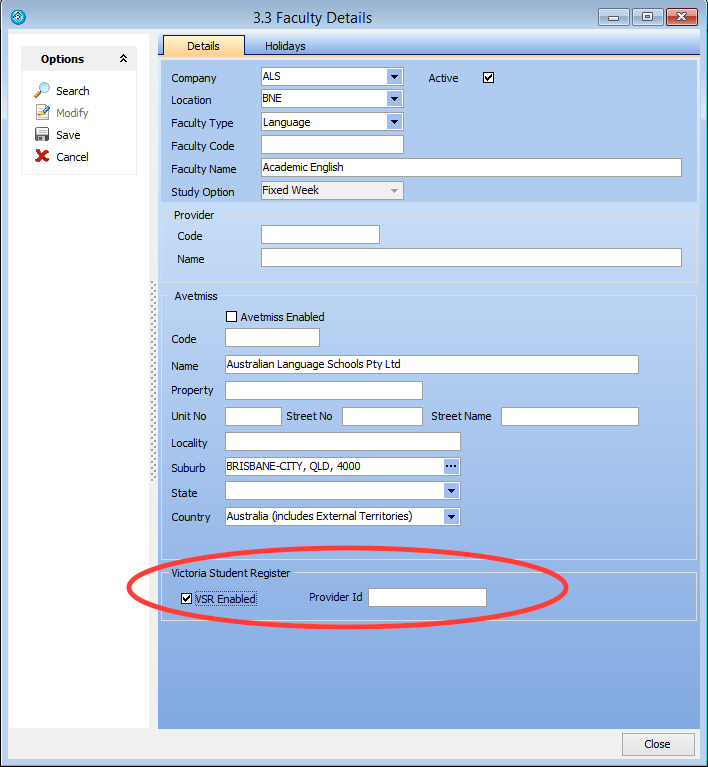
Please then enable the VSR option as seen above. For each faculty that has courses that enrols students with a VSN, the VSR option will need to be enabled and a provider ID will need to be specified.
To do this, please navigate to eBECAS – Faculties.
VSN Student Search
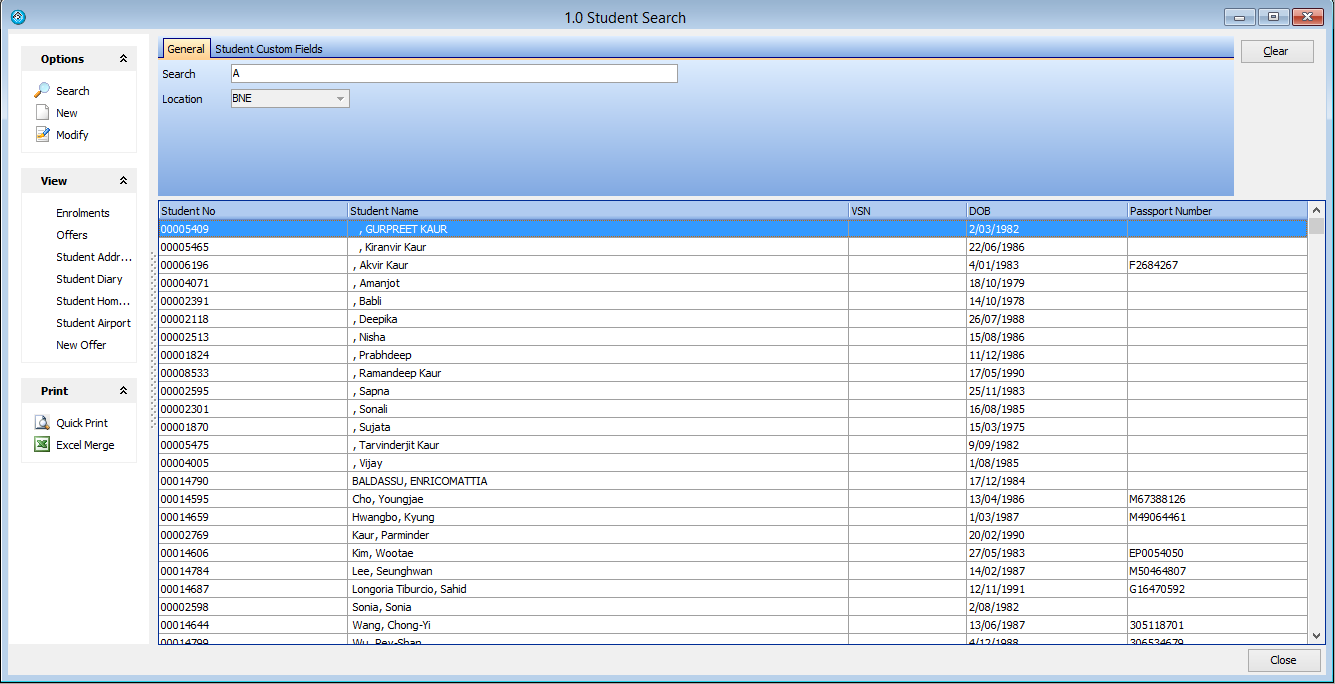
One immediate change that you will notice as soon as you logout and log back in, is that you can now search students by VSN number. You can also display VSN numbers in the search grid. If this is not already enabled, please right click the grid title, select the field chooser and drag the VSN number to the column you want it to be displayed in.
Student Details
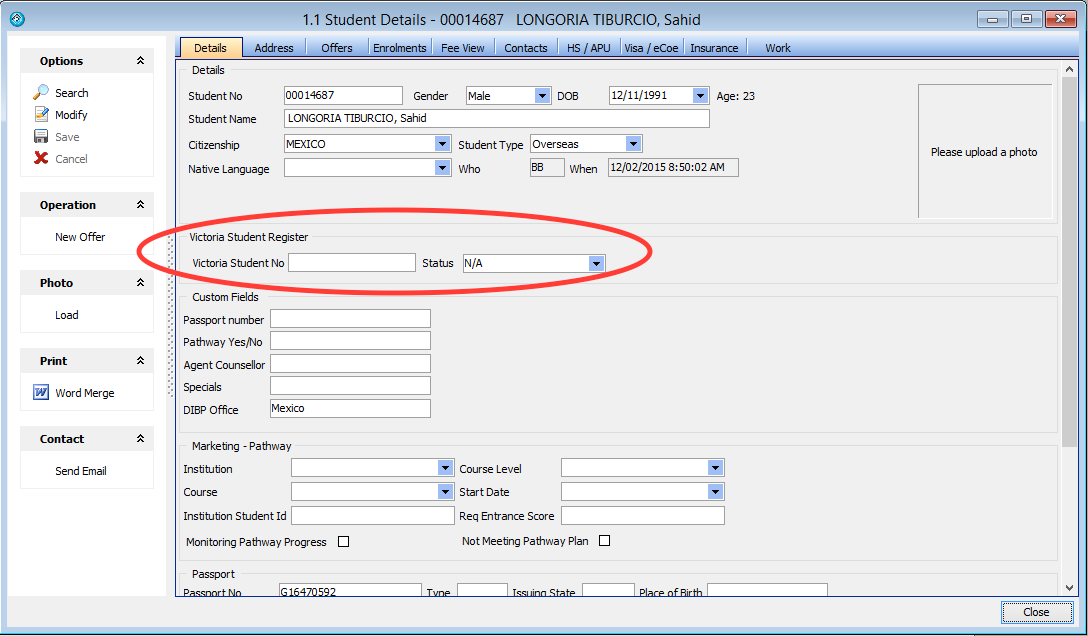
The Student Details window will now also display the VSN (if there is one) and the status of the VSN.
VSN Status
The VSN number can be entered if it is known and confirmed. The status options for the VSN are: N/A, Request New VSN, Unknown VSN, Confirm VSN and Verified.
Initially, all students in eBECAS are set with a VSN status of N/A. You can leave this status or enter the VSN number. Some basic checking will be performed on the number entered to confirm it’s validity. If the number is not valid on input, please do not change the number but change the status to Confirm VSN.
Displaying Previous VSN Student File Returns
eBECAS generates a Student File which you can load with information and send to the VSN team via the VSR website. When processing is completed by the VSR Victorian State Government department, you can download the processed batch file and import the file into eBECAS which updates the student VSN’s.
To display the previously generated VSR files, please go to eBECAS – Main – Utilities – Victoria Student Register. Press search and all previously generated Student files and loaded batch returns are listed, including the student count.
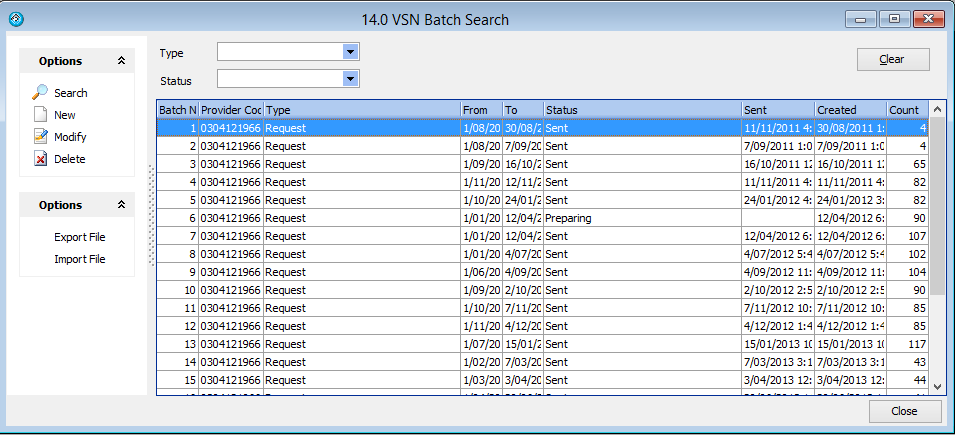
You can view the student details for a particular return by highlighting and “double clicking” that return line.
Generating a New VSN Student File for VSR
Usually, you will be asked to submit a New Student file each month for students with a VSN. To do this, press New on the VSN Batch Search screen, and the following screen will be displayed. If there is no Provider number listed on this screen, you have not specified the provider number for any Faculties. Please ignore the Transactions per Batch, this field is not used, and will be removed in a future release.
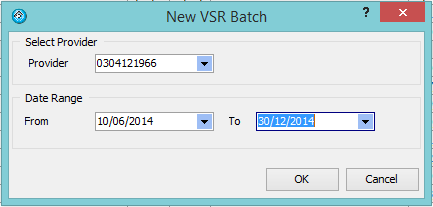
Please select your Provider Code and period for the generated Student File. Press OK. A message will show “Finished generating batch”.
Press Search again to refresh the display of Student files. You should now see a new VSR entry with the status of preparing.
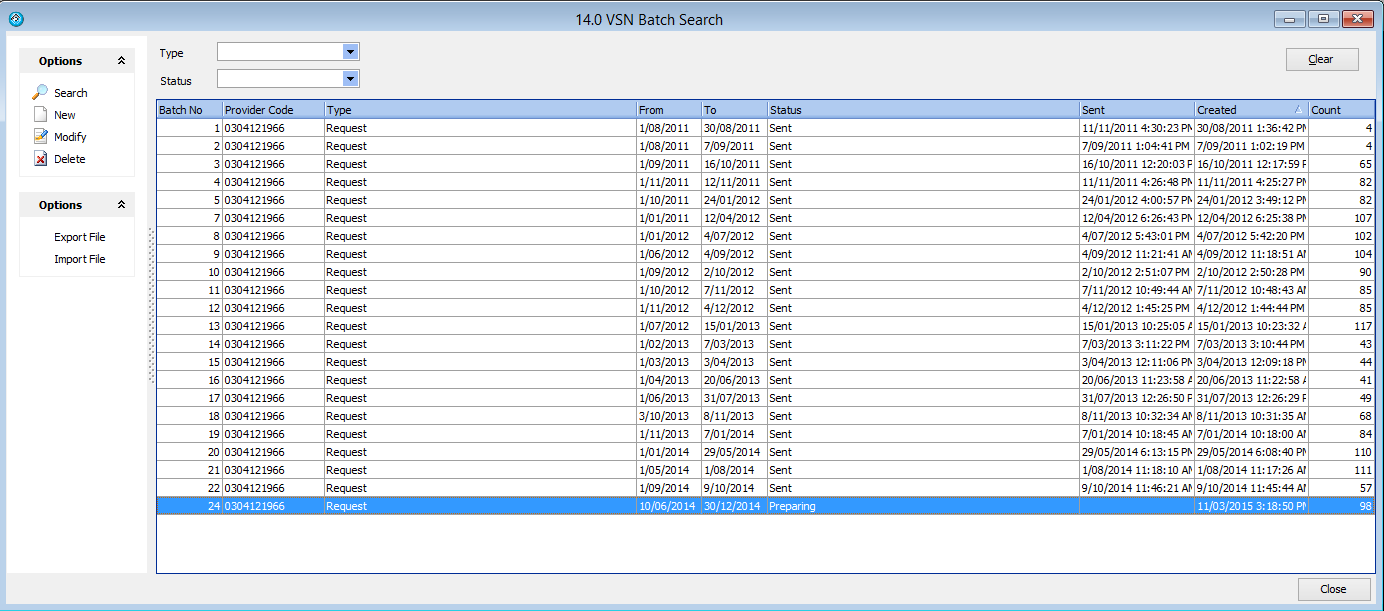
You can display the students included in the batch by highlighting it and “double clicking”, which displays the batch view.
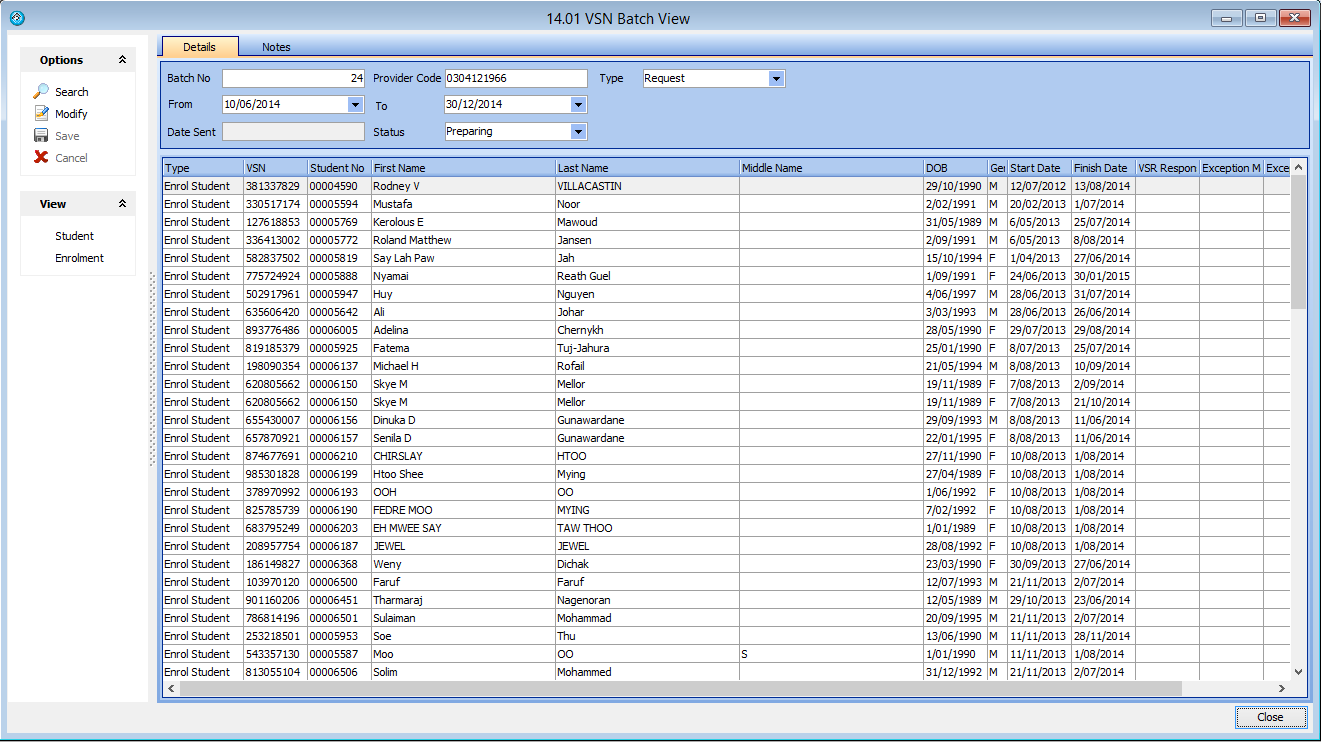
Exporting a VSN Student File to VSR
To export the file that will be loaded into VSR website, highlight the batch and press Export.
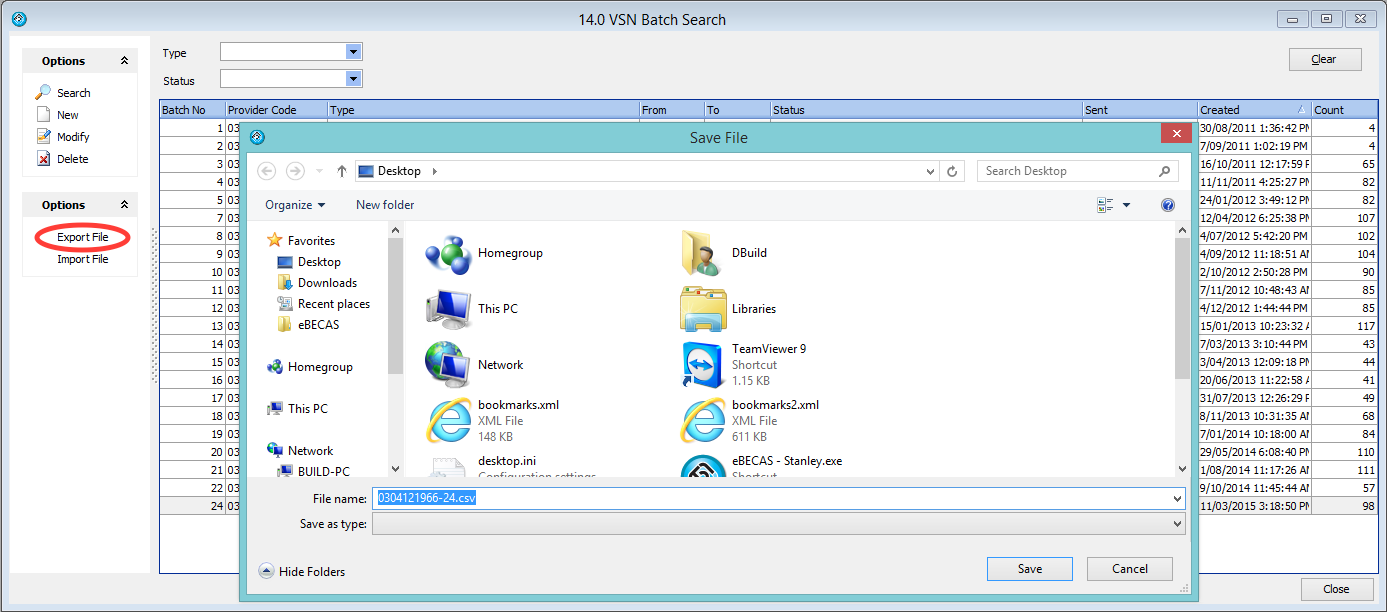
The file generated can be placed in any folder you specify. The file name is provider code-request number.csv in this case 1234567-5.csv
Loading the VSN Student File to VSR
To load the VSN export file to the VSR, go to the VSN website and use the account and password to login. You will be given the website address, account and password login information for your College by the VSN team. Select the option to submit/load the training file you have just generated.
Loading a Processed VSN Student File from VSR into eBECAS
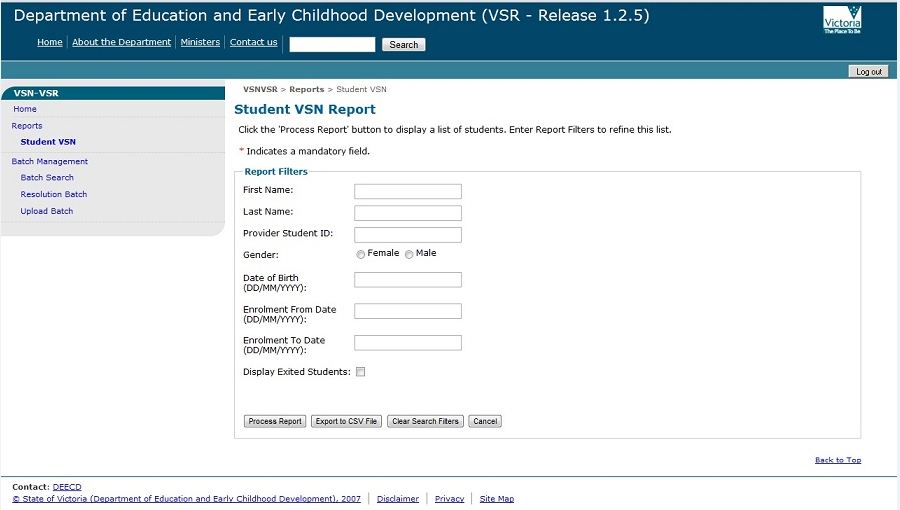
When the training file has been processed, the CSV batch file can be loaded back into eBECAS to load the processed VSN numbers. On the DEECD VSR website – go to VSN-VSR Reports – Student VSN. Specify the enrolment date period and then select ‘Export to CSV File’. Save the file on your workstation.
