There is great flexibility and choice in what and how data is displayed in the grids. You can personalise the grids by adjusting the filters logic, the column sorting and order, and which fields to display.
Customising the grids is just about fine-tuning them until you find the best way to display the information you need. As you do not want to do this process every time you access the grid, you can save the configuration using Views.
Some Single Grids (not part of Views) allow some customisations. For them, the changes are saved automatically as you make the changes.
Set Default Search Criteria
main grids only
If you frequently consult a specific filtered dataset, you can save both the header and column filters directly within the view. This way, upon loading the view, it will automatically apply the filters saved, ensuring your data is filtered by default.
Enter appropriate search values into the header filter or column filter for the desired results.
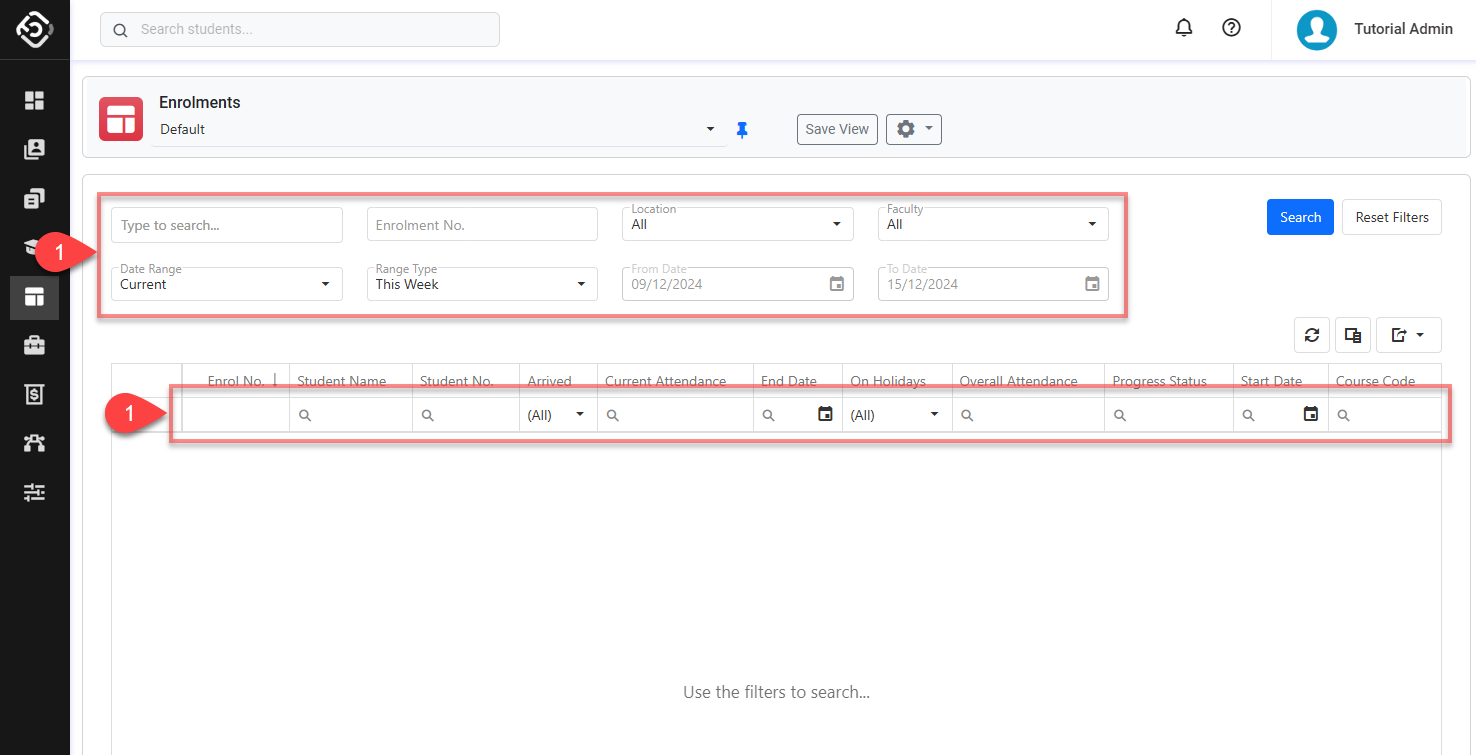
Once you've configured the filters to your preference, don't forget to save your configuration in the View to retain your settings for future use.
Add/Remove Columns Using by Column Chooser
Main grids only
The Column Chooser can be found in main grids and some of single grids. It facilitates quicker access to the necessary information, especially when displaying complex data related to multiple objects.
Add Columns
-
Click on the Column Chooser icon to open the column list.
-
Drag the Field you want to add from the Column Chooser list, and drop it to the grid.
Remove Columns
-
Click on the Column Chooser icon to open the column list.
-
Drag the column you want to remove, and drop it back on the Column Chooser list.
Don’t forget to save your configuration in the View if you want the changes to persist when you come back.
.gif?cb=21371268dd4be6c0a19ddab417068bf0)
Resize/Reorder Columns
Most grids allow you to change the width and order of the columns. Remember to save the View when you are done, for your changes to persist.
Resize Columns
-
Hover over the edge of the desired column, click and drag to adjust to the preferred width, then release the mouse click.
Reorder Columns
-
Click and drag the column you want to move, then drop it in the desired position.
Don’t forget to save your configuration in the View if you want the changes to persist when you come back.
.gif)
Fixed and Sticky Columns
To keep important columns visible while scrolling horizontally in main search grids, enable fixed columns. This is especially useful when working with wide grids, so that key information such as student names or enrolment numbers always stay in grid.
Set Fixed Position for Columns
-
Right Click on the header of the column you want to set fixed position.
-
Choose the position under Set Fixed Position menu:
-
Left: Fixes the column to the far left side of the grid.
-
Right: Fixes the column to the far right side of the grid.
-
Sticky: Keeps the column in its current position. When it reaches the far left or right edge during scrolling, it becomes fixed in place.
-
Unfix a Column
-
Right Click on the header of the column you want to unfix the position.
-
Select Unfix in the menu.
.gif)
Group by Columns
Certain special grids allow users to group data based on selected columns for better organization and analysis.
In the grid,
Group
-
Click and drag the column header you want to group by and drop the column in the Group by Column area at the top of the Data Grid.
-
You can group by one or more columns. The data will be grouped sequentially in the order of the columns specified, starting from the leftmost column in the Group by Column area.
Ungroup
-
In the Group by Column area, find the column you want to ungroup.
-
Click and drag the column name from the Group by Column area back to the Data Grid Header.
In these special grids, your customizations, including grouping settings, are automatically saved at the account level.
.gif)
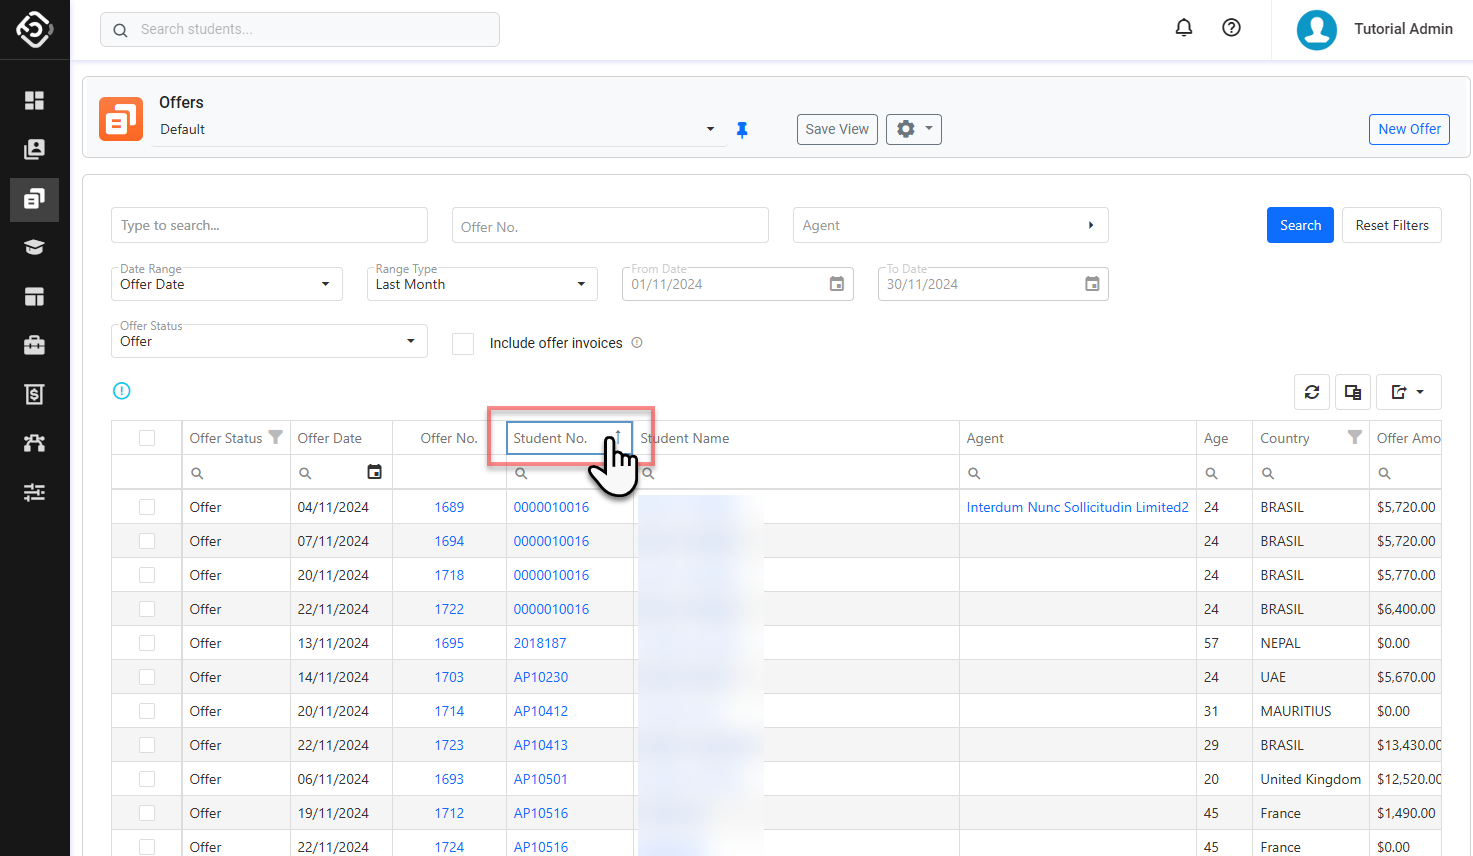
Sort the Grid
To sort the data based on your desired criteria, follow the steps below. Remember to save the View when you are done, for your changes to persist.
-
Click on the header of the column you want to sort the data by.
-
To sort in descending order, click on the header again.
Don’t forget to save your configuration in the View if you want the changes to persist when you come back.
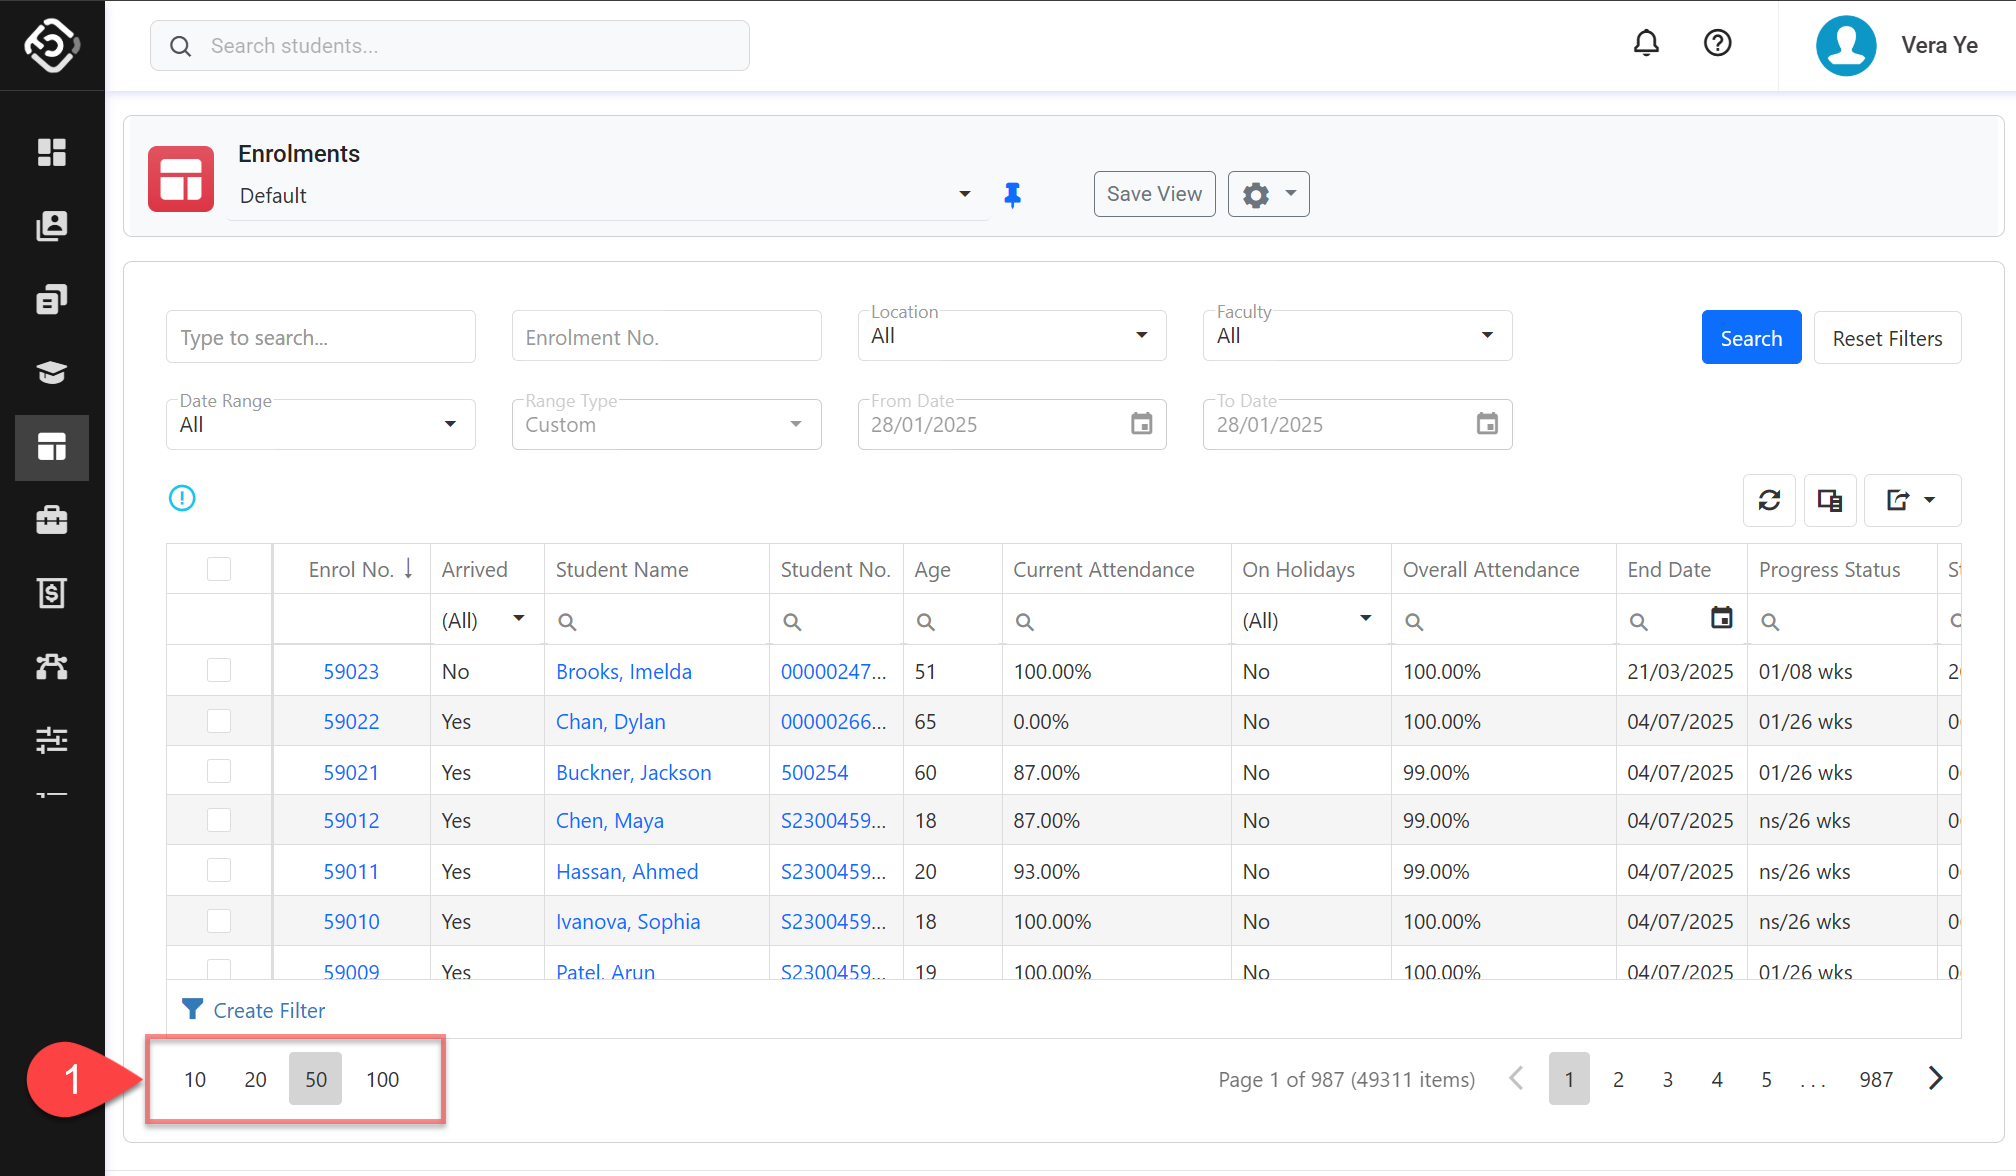
Set Grid Page Size
The Grid Page Size helps you control the number of entries displayed per page, ensuring a consistent and optimized view of your data. Configuring your preferred page size makes navigation and data management more efficient.
To set the page size:
-
Go to the bottom of the grid and select your desired Page Size from the available options.
Don’t forget to save your configuration in the View if you want the changes to persist when you come back.
Maximum Page Size available depends on your subscription plan. Contact your system administrator for details.