Student Contacts
Overview
The Student Contacts allows you to record and manage key contact persons associated with a student. These contacts are linked directly to the student’s details and can be used across various functions in the system.
Student Contacts can be used in the following ways:
Email Recipients: When sending Email related to Students, a contact marked with the Emergency type can be selected as recipients.
Payer: Student Contacts can also be assigned as the Payer in Offer Instalments or Invoices, making it easier to direct billing and financial responsibilities to the appropriate contact.
By maintaining up-to-date student contact information, you ensure accurate communication and accountability across student-related processes.
View Student Contacts
Go to the student that you want to see the student contacts.
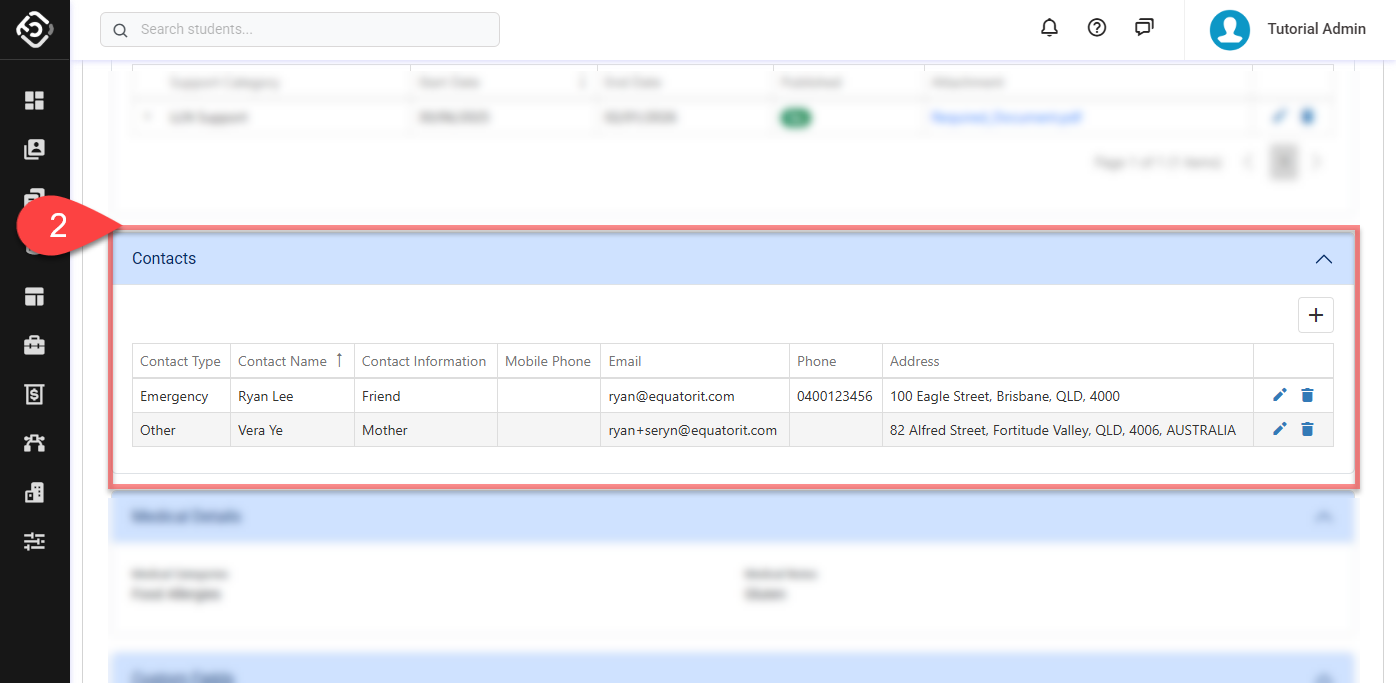
You will see the Student Contacts section in the details page.
For details about available buttons, refer to this article: Data Grids | Single Grid Composition.
Create a Student Contact
From the student contacts grid, click on the Create (➕) icon at the top right of the data grid. A pop-up window will display.
On the pop-up window, enter the student contact entry details.
Contact Type: Select a type of the contact. Two types are available: Emergency and Other.
Each student can have only one contact marked as Emergency at a time.
If a new contact is saved with the Emergency type, the previously assigned Emergency contact (if any) will be automatically changed to Other.
Name: Enter the full name of the contact person.
Information: Provide any relevant notes or additional information about this contact. For example, their relationship to the student or preferred language of communication.
Mobile Phone / Email / Phone: Enter method of contact. You can include a mobile number, landline, or email address to ensure they can be reached when needed.
Address: Enter the contact’s physical address, including street, suburb, state, postcode and country.
Click on Create to finish.
Update a Student Contact
From the student contacts grid, locate the record you’d like to update, then click the Edit icon.
Update the details as required.
Click Save to store the changes.
Delete a Student Contact
From the student contacts grid, locate the record that you’d like to delete, then click the Delete icon.
Click Yes to confirm. Make sure you intend this action as it cannot be undone.
