Through this article, you can learn how to create, modify, and manage job placement entries.
Create a Job Placement Entry
-
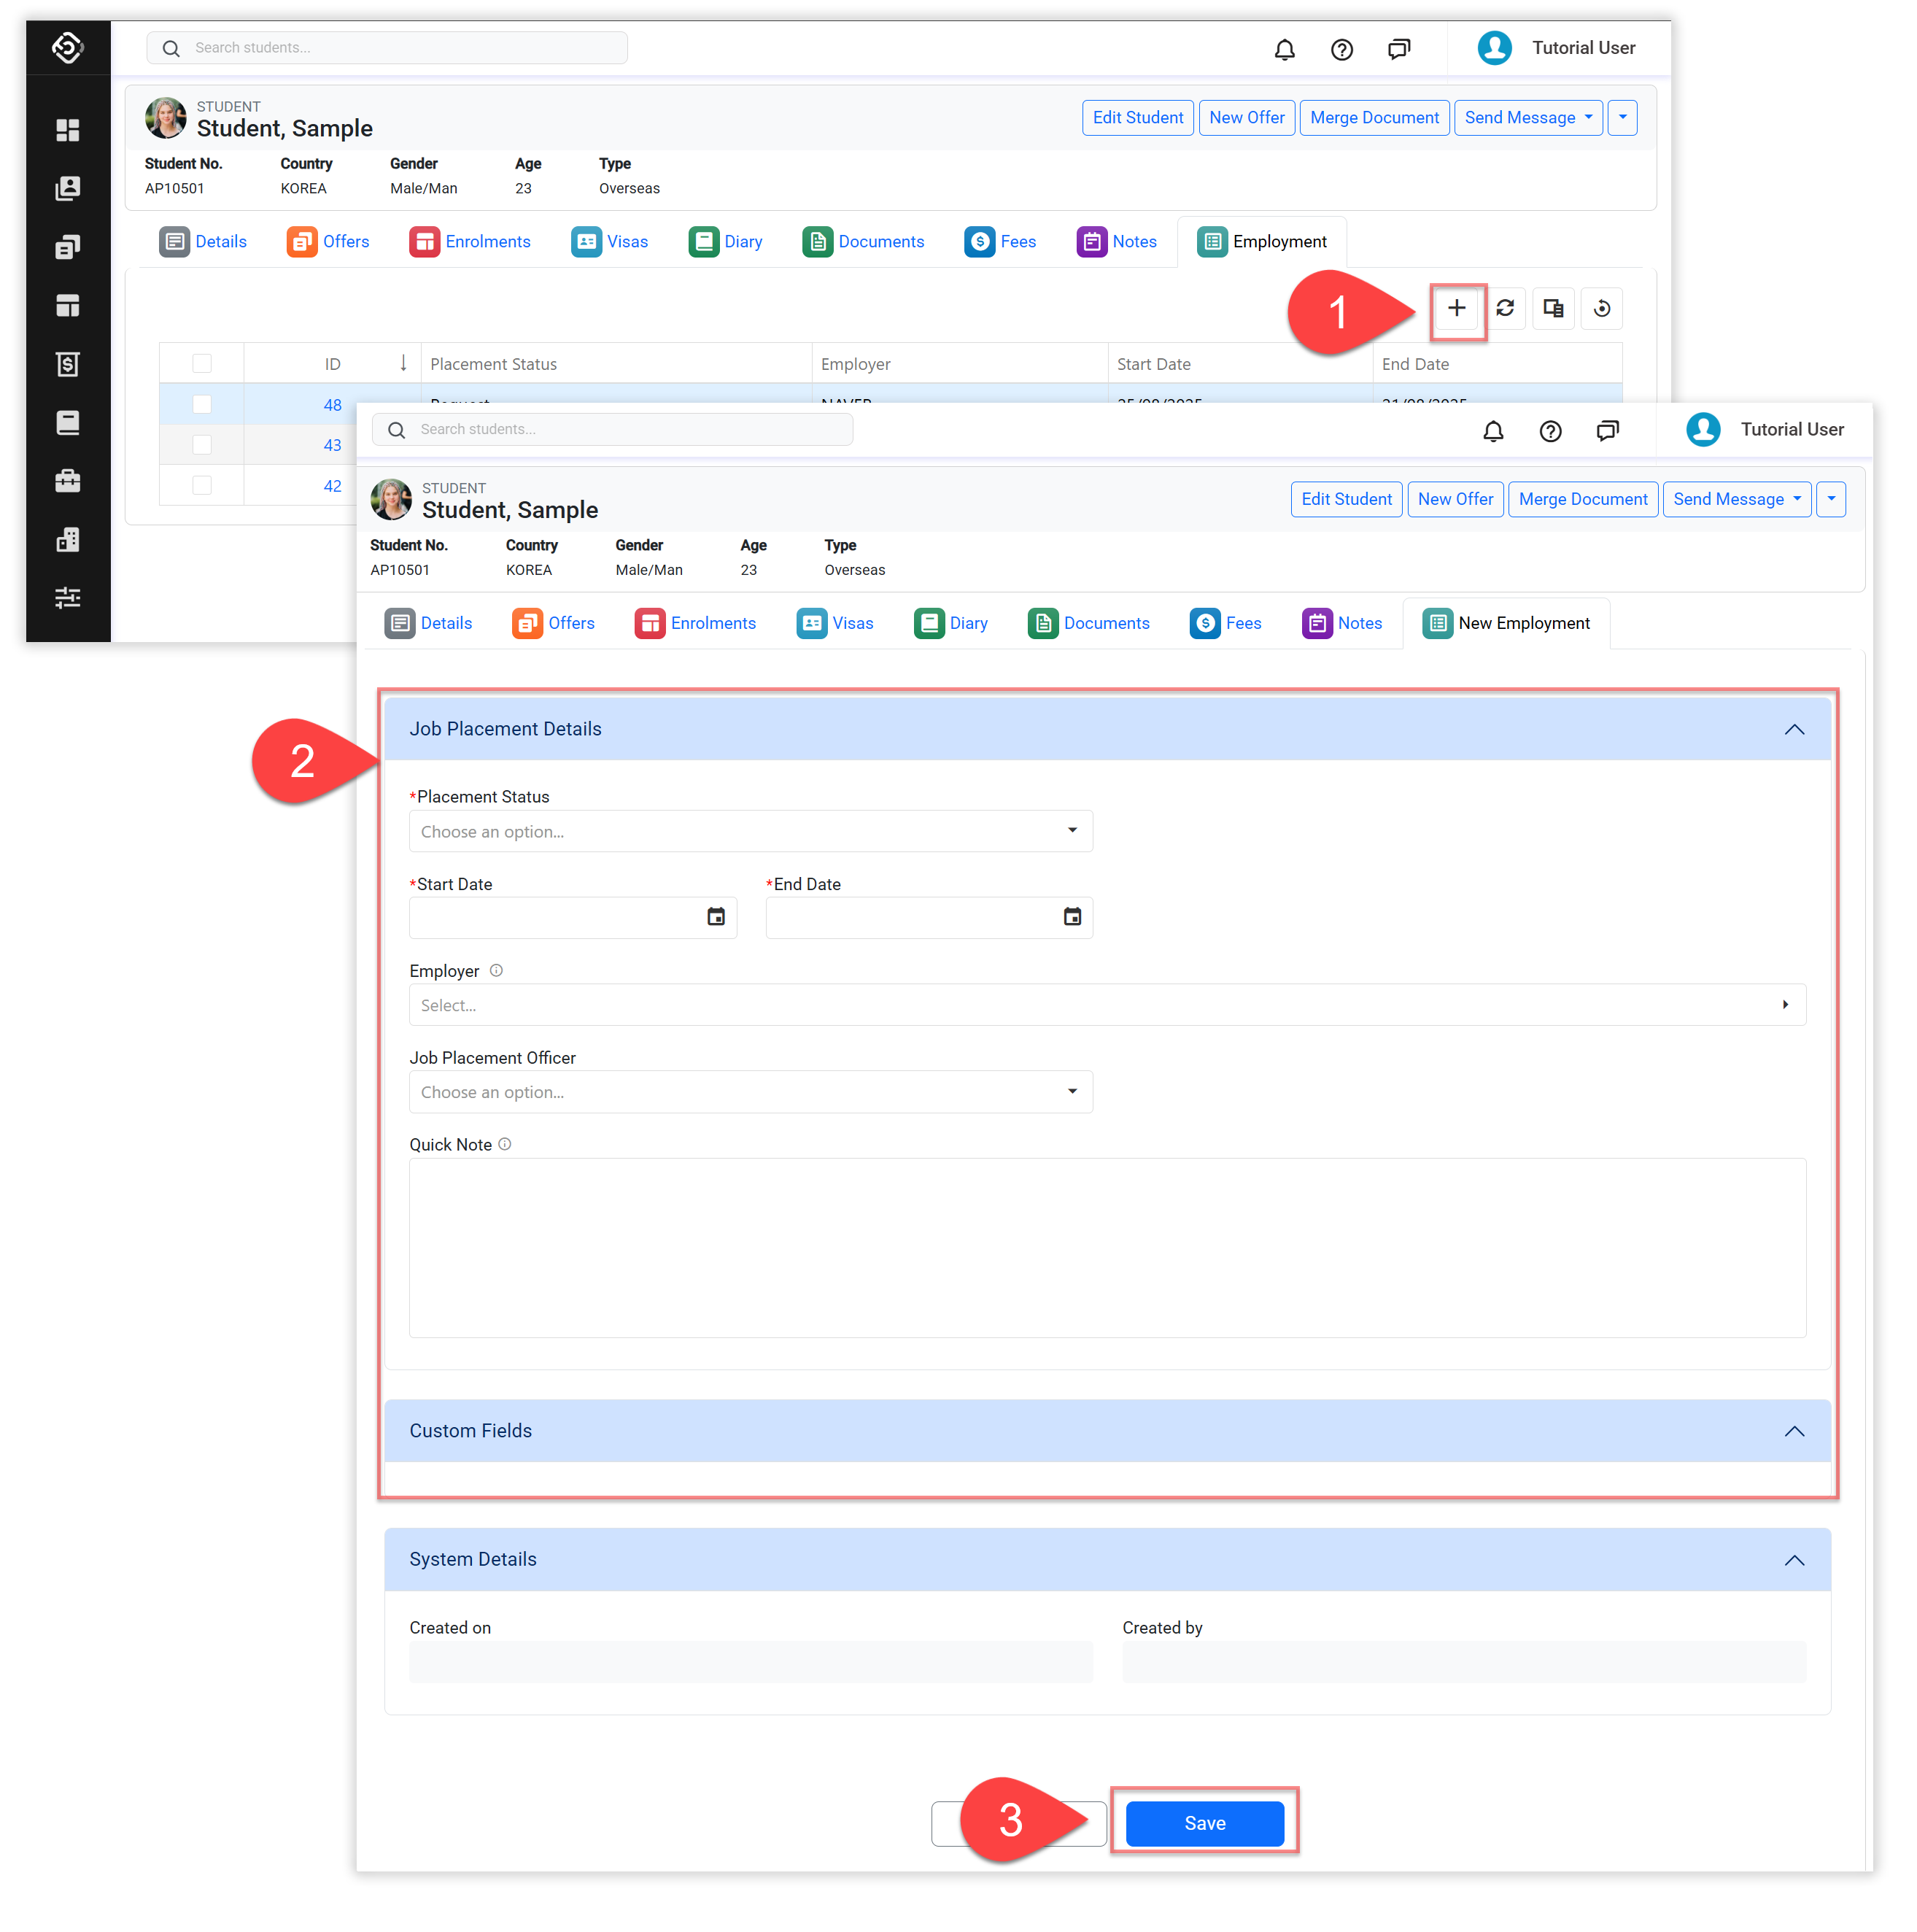
From the Employments tab of the student, Click on the ➕ icon at the top right of the data grid.
-
Enter the Job Placement Details.
-
Click on Save to finish.
Edit a Job Placement Entry
-
From the Employments tab of the student, select the job placement entry that you would like to edit. Then, click on the Edit button above the grid.
or, you can search the job placement entry from the Job Placement Search and click on the edit button through the select box.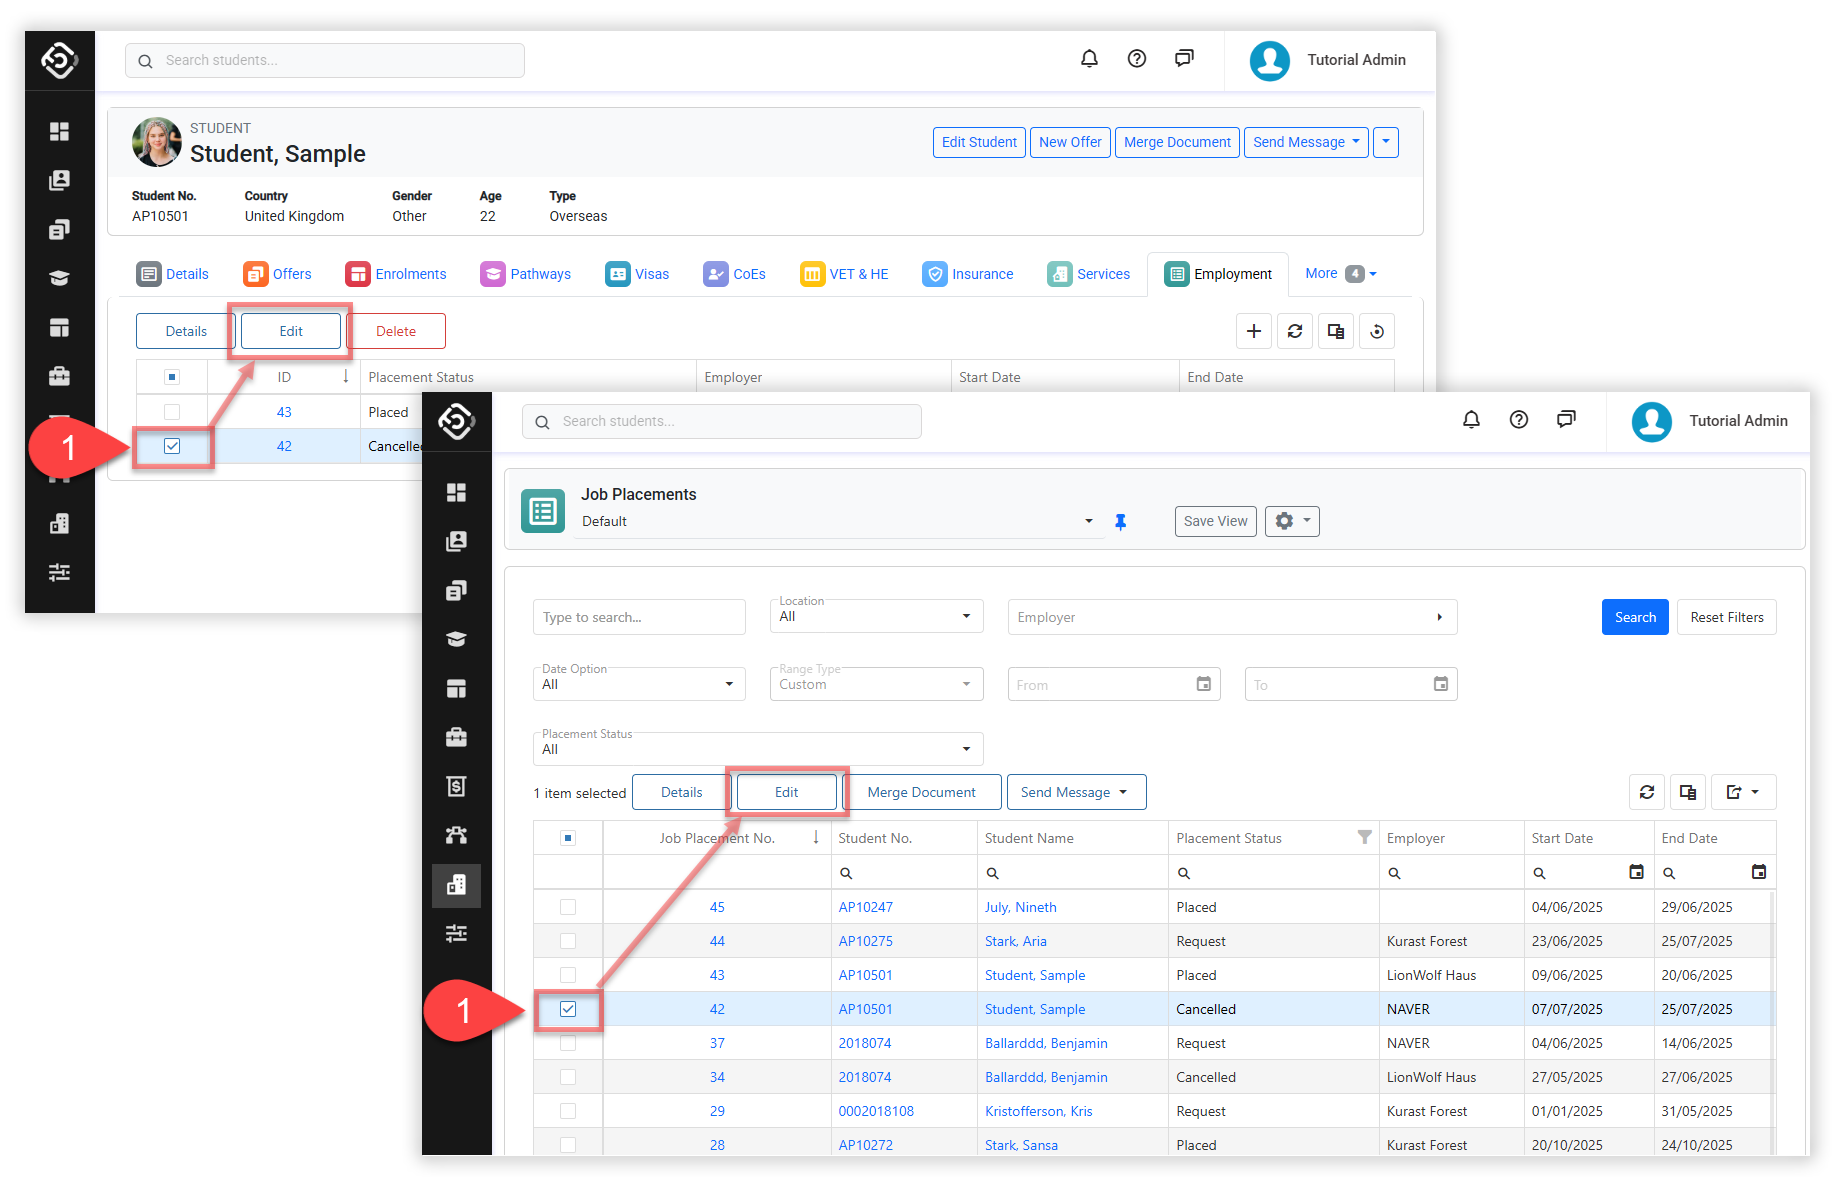
-
Edit the Job Placement Details as required.
-
Click on Save to finish.
Delete Job Placement Entries
Delete a Single Entry
-
Go to the the details page of the job placement that you intend to delete.
-
Click on Dropdown button located on the top right.
-
Click on Delete and confirm to finish.
Delete Multiple Entries
-
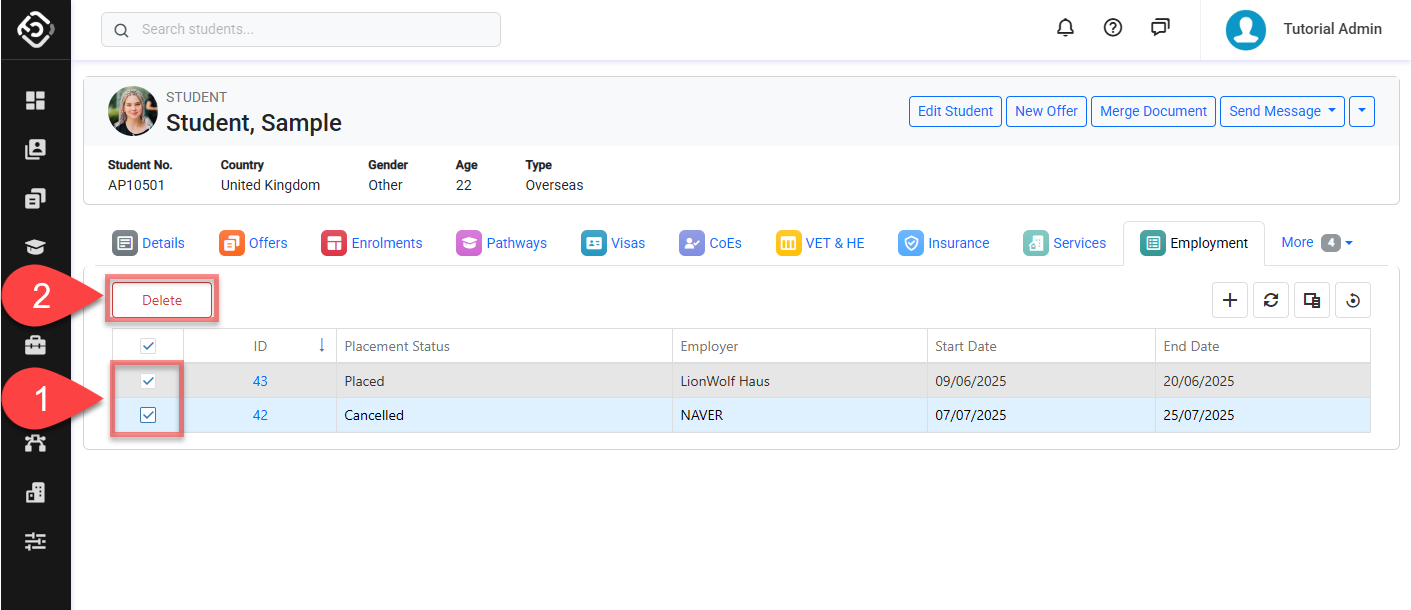
From the Employments tab of the student, select the job placement entry(s) that you’d like to delete.
-
Click on the Delete button above the data grid and confirm to finish.