
Migrating Templates from the Classic to the NextGen App
The Classic and NextGen templates are not compatible. This article explains how to create new templates from the original Classic templates to use in the NextGen app.
NextGen templates can be used in the Classic App but Classic templates cannot be used in the NextGen app.
The primary distinction between Classic and NextGen templates lies in the handling of dynamic data. Classic templates use Bookmarks, whereas NextGen templates use MergeFields and DocVariables. This variance renders Classic and NextGen templates incompatible.
If you are planning to use your existing templates from Classic, it is required to replace the bookmarks in the files before they can be used in NextGen. We will refer to this process as ‘Migrating templates from the Classic to the NextGen App’.
Before you start migrating templates from the Classic to the NextGen App, make sure you are familiar with Creating a template from a Word File.
The article is based on Microsoft 365 version of Word. Please note that the user interface may vary depending on the version of Word you are using.
Video Tutorials Available
You can find step-by-step guides with real examples explaining the template migration process in this article.
Let’s start…
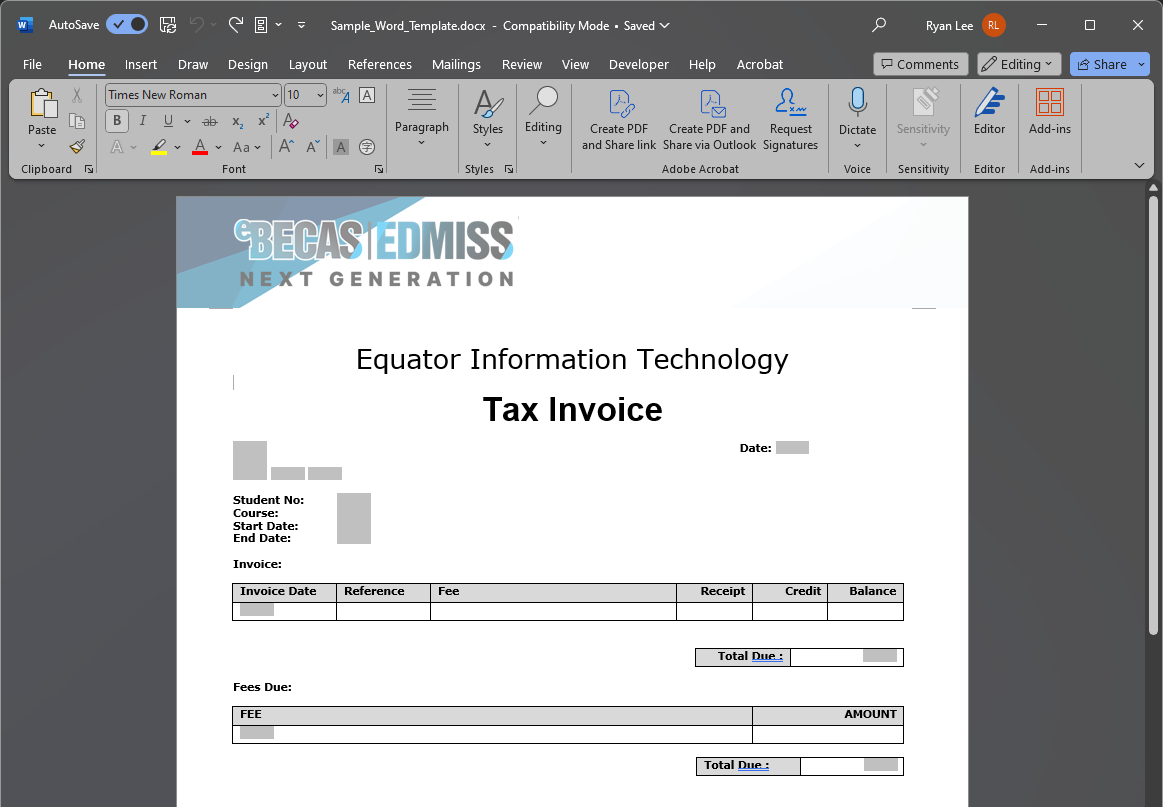
Using Microsoft Word, open the template (*.dot or *.dotx files) that you want to migrate.
In the Classic templates, dynamic data is added by inserting bookmarks as
FORMTEXT. You'll need to replace eachFORMTEXTwith the new elements used by the NextGen app.If you cannot see the
FORMTEXTarea or find it difficult to locate whereFORMTEXTis being used within the document, press Alt + F9 to show/hide theFORMTEXTfields.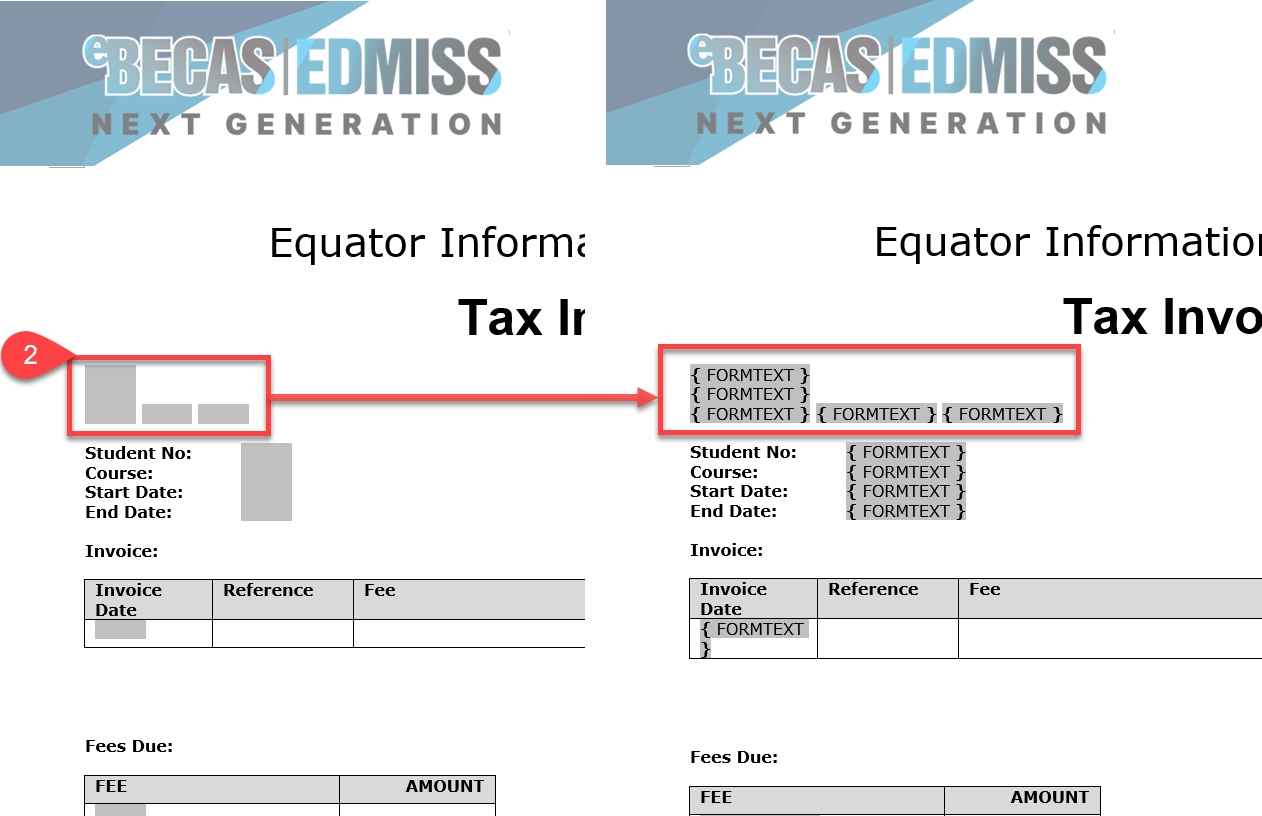
To see what each bookmark is for, double-click or right-click on each
FORMTEXTand then click on Properties, the Text Form Field Options window will open. In the Bookmark field on the Field settings section, you can see the reference of the bookmark. Take note of the bookmark as you need to replace this element.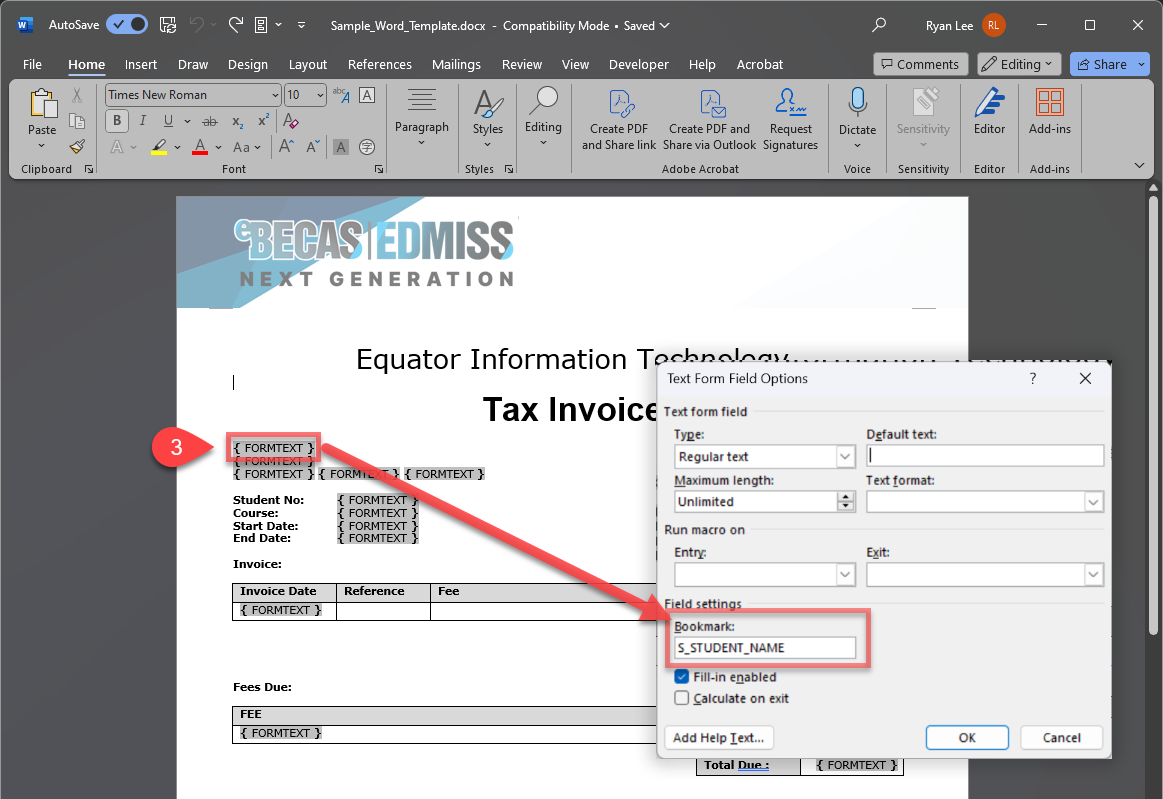
Before replacing the
FORMTEXTFields, you need to know the name of the new bookmark. The easiest way to do so is to download the list of bookmarks: Download Bookmarks for Word Document Templates.
From the bookmarks list, find the bookmark you want to replace, highlight it and copy it.
For example, locate the bookmark for "Student Name," then highlight & copy it.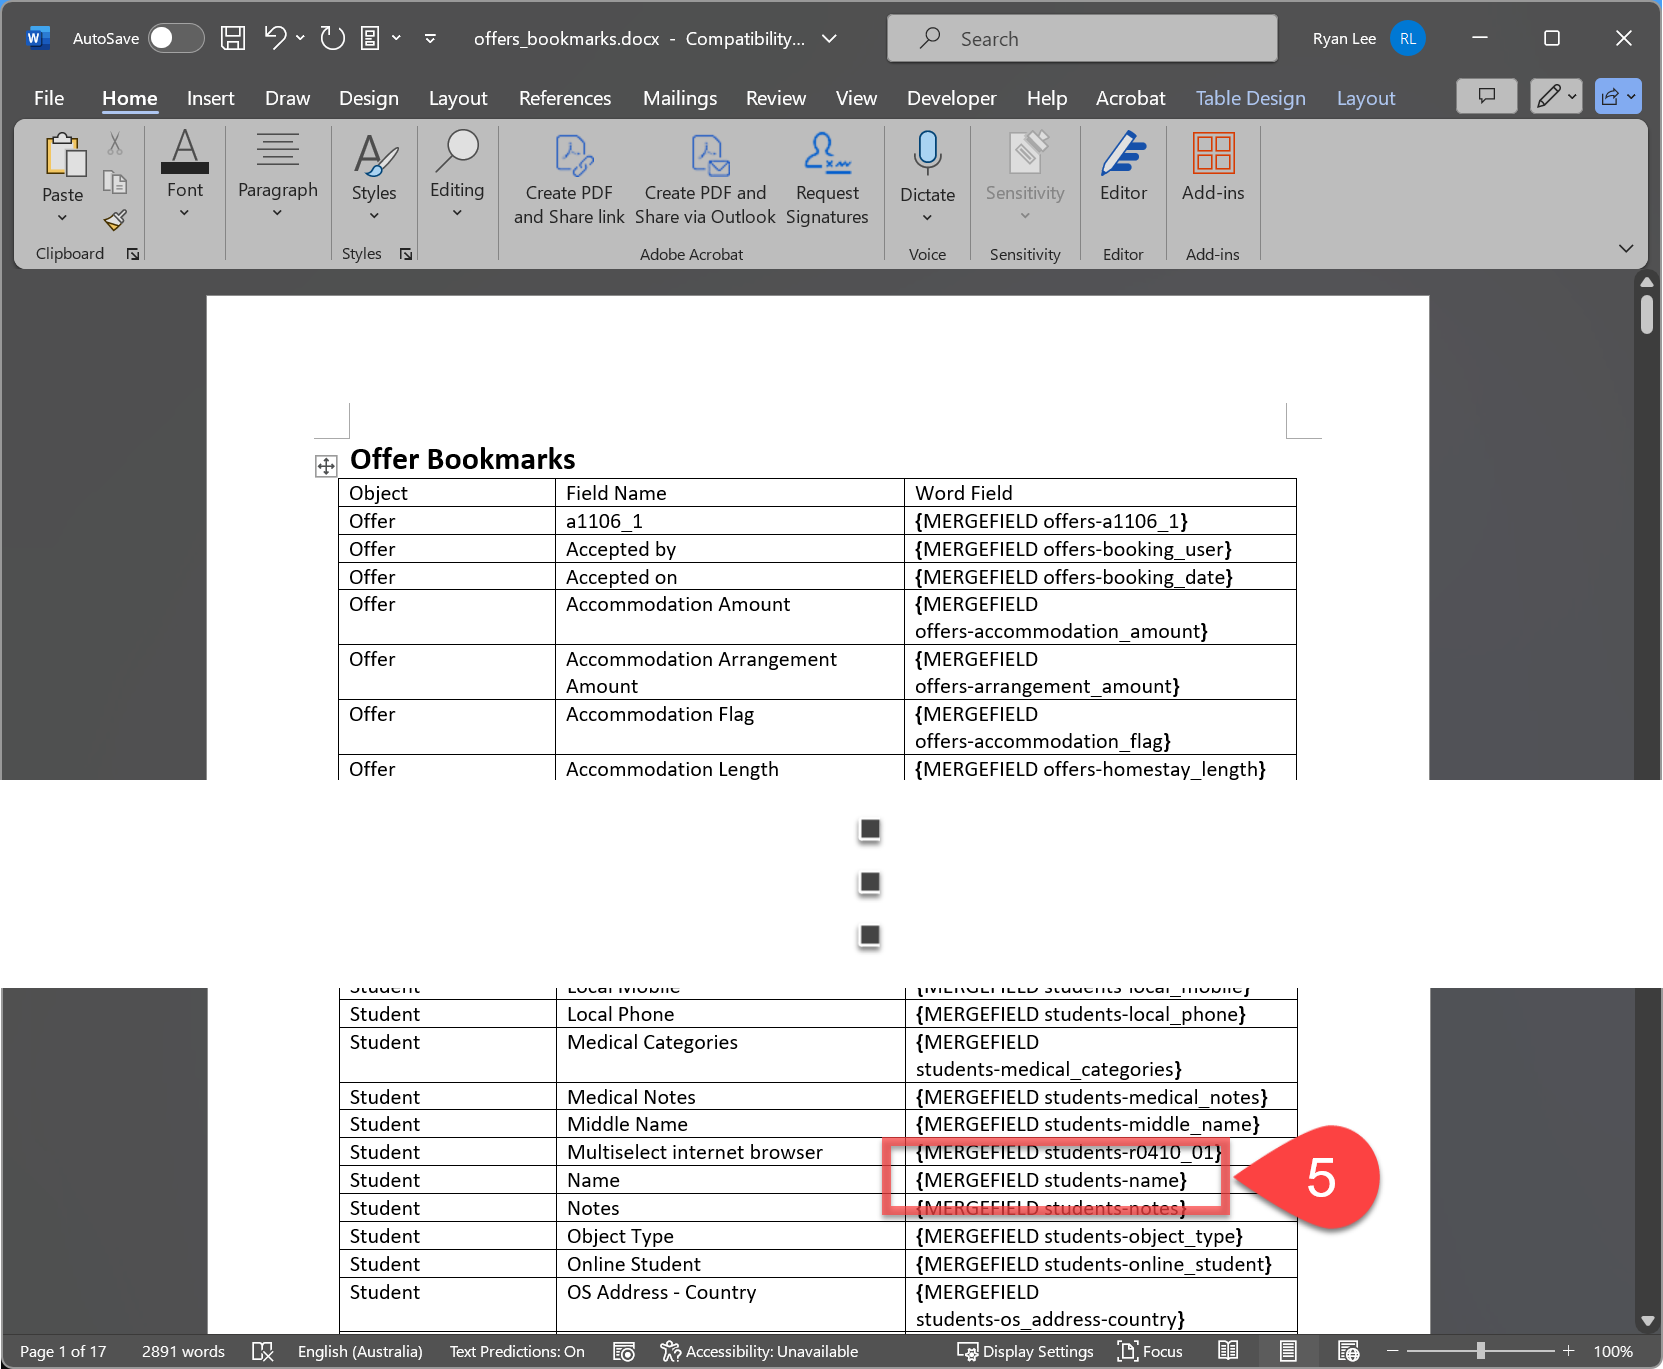
Go back to the Word document and paste the copied bookmark replacing the
FORMTEXTfield.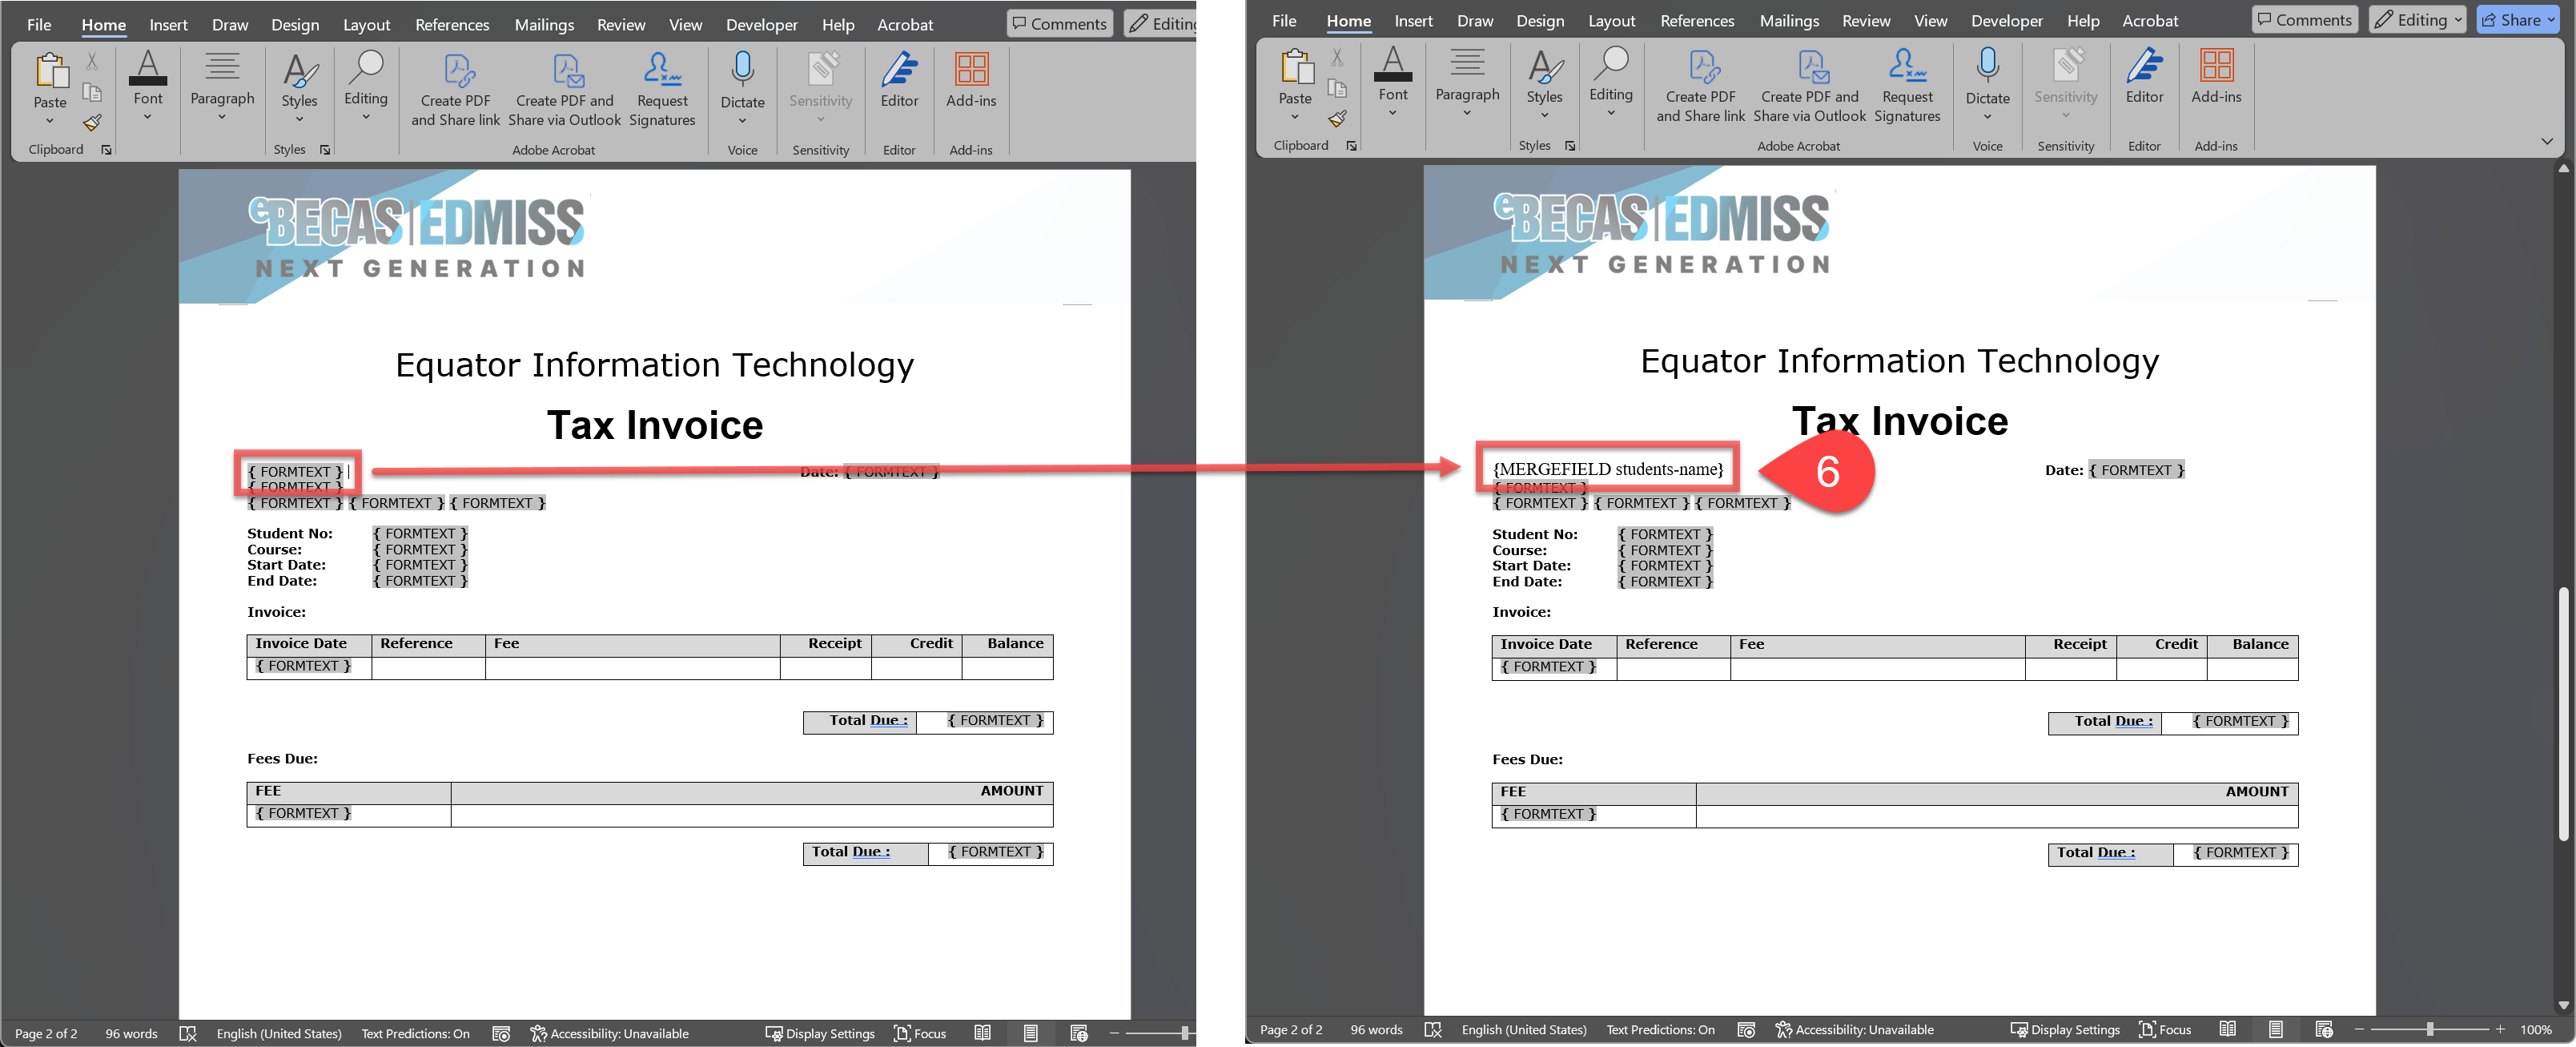
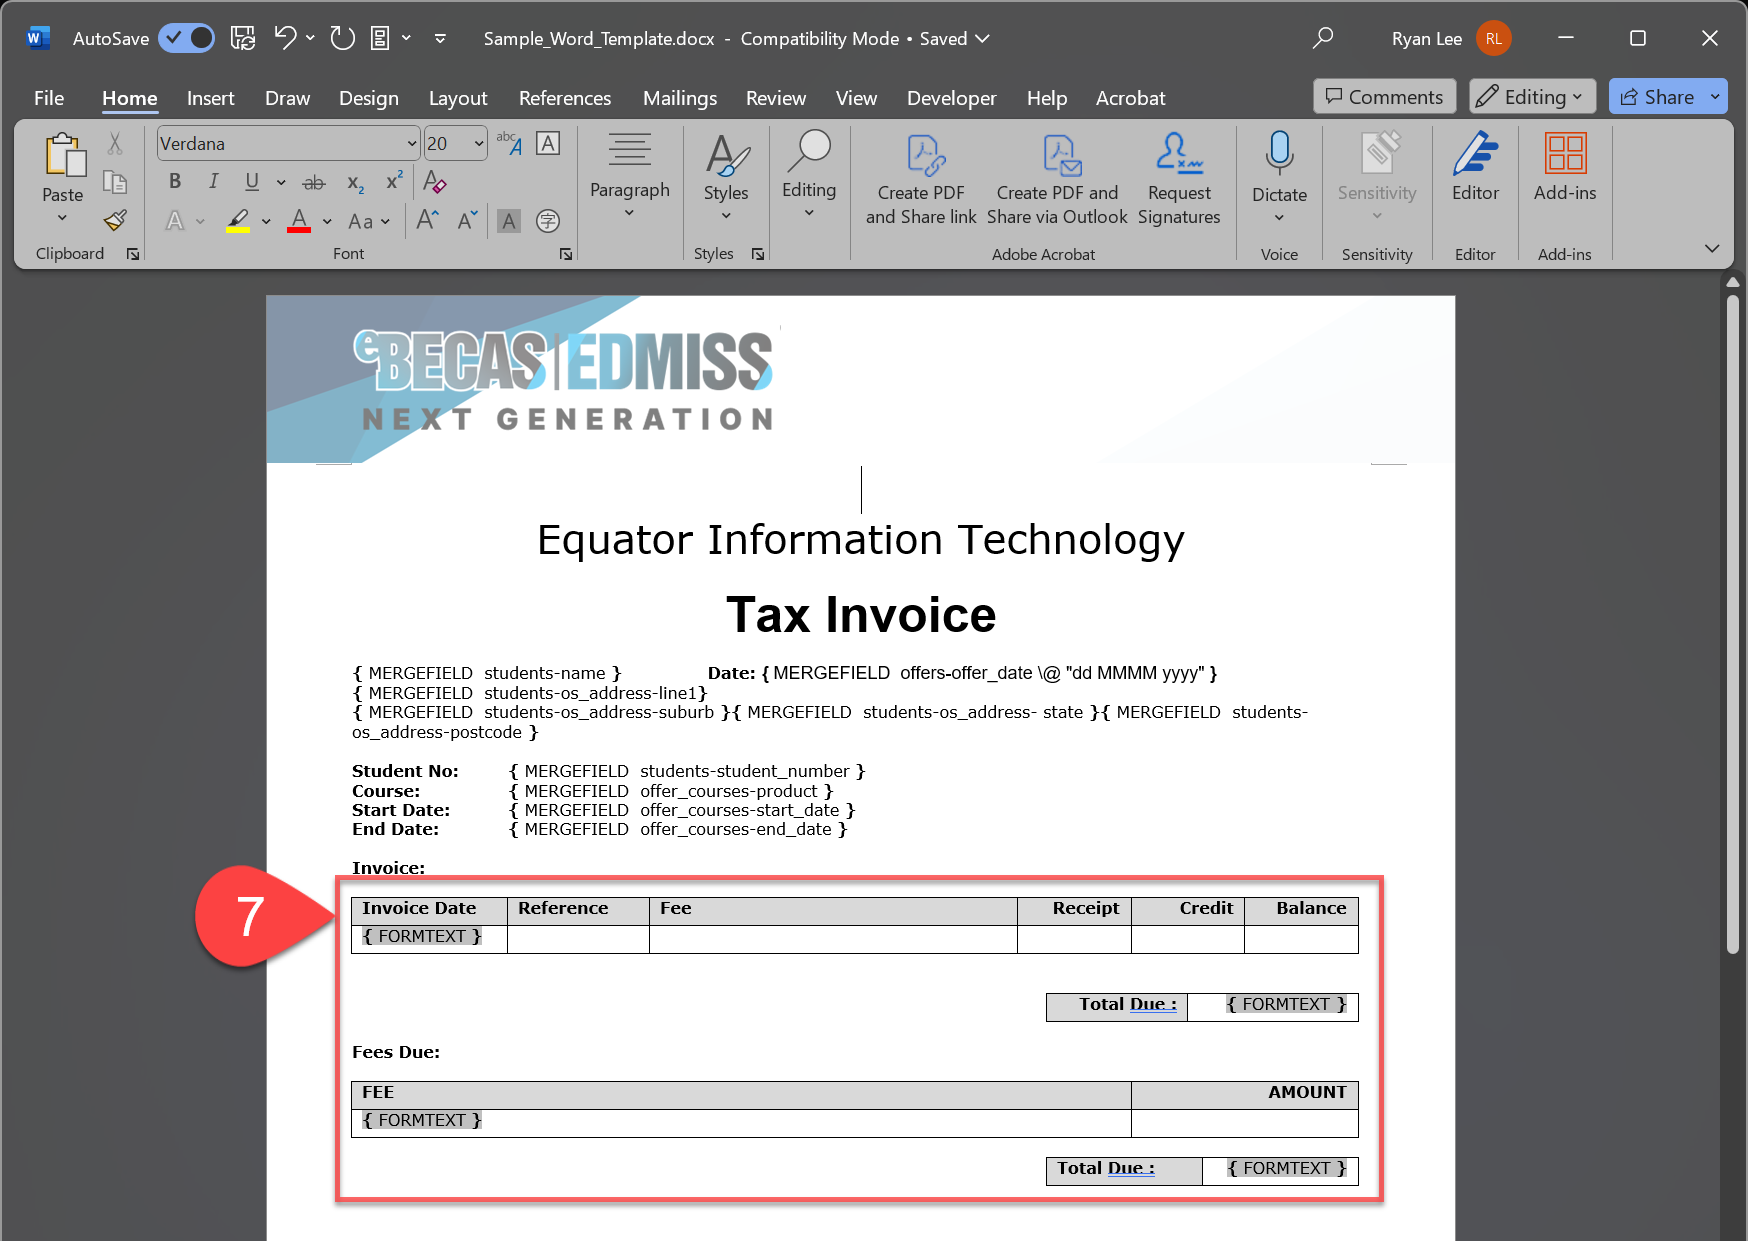
To replace the
FORMTEXTfields used in the grids or tables, there are 2 options:Grids in Tables (recommended): Convert it to a Grid in a Table in the current word document template. This is the easiest and recommended way to migrate a grid.
See this article for detailed instruction: Insert a Grids in TablesGrid Templates: An alternative is to create a Grid Template that can be reused in other templates like modules, and insert it as a
DocVariable. This is a more flexible but also a more complex way to do it so it is only recommended if you are familiar with templates.
See this article for detailed instructions: Creating Grid Template and Creating a Template in Microsoft Word | Insert Grid Templates or Section Templates
After updating all the fields, save the template as .doc or .docx format.
Upload the word file through eBECAS/EDMISS NextGen Templates.
See the following article for detailed instruction: Creating a Template from a Word File | Upload a Microsoft Word Document Template.