
Managing the students' information accurately and securely is paramount to not only adhere to regulatory compliance but also to streamline administrative processes.
Considerations for Creating Students
Student Type
Depending on the Student Type, some additional options will be available for those students. For example, the Visa and Insurance sections will be available only for Overseas Students. This Student Type is determined by the value of the field ‘Overseas Student' on the student details form. If the option is selected, the student is considered an Overseas Student, otherwise, a Local Student.
Create a New Student
-
From the Main menu, go to Students.
-
Click on New Student on the top right. A pop-up window will display.
-
Enter New Student’s basic details.

-
Click on Next.
At this point the system will check if there are potential duplicates by searching for existing students that match the Last Name and the Date of Birth entered.-
If there are no matches, the new student will be created.
-
If there are matches, a list of potential duplicates will display. You can either continue and create the new student, or click on the potential duplicate to view the student’s profile.
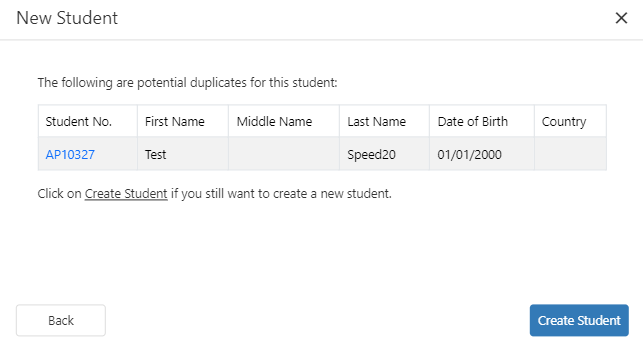
[Example of potential duplicates when creating a new student]
-
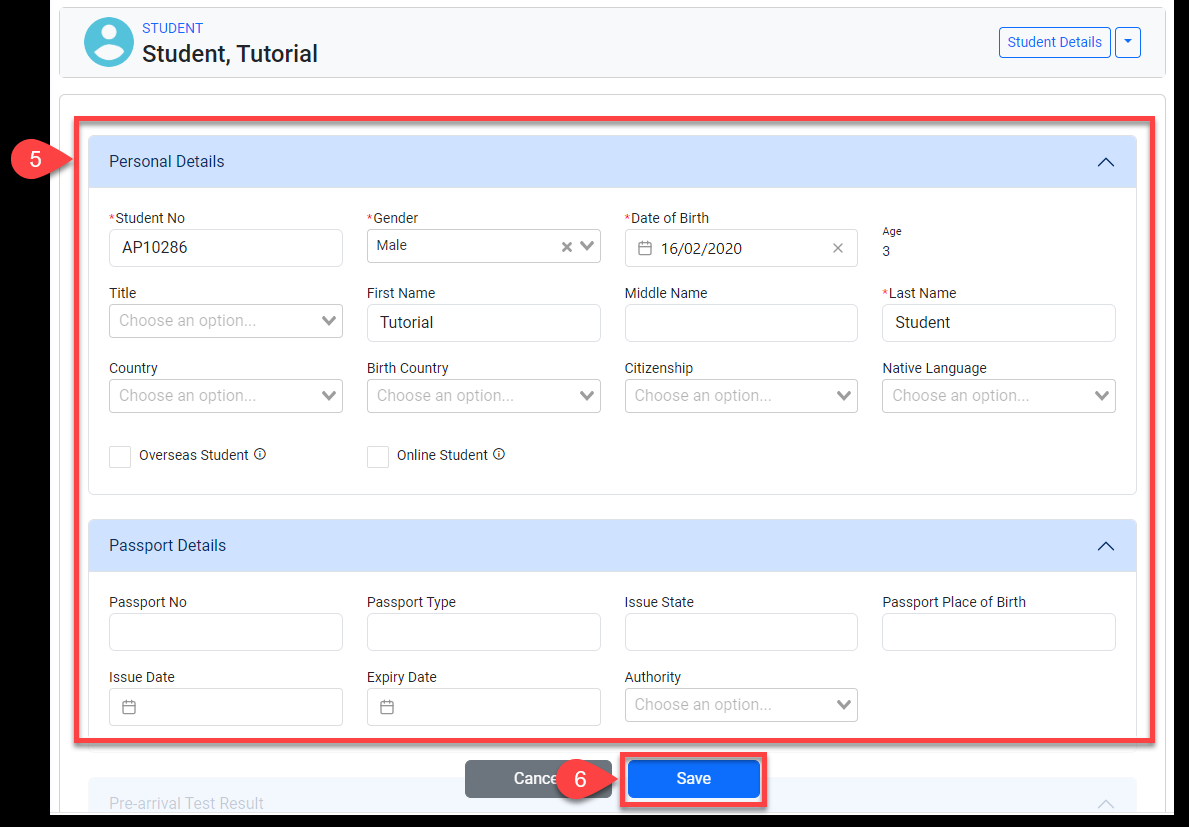
When a student is created, it has the basic details provided and a Student Number assigned. You will then be redirected to continue entering the details for the new student.
The Student Numbers are assigned sequentially to new students. To change the format of this sequence, go to the article Set up the Student Number Format.
-
Enter the rest of the details about the student.
-
Click on Save when you are ready.
A newly created student's Study Location will automatically match the Location of the user who created the student.
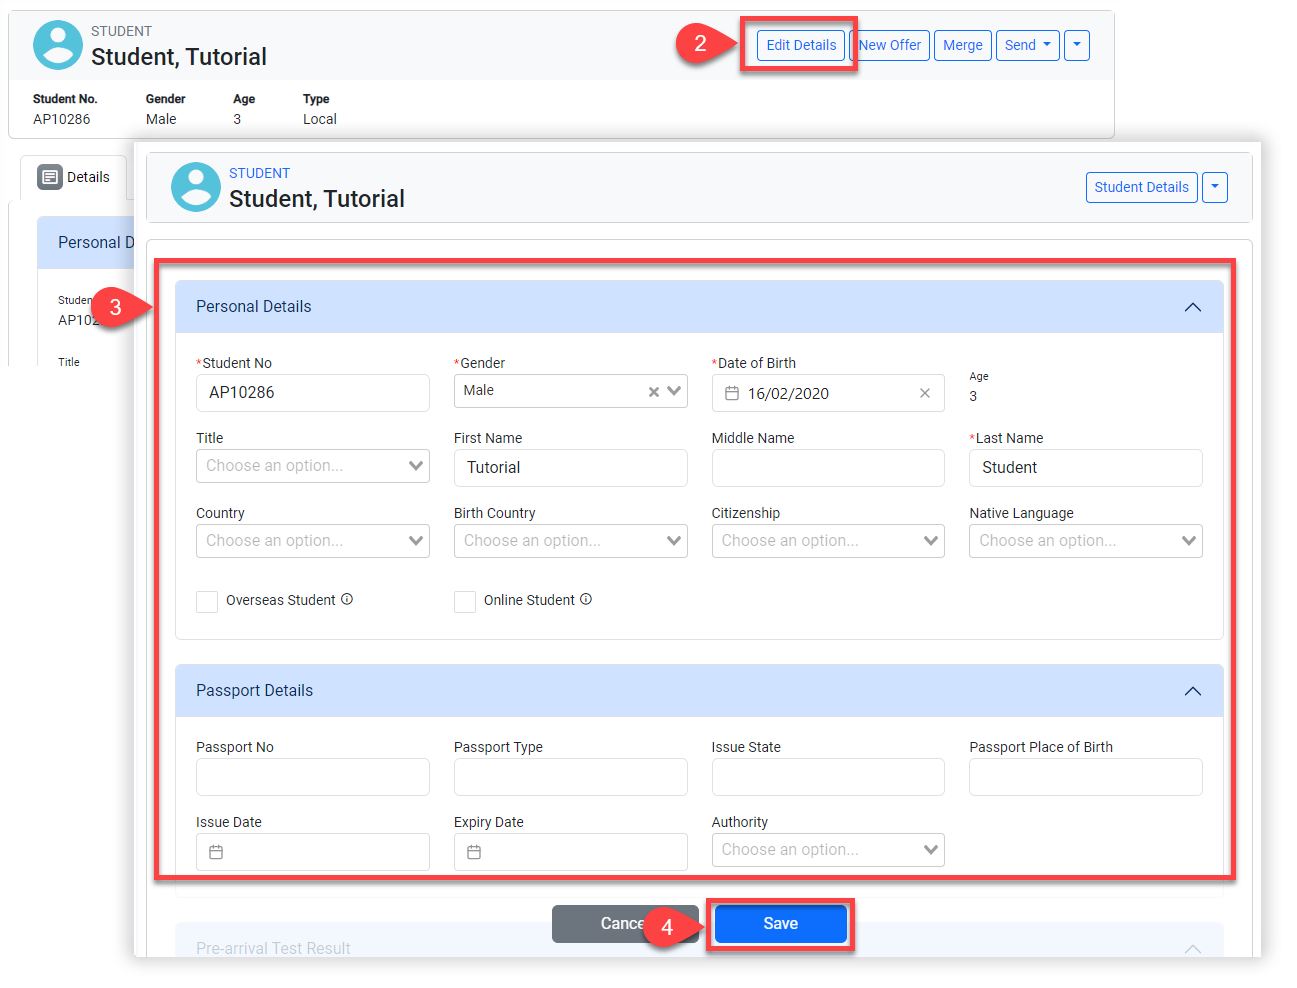
Edit a Student Details
-
Access to the student that you’d like to update the details.
-
Click Edit Details on the top right.
-
Update details as you needed.
-
Click Save to finish updating.
Add, Update and Remove Students Pictures
Visit the following article for details: Update Students Pictures
Delete a Student
Deleting students is not possible.