
Overview
The Student Support feature allows staff to record and manage individual support needs such as language, literacy, numeracy, digital skills, or disability support. You can also attach supporting documents, which are stored in the student’s document store.
If needed, support entries can be published to the Teacher Portal to keep teaching staff informed and able to provide appropriate support.
View Student Support Entries
-
Go to the student’s details page to view their support entries.
-
Go to the Student Support section. All support entries will be listed in the grid.
For details about the available actions, refer to the article: Data Grids | Single Grid Composition.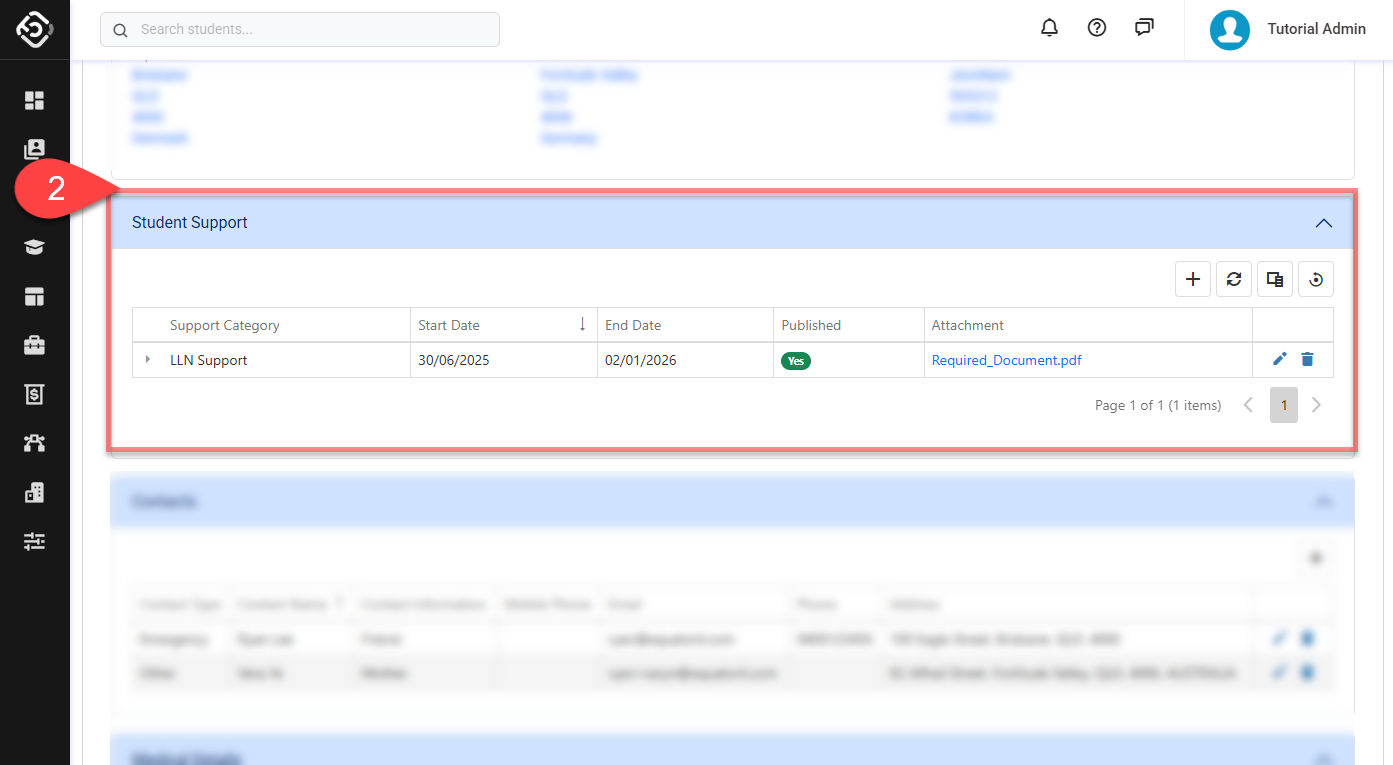
Create a Student Support Entry
-
From the student support grid, click on the Create (➕) icon at the top right of the data grid. A pop-up window will display.
-
On the pop-up window, enter the student support entry details.
-
Support Category: Select a category of the entry. To customise the list of available support categories, update the values on the Student Support Categories picklist of Student Support object.
-
Publish: Select this option to make this entry visible in the teachers portal. Published entries will be shown only when the entry is active based on the Start and End Dates. For more details, please visit this article: Teacher Portal | Special Support
-
Start Date: Select a start date for this support. Leave blank to make it active from the creation date.
-
End Date: Select an end date for this support. Leave blank if it should remain active indefinitely.
-
Description: Enter the description of the entry using the rich text editor.
-
Attachment: When creating an entry, you can attach a file. To do so, select the file that you’d like to attach. You can also Drag & Drop the file into the highlighted area. Attached document will be automatically added to the student’s Document Store.
-
The Maximum File Size depends on your subscription plan. Contact your system administrator for details.
-
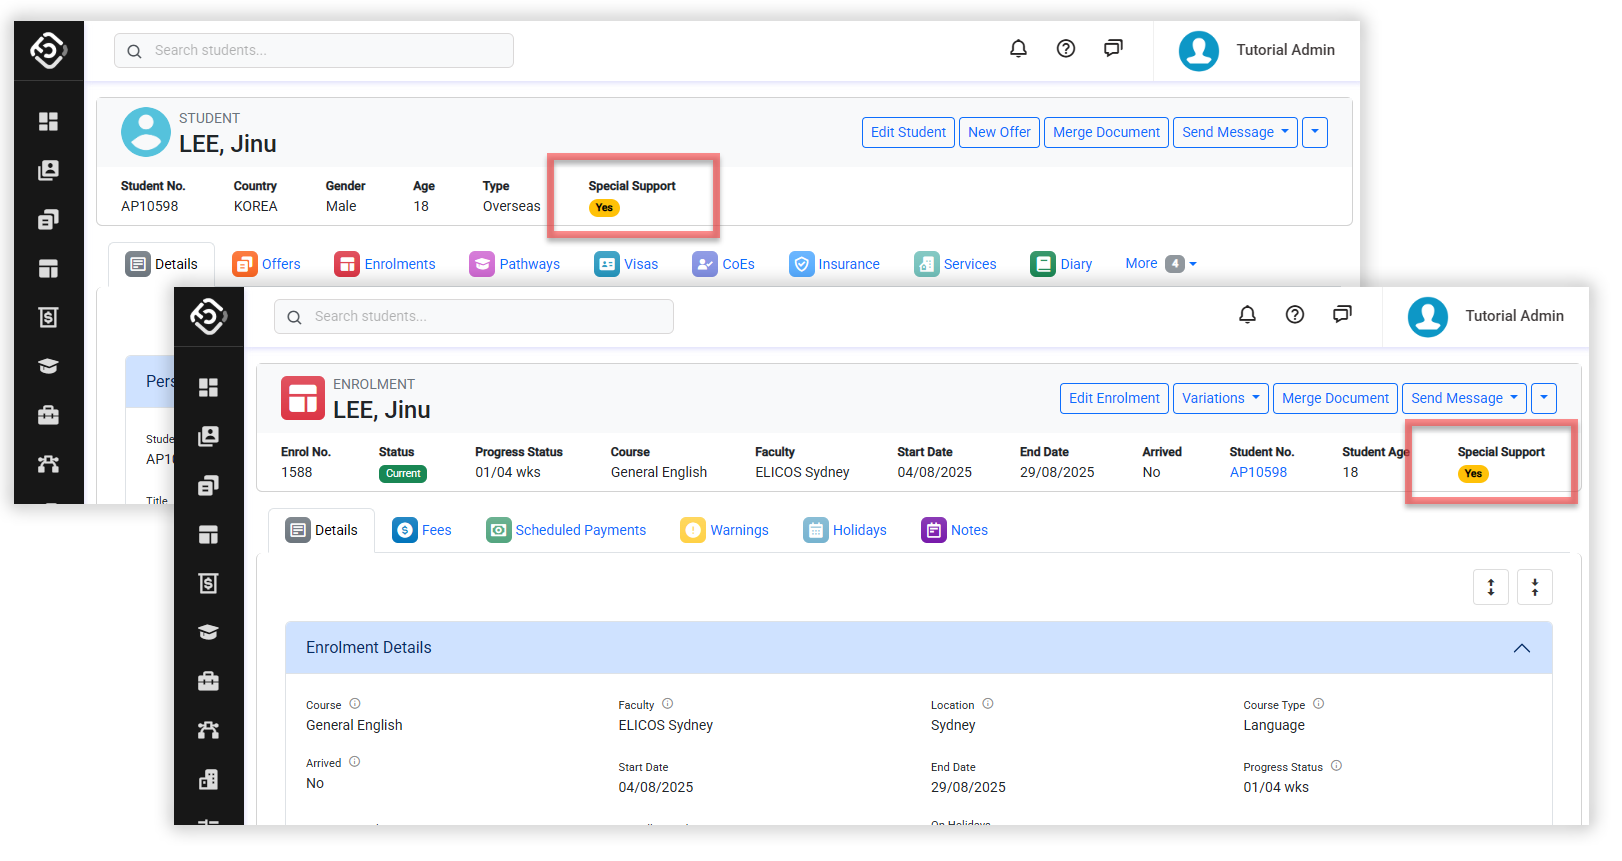
Click on Create to finish. If the support is effective as of today, a special support label will appear in the header of the Student Details and Enrolment Details pages.
Update a Student Support Entry
-
From the student support grid, locate the record you’d like to update, then click the Edit icon.
-
Update the details as required.
If you replace the attached document, the original document will also be removed from the student’s Document Store.
-
Click Update to save the changes.
Delete a Student Support Entry
-
From the student support grid, locate the record that you’d like to delete, then click the Delete icon.
-
Click Yes to confirm. Make sure you intend this action as it cannot be undone.
If the student support entry being deleted has a document attachment, the file will also be removed from the Document Store of the student. This cannot be undone.