
Considerations for Creating Agents
Head Office / Branch Office
optional
An agent can be designated as the Head Office or as a Branch Office. See this article for details.
Agent Categories
optional
Agent categories is a default field for agents that let you ‘tag’ an agent with one or multiple values.
You can set up agent categories in a way that is meaningful for identifying your agents, such as ‘Gold’, ‘Silver’, or ‘Bronze’, for example. These categories are available in reports and filters. The agent categories in eBECAS/EDMISS can be managed through the Agent Categories picklist of Agents object. For more details, please refer to the following article: Picklists.
Create Agents
-
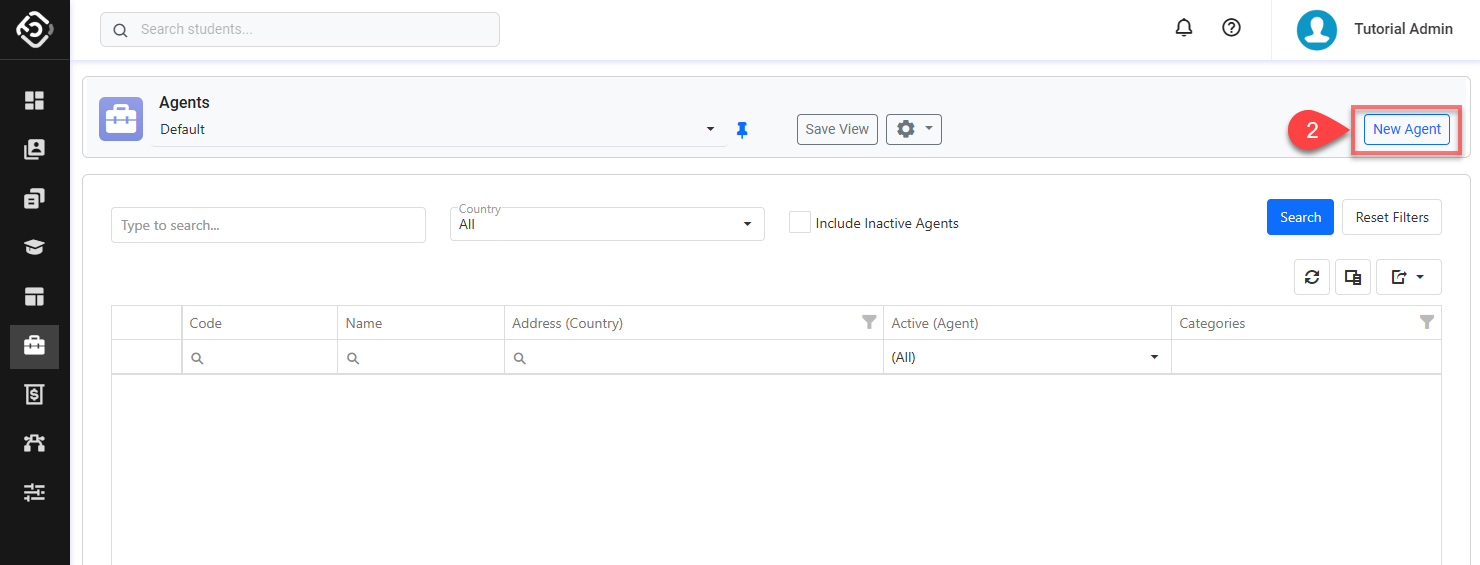
From the Main menu, go to Agents > Agent Search.
-
Click on New Agent at the top right.
-
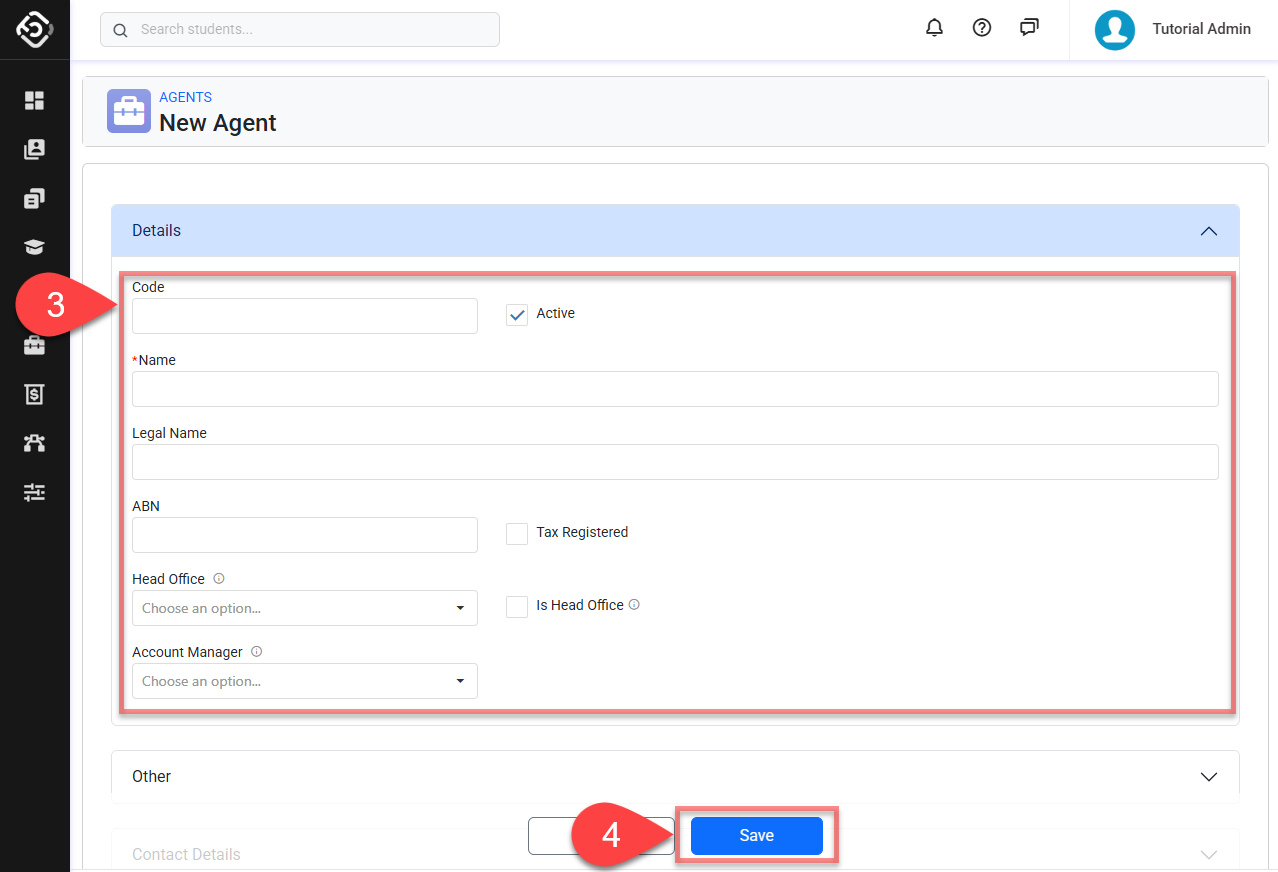
Enter the details.
Tip
Set a responsible internal user as the Account Manager for each agent.
When you create or edit an offer that uses the agent, the assigned user will automatically be used for the Sales Person field—unless a Sales Person has already been set.
-
Click on Save to finish.
-
You’ll be redirected to the detail page of this agent.
Edit Agent’s Details
-
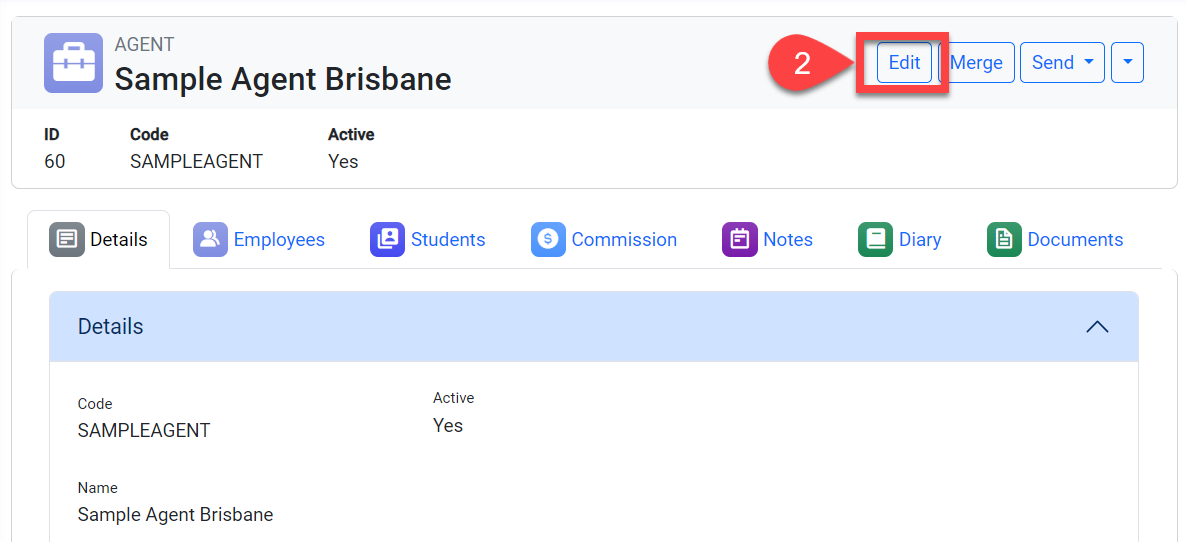
Go to the agent details page.
-
Click on the Edit button at the top right.
-
Edit the details as you needed.
-
Click Save to finish.
Delete Agent
Deleting agents is not possible. However, you can set the Agent as Inactive. See the section Deactivate Agent in this article for more details.
Deactivate Agents
Deactivating agents does not impact records where agents were already selected. However, it will make the agents unavailable for new selections.
To deactivate agents:
-
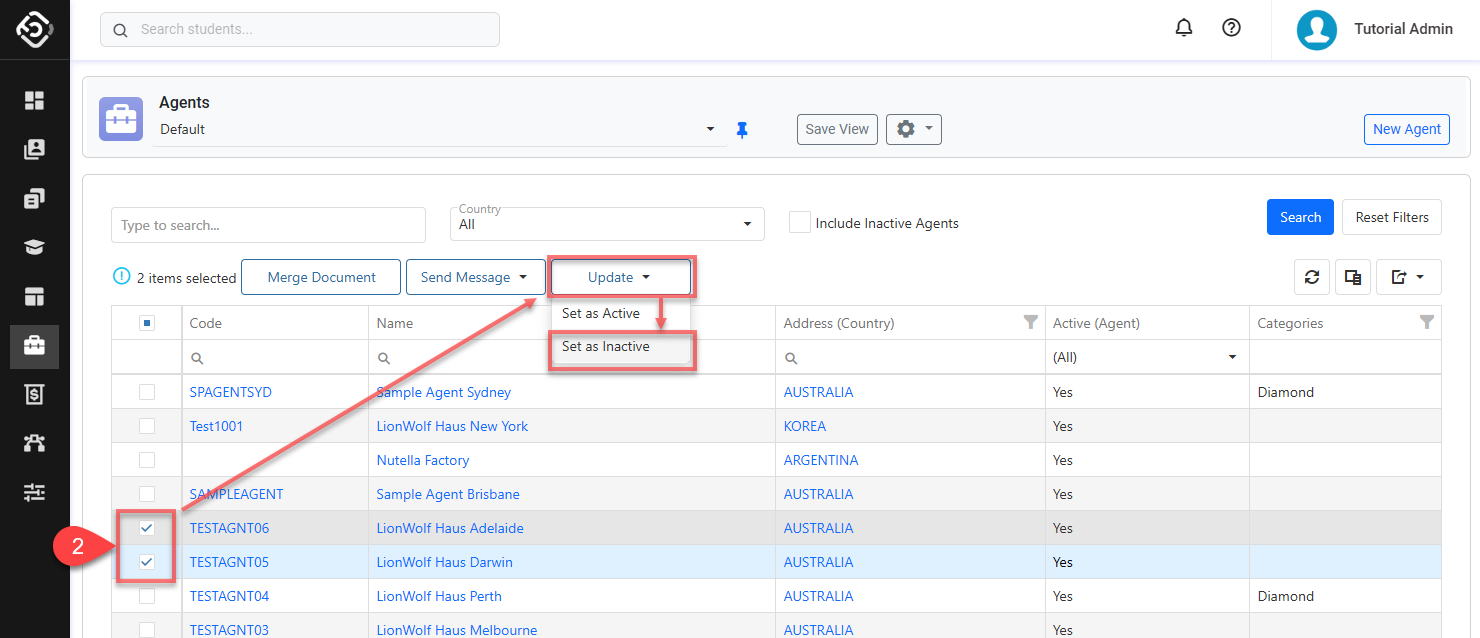
Go to the Agent Search and locate the agents using the filters.
-
Click on the select box of the records that you’d like to deactivate and click on Update > Set as Inactive from the actions panel.
-
Confirm to proceed.
Re-activate Agents
After agents are deactivated, it will not be available for new selections. To reactivate them, please follow the instructions below.
-
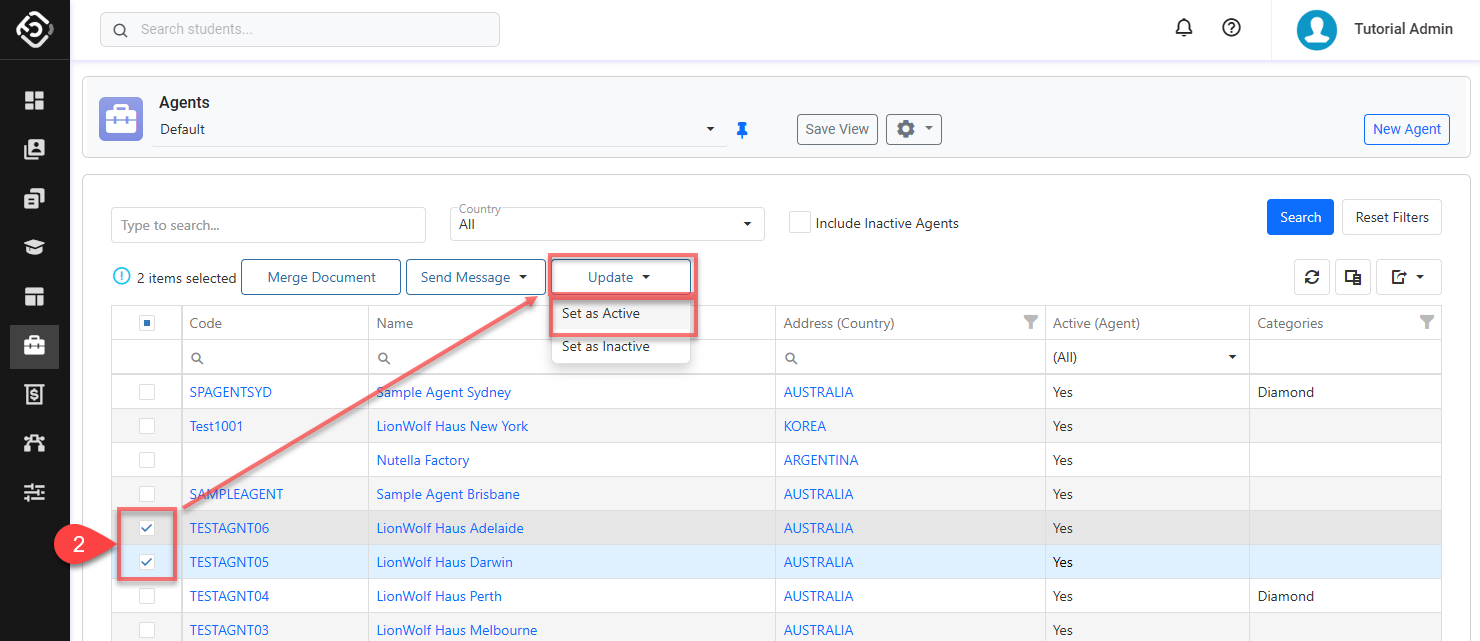
Go to the Agents Search page and use the filters to locate the agents. Use Active (Agent) column to specify inactive agents.
-
Click on the select box of the agents that you’d like to re-activate and click on Update > Set as Active from the actions panel.
-
Confirm to proceed.
Publish/Unpublish Agents
Agents can be published or unpublished to control their visibility on external websites.
Publishing an agent allows it to appear on external listings, while unpublishing removes it from those listings.
To update the publish status of an agent:
-
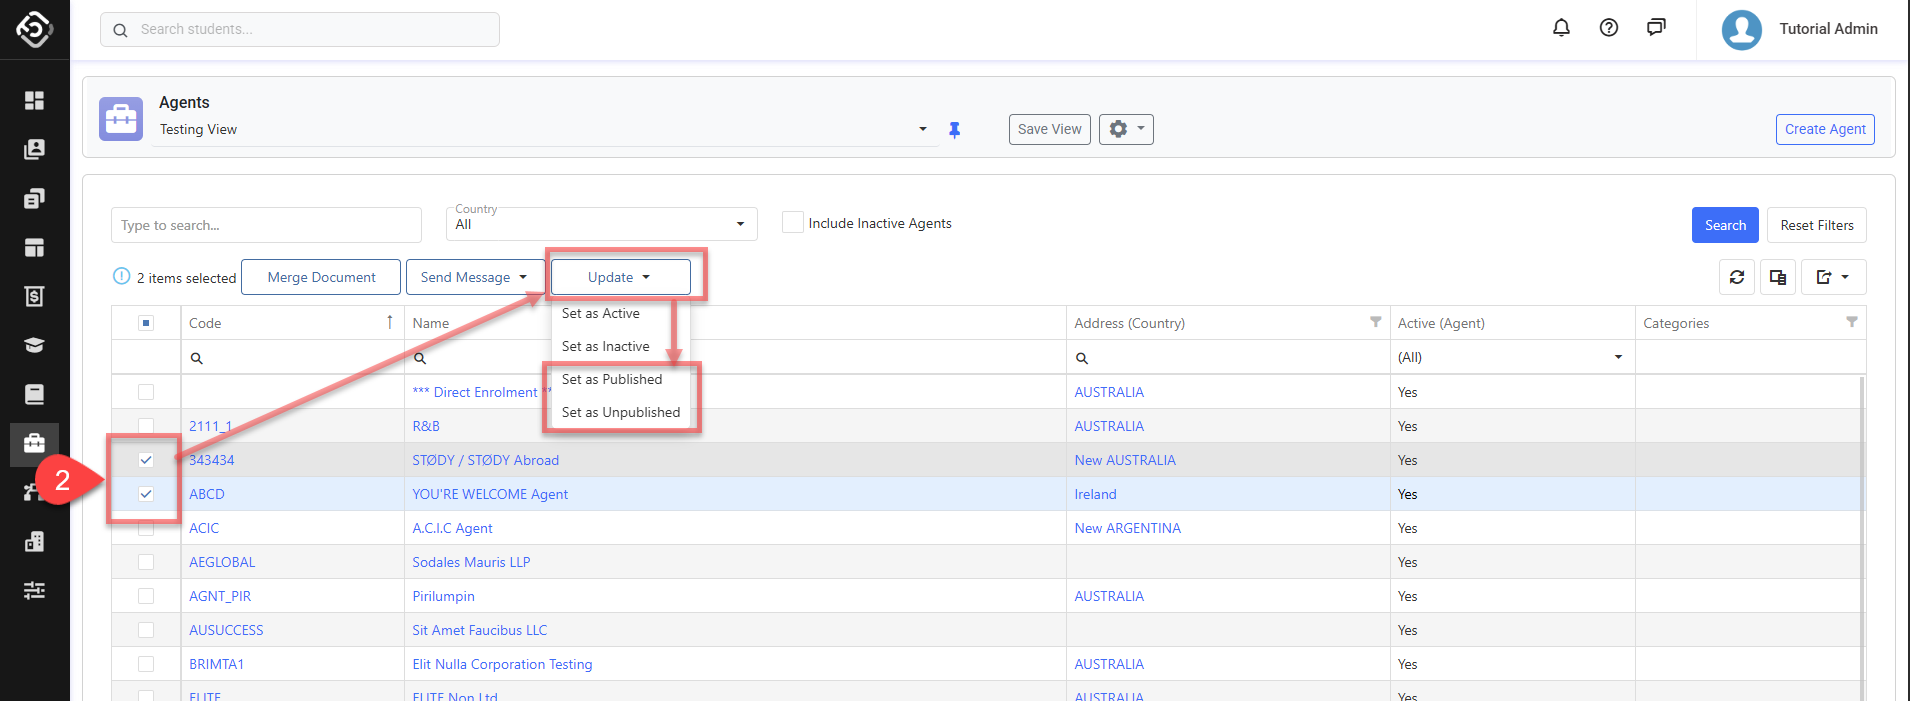
Go to the Agent Search and locate the agents using the filters.
-
Click on the select box of the records that you’d like to update the publish status and click on Update > Set as Published or Set as Unpublished from the actions panel.
-
Confirm to proceed.