Diary
Overview
The Diary serves as a comprehensive registry, recording events related to an individual or business entity.
Its entries, known as Diary entries, can be logged either manually or automatically in response to specific events, like sending an email or a SMS. This dual method of entry enhances the Diary's functionality, making it a versatile and effective tool for event tracking.
Diary entries have a structured format, including essential details such as date, subject, category, and medium. This organization improves the Diary's usability by enabling easier sorting, filtering, and retrieval. For example, the date supports chronological tracking, the subject offers a quick content summary, the category groups similar entries, and the medium provides context on how the entry was created.
Due to its nature, only objects that represent an individual or business entity such as students or agents, for example, have a Diary.
View Diary Entries
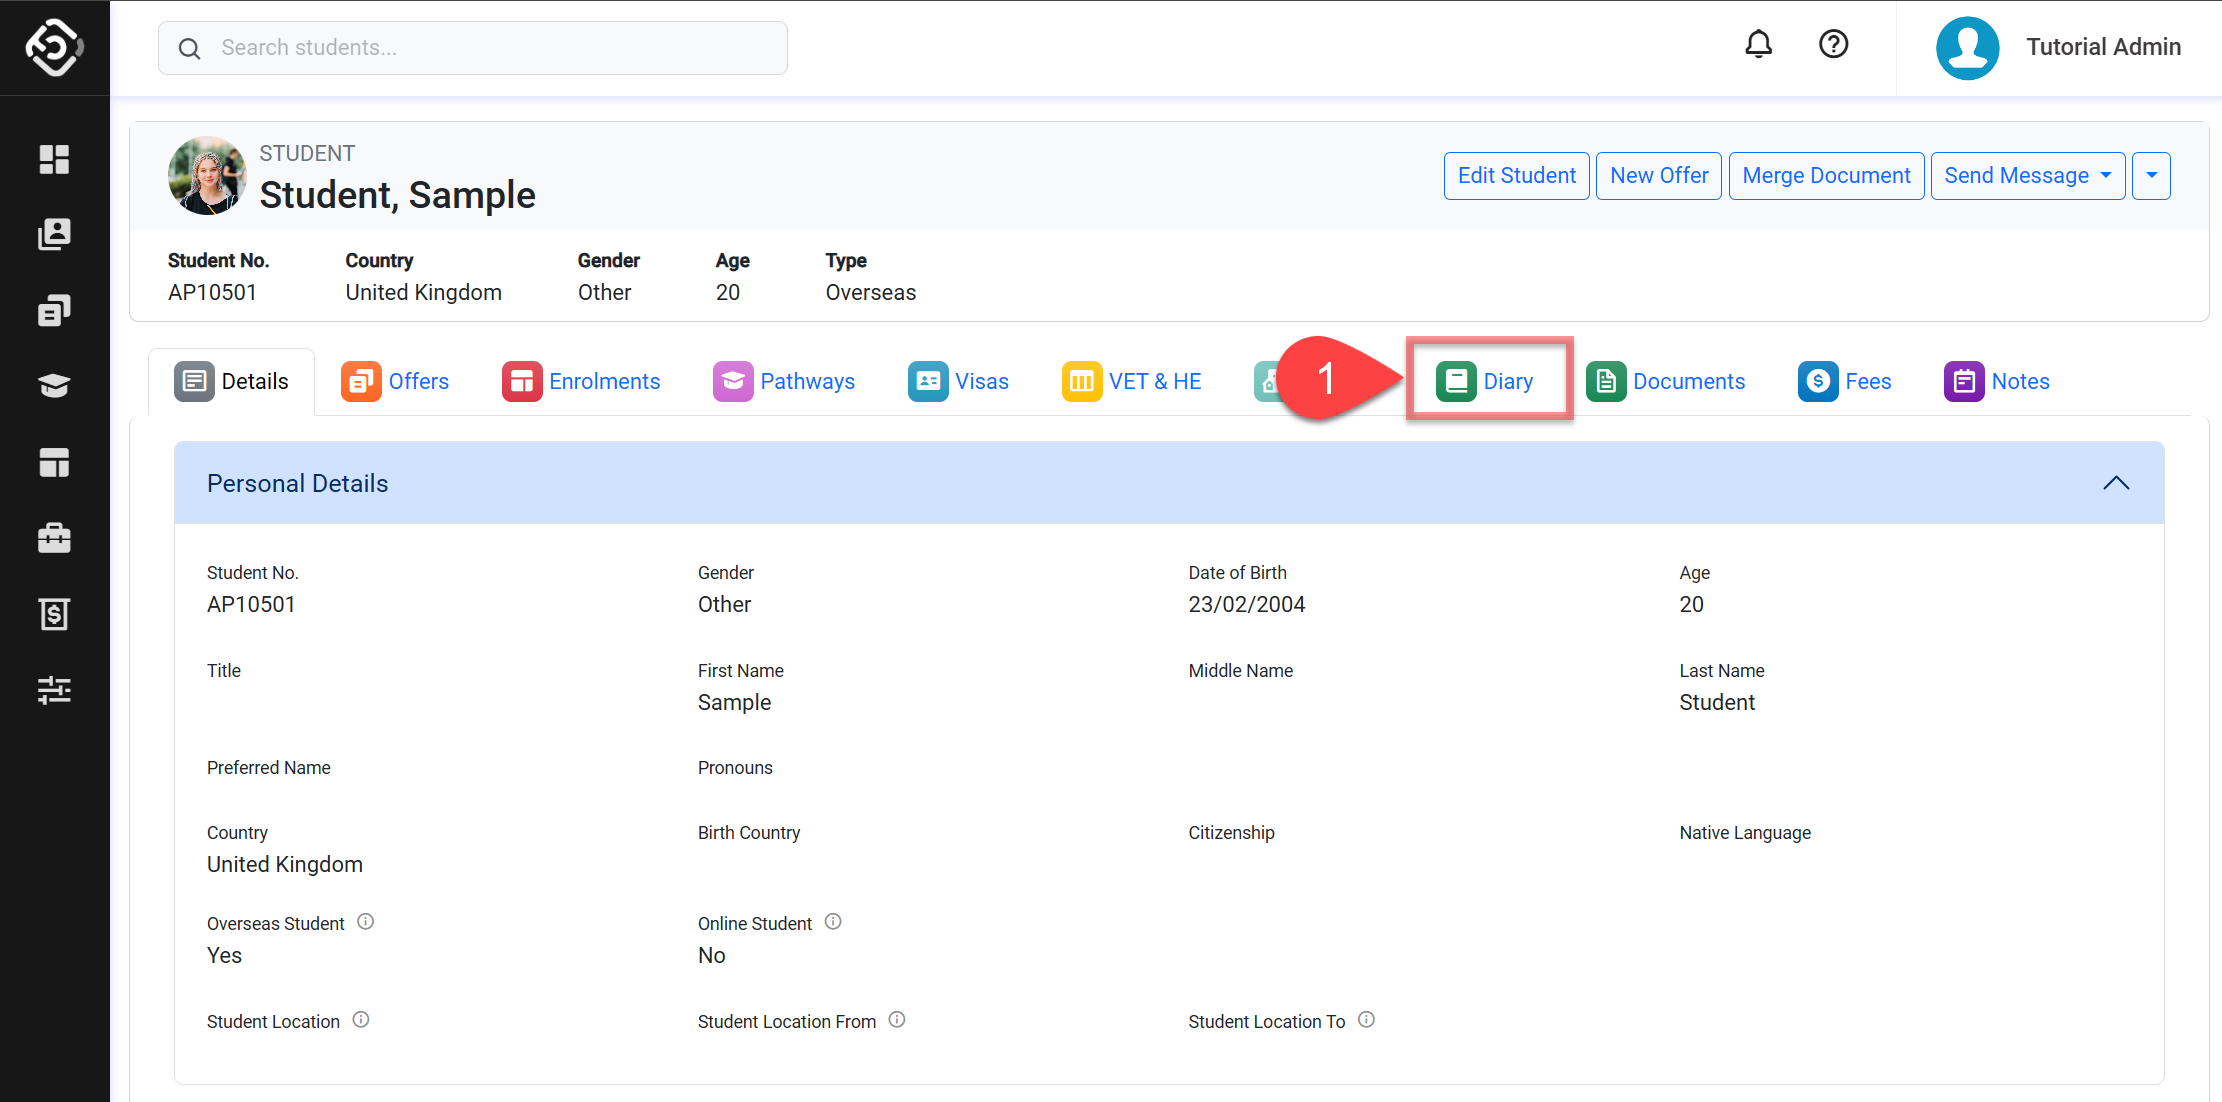
Navigate to the details page of the object that you want to see the Diary for.
Click on the Diary tab.
You’ll see the entries in the grid. The options available are:
Diary Entries Filters
Expand All: Click to expand all the entries and see the entry details.
Collapse All: Click to collapse all the entries.
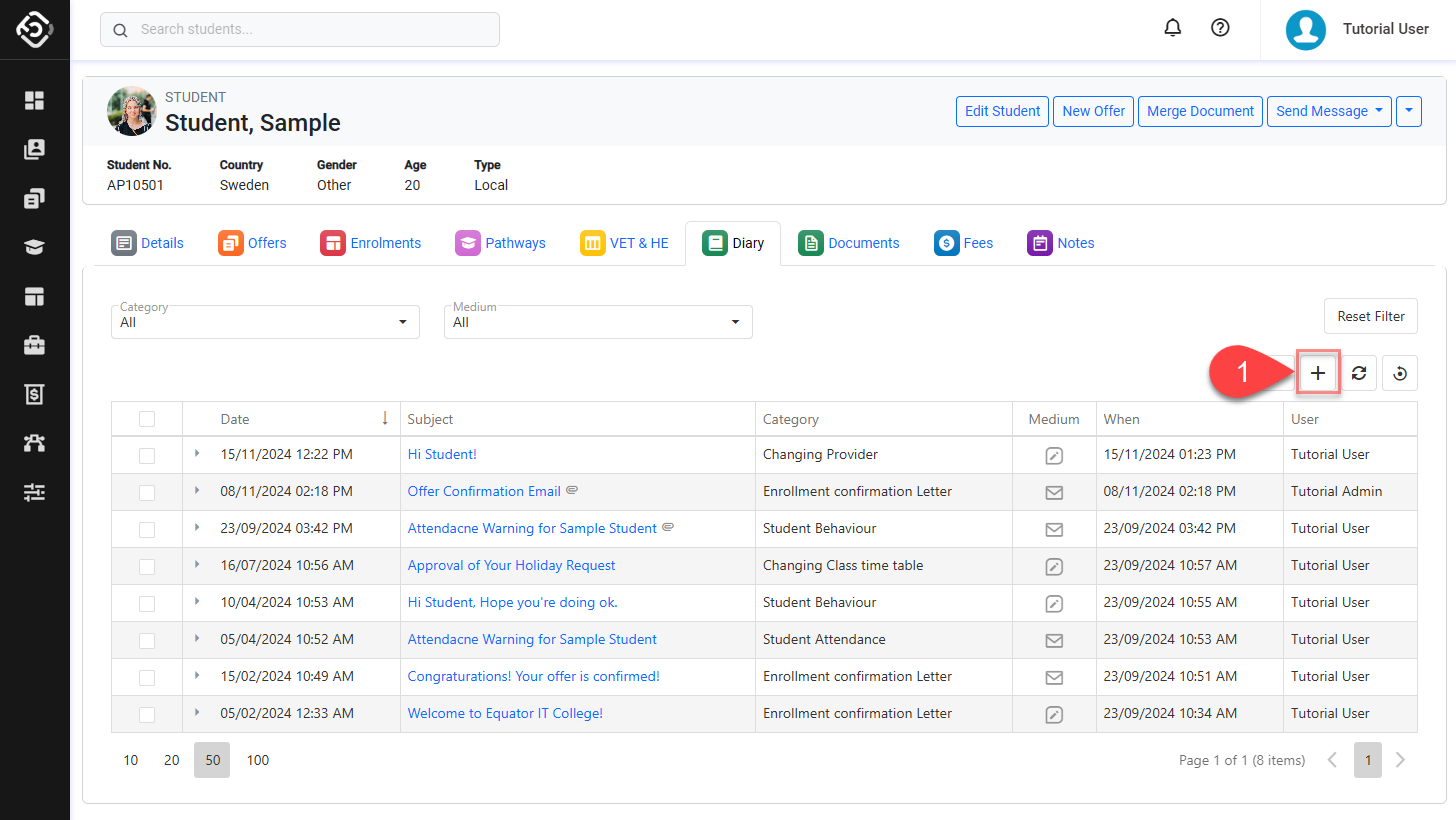
Create New Entry
Refresh Data: Refreshes the current data grid with the latest values.
Reset View: Reset the grid configuration to the default.
Select Box: Select entries for actions like edit or delete.
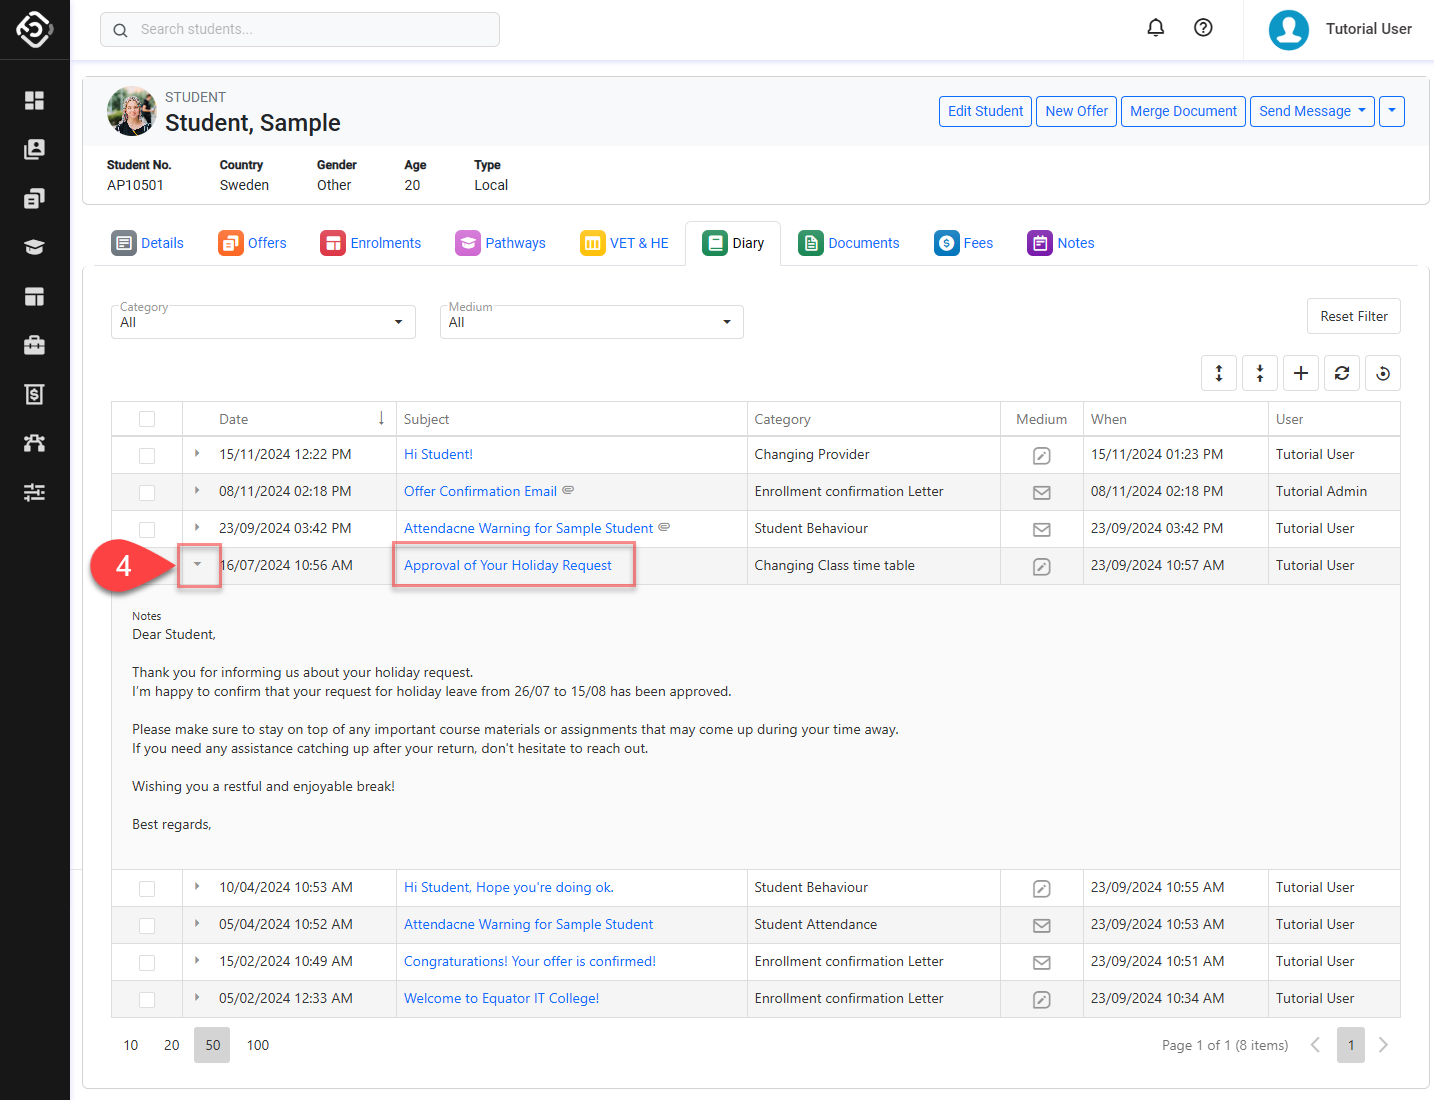
Expand Entry: Click to expand and see the entry details.
Attachment Indicator: Shows that the entry includes attachment(s).
Medium Column: Displays the medium used to create the entry. (e.g. email, sms, etc)

For quick view of the Diary Entry, click on the expand icon. To view the full details, click on the Subject of the entry.
Diary notes do not support special characters, including emojis or non-English language characters. If entered, these characters will appear as "??".
Create a Diary Entry
Diary entries can be created through various mediums, either manually or automatically.
Manual Diary Entry
In the Diary tab, click on ➕ icon on the data grid. The New Diary Entry form will display.
Enter the details.
Date: The Date and Time will automatically be set as the creation date. If the entry is about an event in the past or is intended as a future reminder, change the date as required.
Post to Student PortalSTUDENT OBJECT ONLY: Check this option to publish this entry to the student portal. Students can receive and read this through the student portal.
Read on Student Portal STUDENT OBJECT ONLY: Indicates the date and time when the student viewed the entry on the Student Portal. This field cannot be entered or modified.
Category: The category for the entry. In case the category is inactive, it will appear in grey and cannot be selected.
If you need to configure the categories, please refer to the article: Picklists.Subject: The subject for the entry.
Notes (optional): The notes for the entry.
Attachments (optional): When creating an entry, you can attach a file. To do so, select the file that you’d like to attach. You can also Drag & Drop the file into the highlighted area.
Supported Formats: jpg, jpeg, png, doc, docs, csv, txt, pdf, xls, xlsx, zip
Maximum File Size: This is the maximum size for the file that can be uploaded.
The Maximum File Size depends on your subscription plan. Contact your system administrator for details.
When attaching a file to Diary Entry, the file will be also available on the document store of the object.

Click Create to finish.
Email and SMS Diary Entry
When emails or SMS are sent, an entry is created automatically on the Diary of the recipient.
The content of the email and SMS are displayed in the Diary Entry.
See the following articles for more details on Sending Emails and Sending SMS.
Edit a Diary Entry
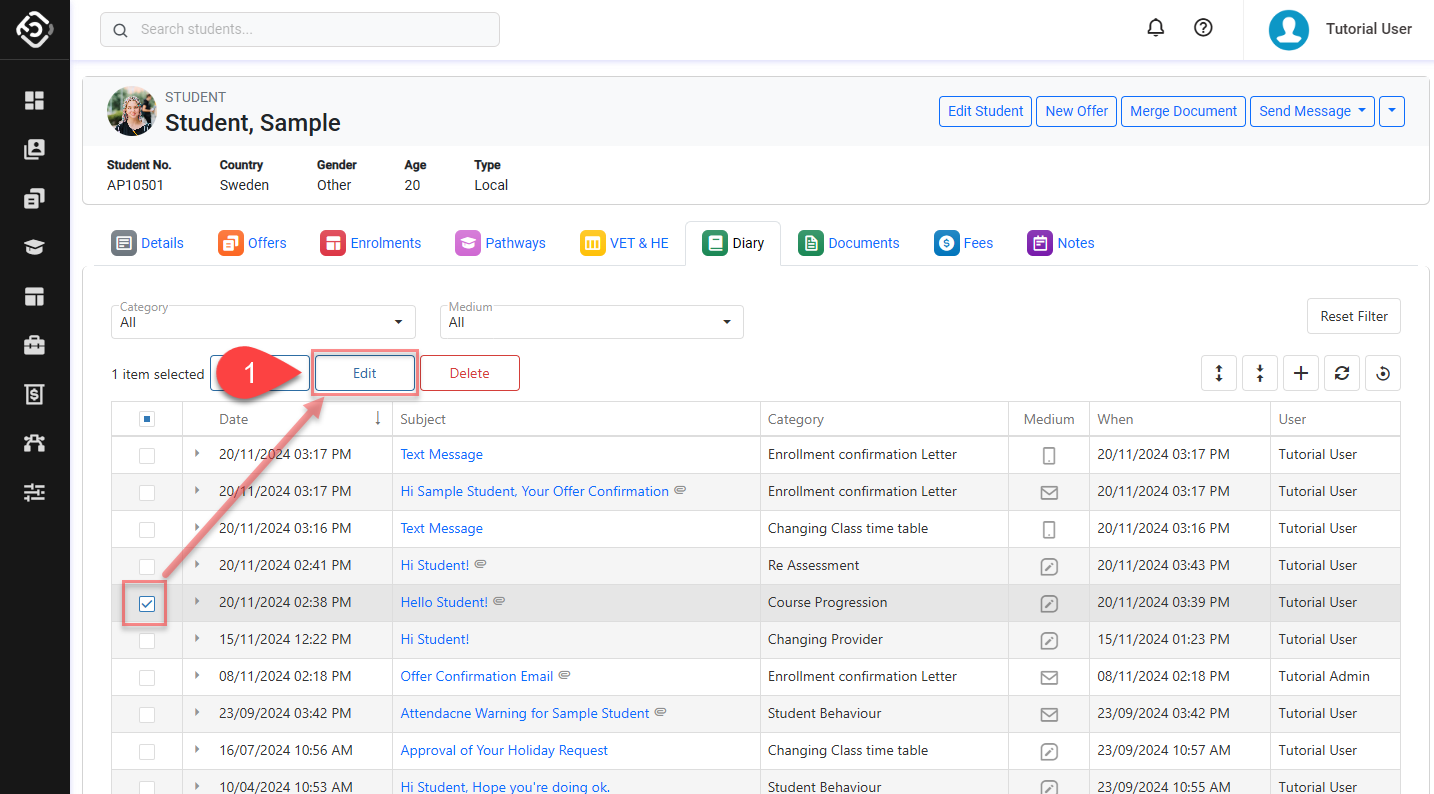
You can edit a Diary Entry either from the Diary grid or the Diary Entry details page. To edit from the Diary grid:
Choose the entry you want to edit by selecting the checkbox, then click the Edit button in the Actions Panel.
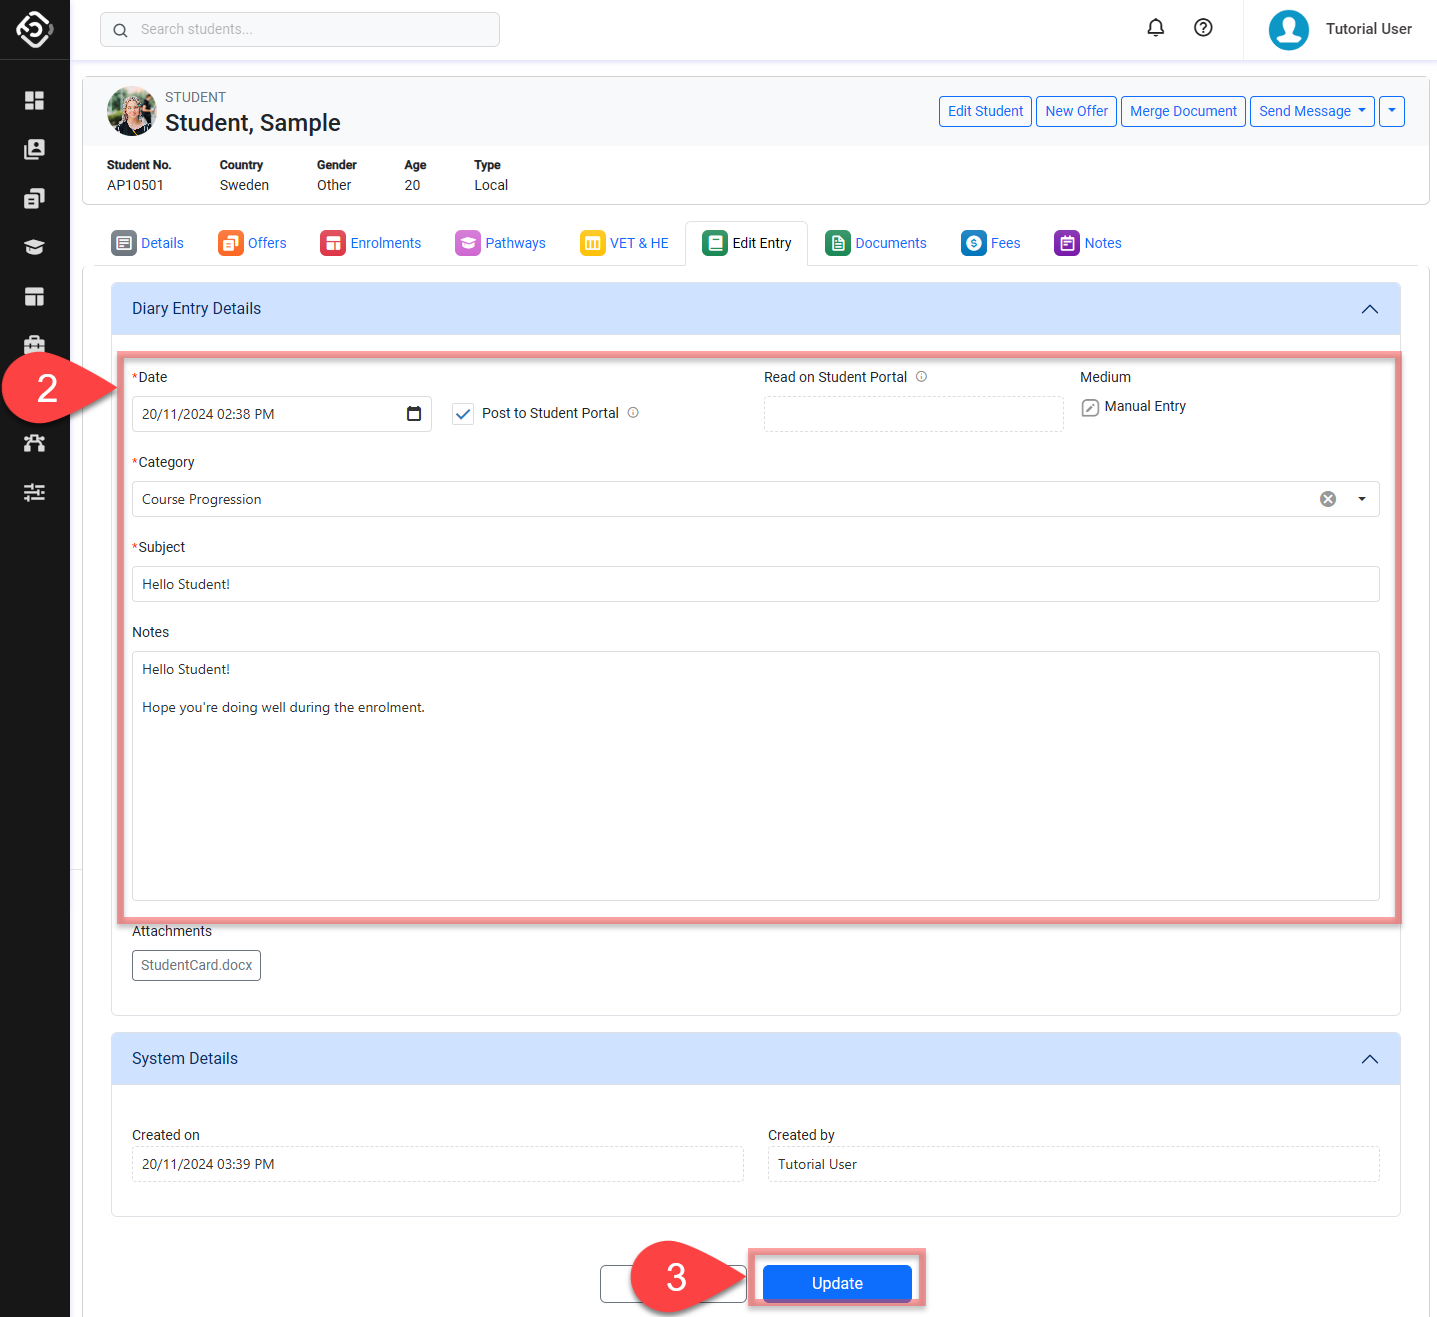
Update the details as needed.
Once an entry has been published to the student portal, updating its details will not trigger a new notification to the students.
For diary entries created through Sending Email/SMS, certain fields cannot be edited. This ensures the accuracy of the event history, as these actions have already occurred and cannot be undone.
Attachments of the entry can’t be updated.
Click on Update to finish.
Delete Diary Entry/Entries
Diary Entries can be deleted from the Diary grid (single and bulk) or from the Entry details page (single). To delete the entries from the Diary grid:
To delete diary entry/entries, select them using the checkbox and click the Delete button in the Actions Panel.

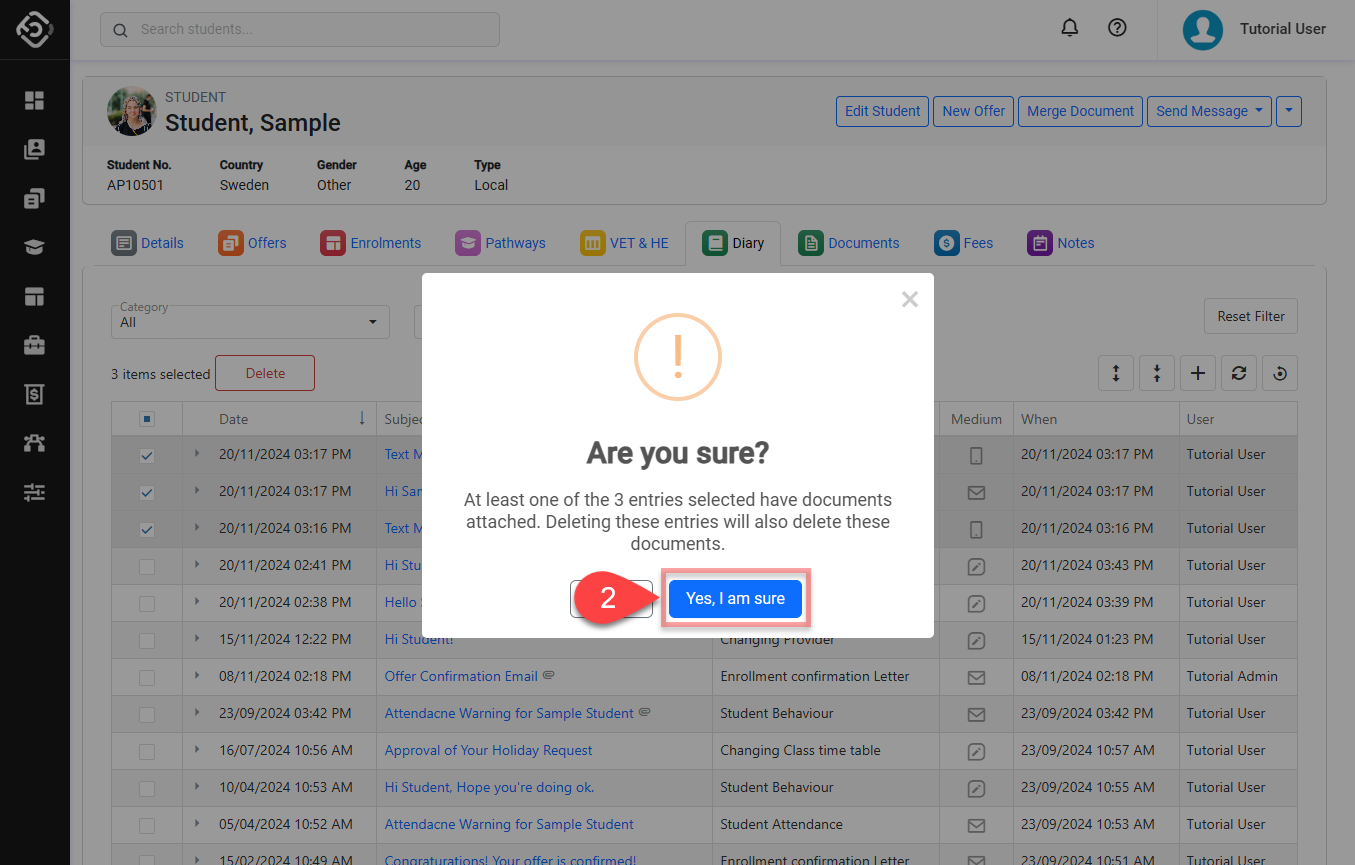
Confirm the deletion of the selected entries.
If any diary entry being deleted has attachment(s), those file(s) will also be removed from the Document Store of the corresponding object. This cannot be undone.